

2026 Goodwood Revival race results
The 2026 Goodwood Revival presented by Dunlop treated us to a spectacular display of racing. Here are the results from all of the weekend’s fixtures.
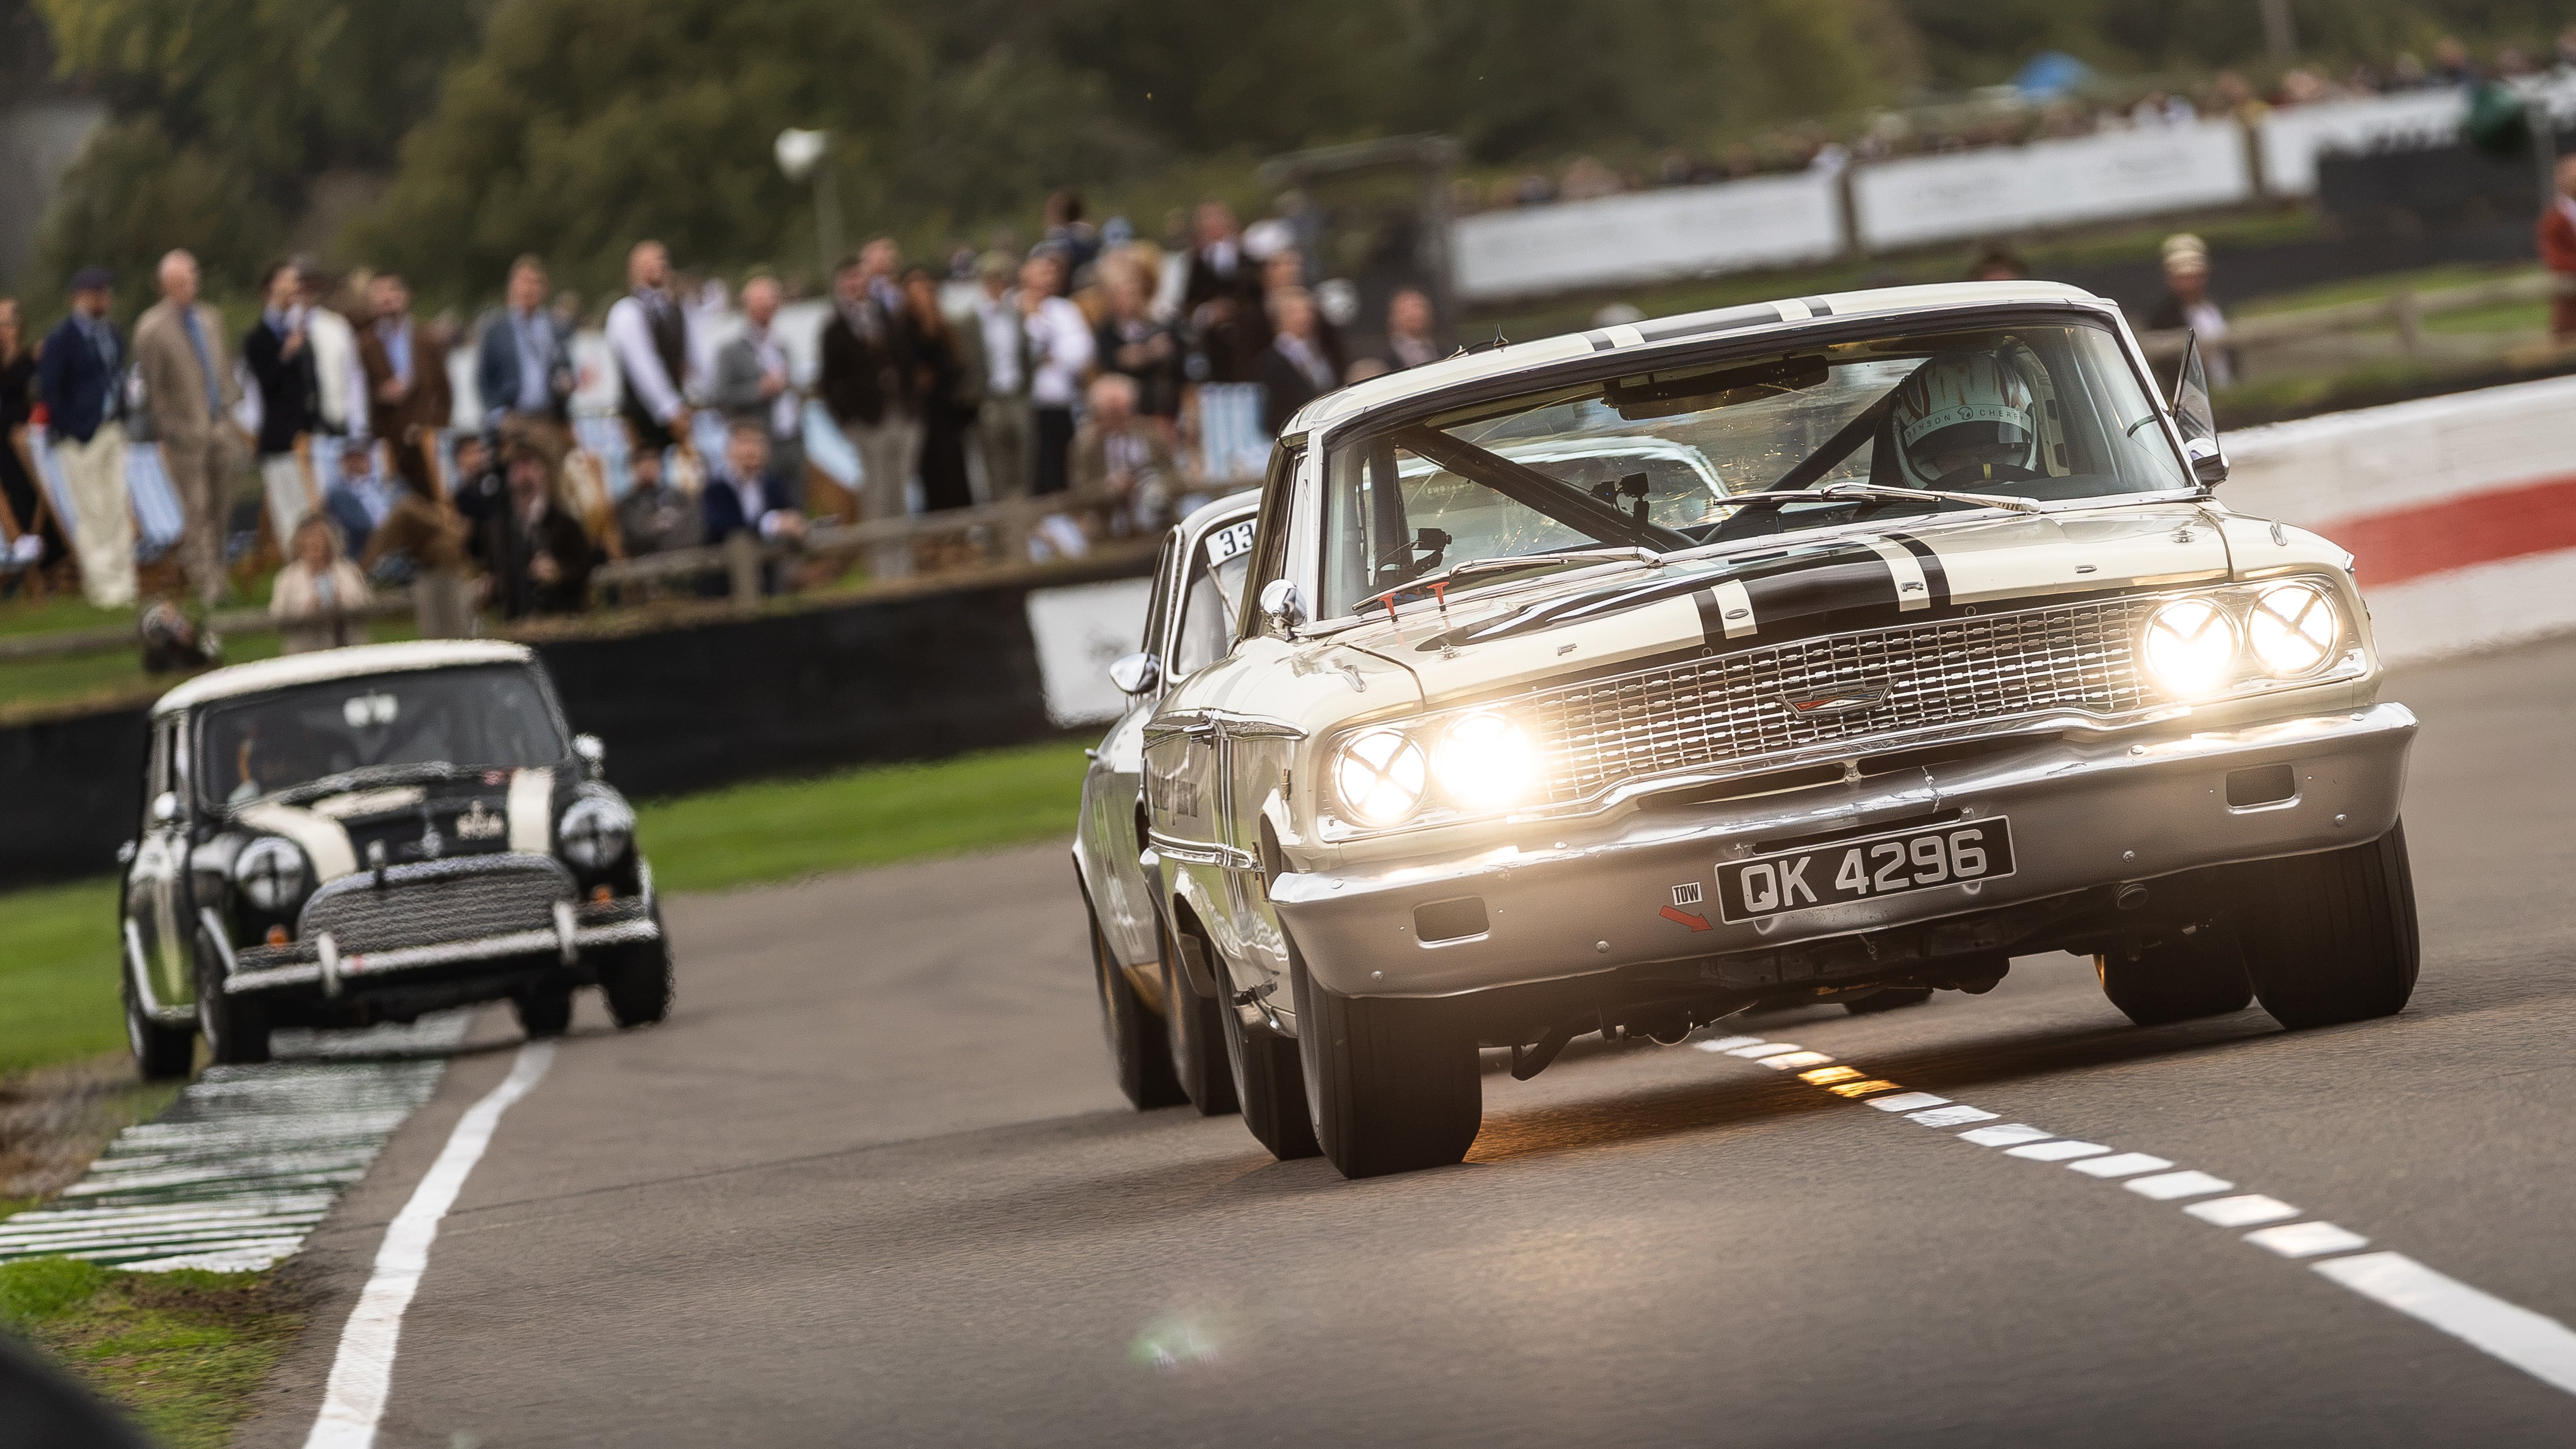
Race 1: St. Mary’s Trophy Part 1
Romain Dumas might be fast, but a heavy right foot at the start of Part 1 of the St. Mary’s Trophy presented by Motul left him with a slow and smoky getaway, with Frank Stippler and Jenson Button taking advantage into the first corner. With Stippler to the inside and Button trying his luck on the outside, a snap of oversteer for Stippler sent Button into the grass and tumbling down the order.
The drama wasn’t limited to the front row, though, with scintillating racing all the way to the back of the grid for the entire 15-lap race. Dumas quickly managed to retake his spot at the front of the field, where he stayed to the end, but this was far from a predictable race.
|
Position |
Driver |
Car |
|
1 |
Romain Dumas |
Ford Galaxie 500 |
|
2 |
Frank Stippler |
Alfa Romeo Giulia Sprint GTA |
|
3 |
Tom Ingram |
Ford Lotus Cortina Mk1 |
|
4 |
Andrew Jordan |
Alfa Romeo Giulia Sprint GTA |
|
5 |
Rob Huff |
Alfa Romeo Giulia Sprint GTA |
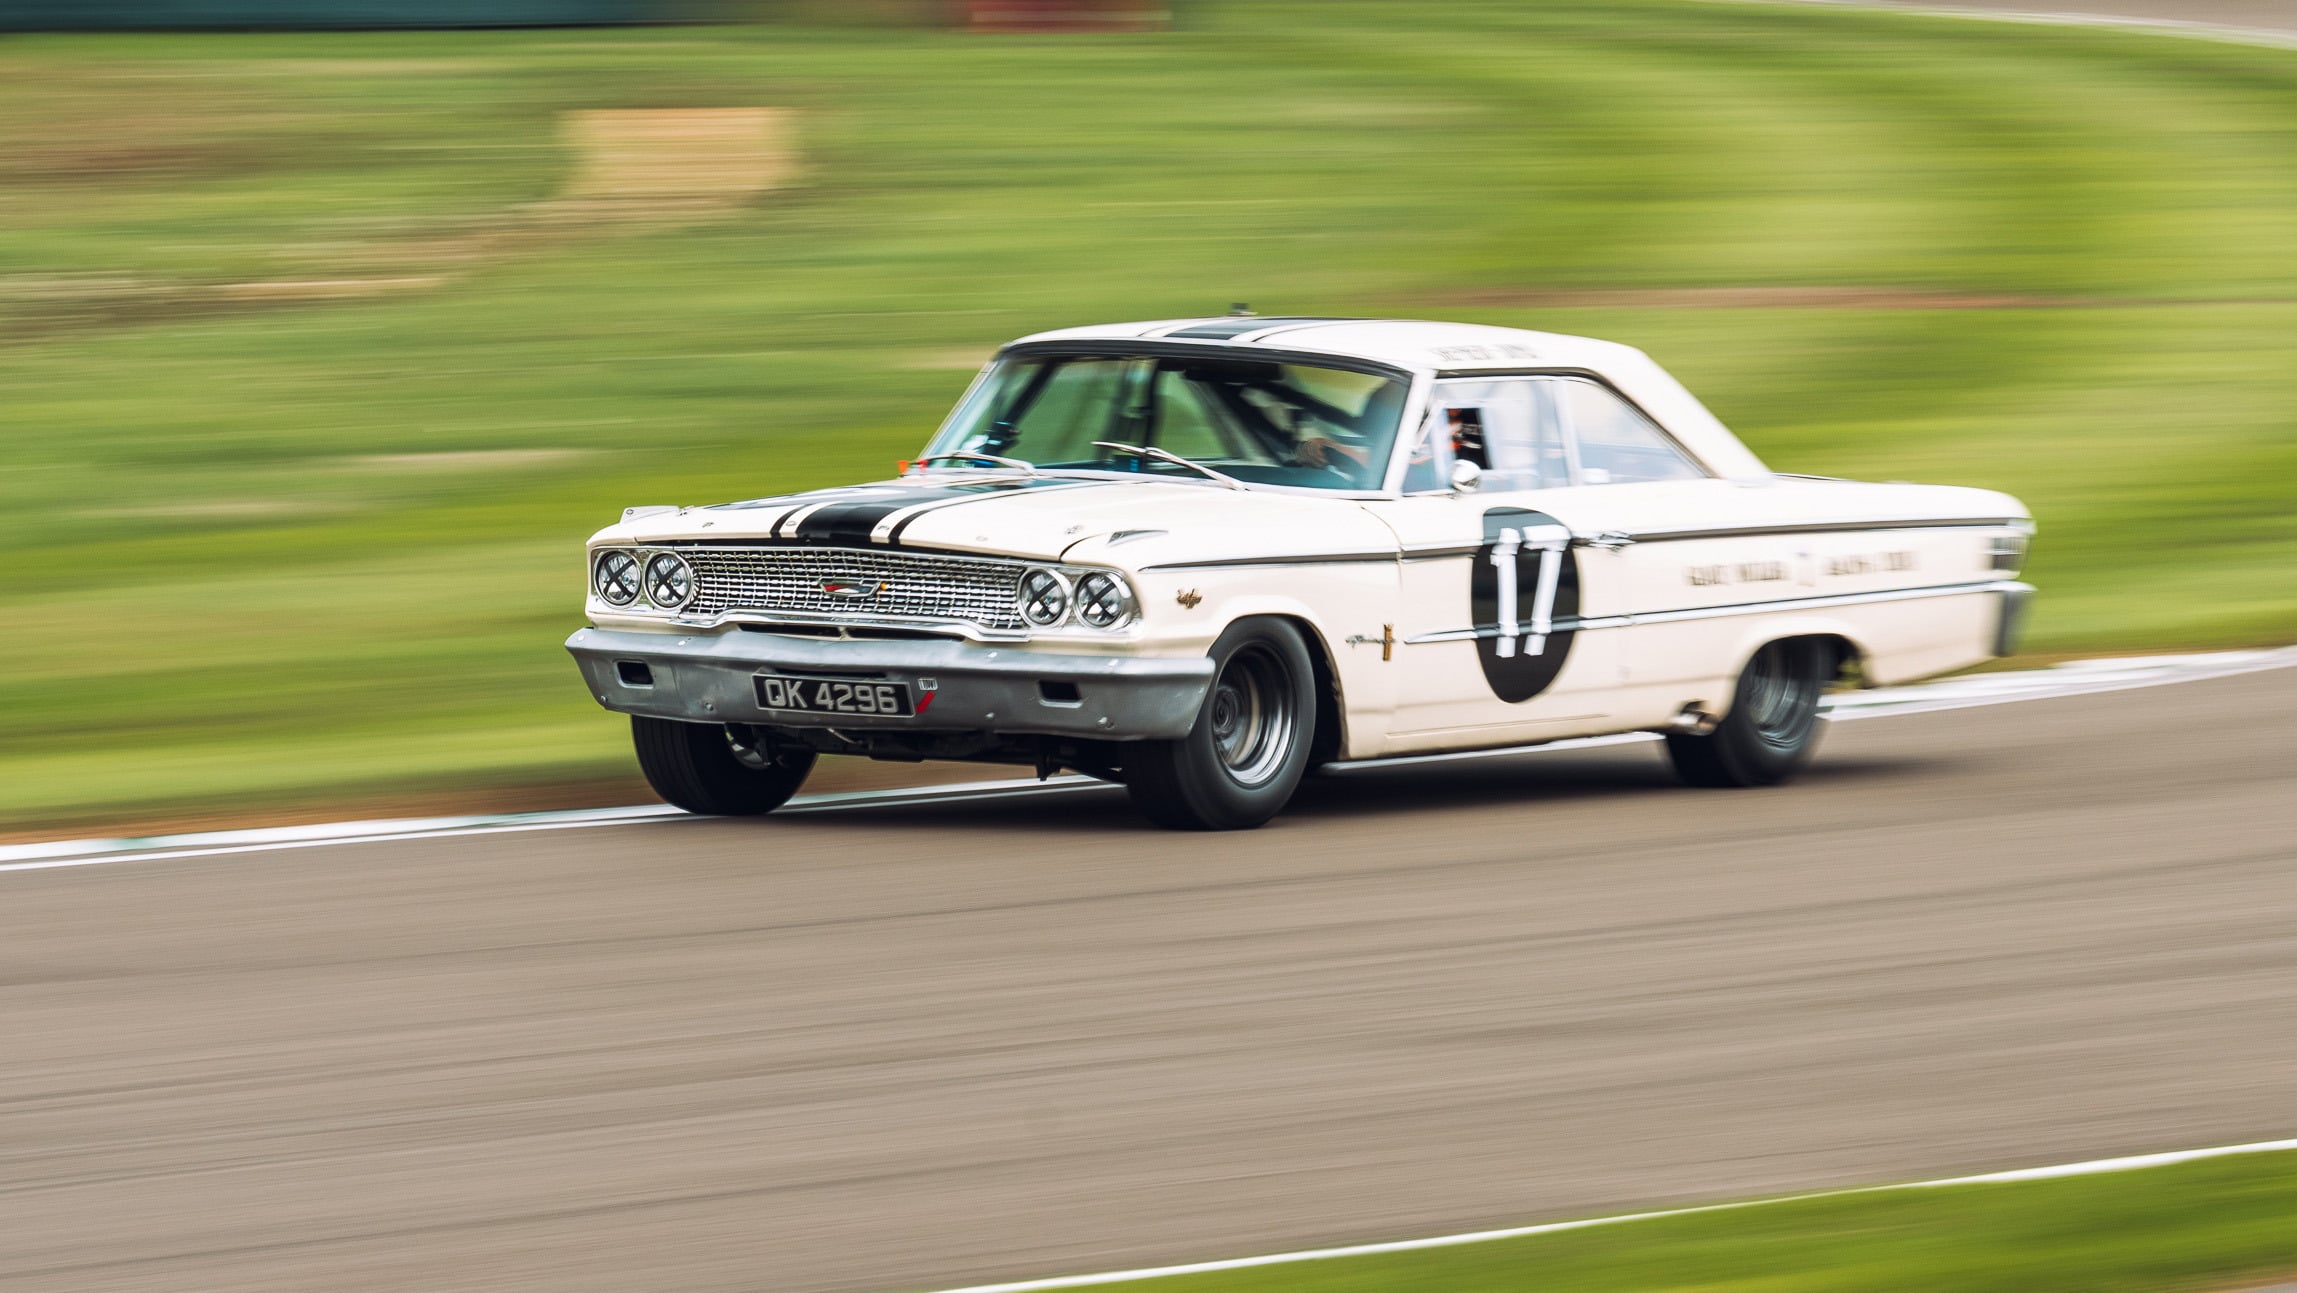
Race 14: St. Mary’s Trophy Part 2
It was an all-Ford front row of the grid for the Part 2 of the St. Mary’s Trophy. Fred Shepherd’s Ford Galaxie 500 dwarfed the Ford Lotus Cortinas of Max Chilton and Nick Sampson; the best the Cortina drivers could hope for was a good start followed by a defensive performance. They got the first part, Shepherd slipping back to third place, but the big capacity V8 soon reeled them in. Shepherd then had a lonely race to the flag, winning by 7.636 seconds.
The real action was further back, where Mini drivers Nick Swift and Nick Colburn were trying to find a way past the Jaguar Mk2 of Chris Ward. Sampson also joined the fray. Eventually, the nimble Minis found their opportunity. Profiting from traffic, they passed the Jaguar in quick succession followed by the Cortina. It was a frantic moment that even saw the Jaguar brush a Ford Galaxie back-marker while trying to defend. Ward later retired.
|
Position |
Driver |
Car |
|
1 |
Fred Shepherd |
Ford Galaxie 500 |
|
2 |
Max Chilton |
Ford Lotus Cortina Mk1 |
|
3 |
Richard Williams |
Ford Lotus Cortina Mk1 |
|
4 |
Nick Swift |
Morris Mini Cooper S |
|
5 |
Nick Sampson |
Alfa Romeo Giulia Sprint GTA |
St. Mary’s Trophy combined results
|
Position |
Drivers |
Car |
|
1 |
Romain Dumas / Fred Shepherd |
Ford Galaxie 500 |
|
2 |
Tom Ingram / Nick Sampson |
Ford Lotus Cortina Mk1 |
|
3 |
Jenson Button / Richard Williams |
Ford Lotus Cortina Mk1 |
|
4 |
Frank Stippler / Alex Furiani |
Alfa Romeo Giulia Sprint GTA |
|
5 |
Max Chilton / Tom Chilton |
Ford Lotus Cortina Mk1 |
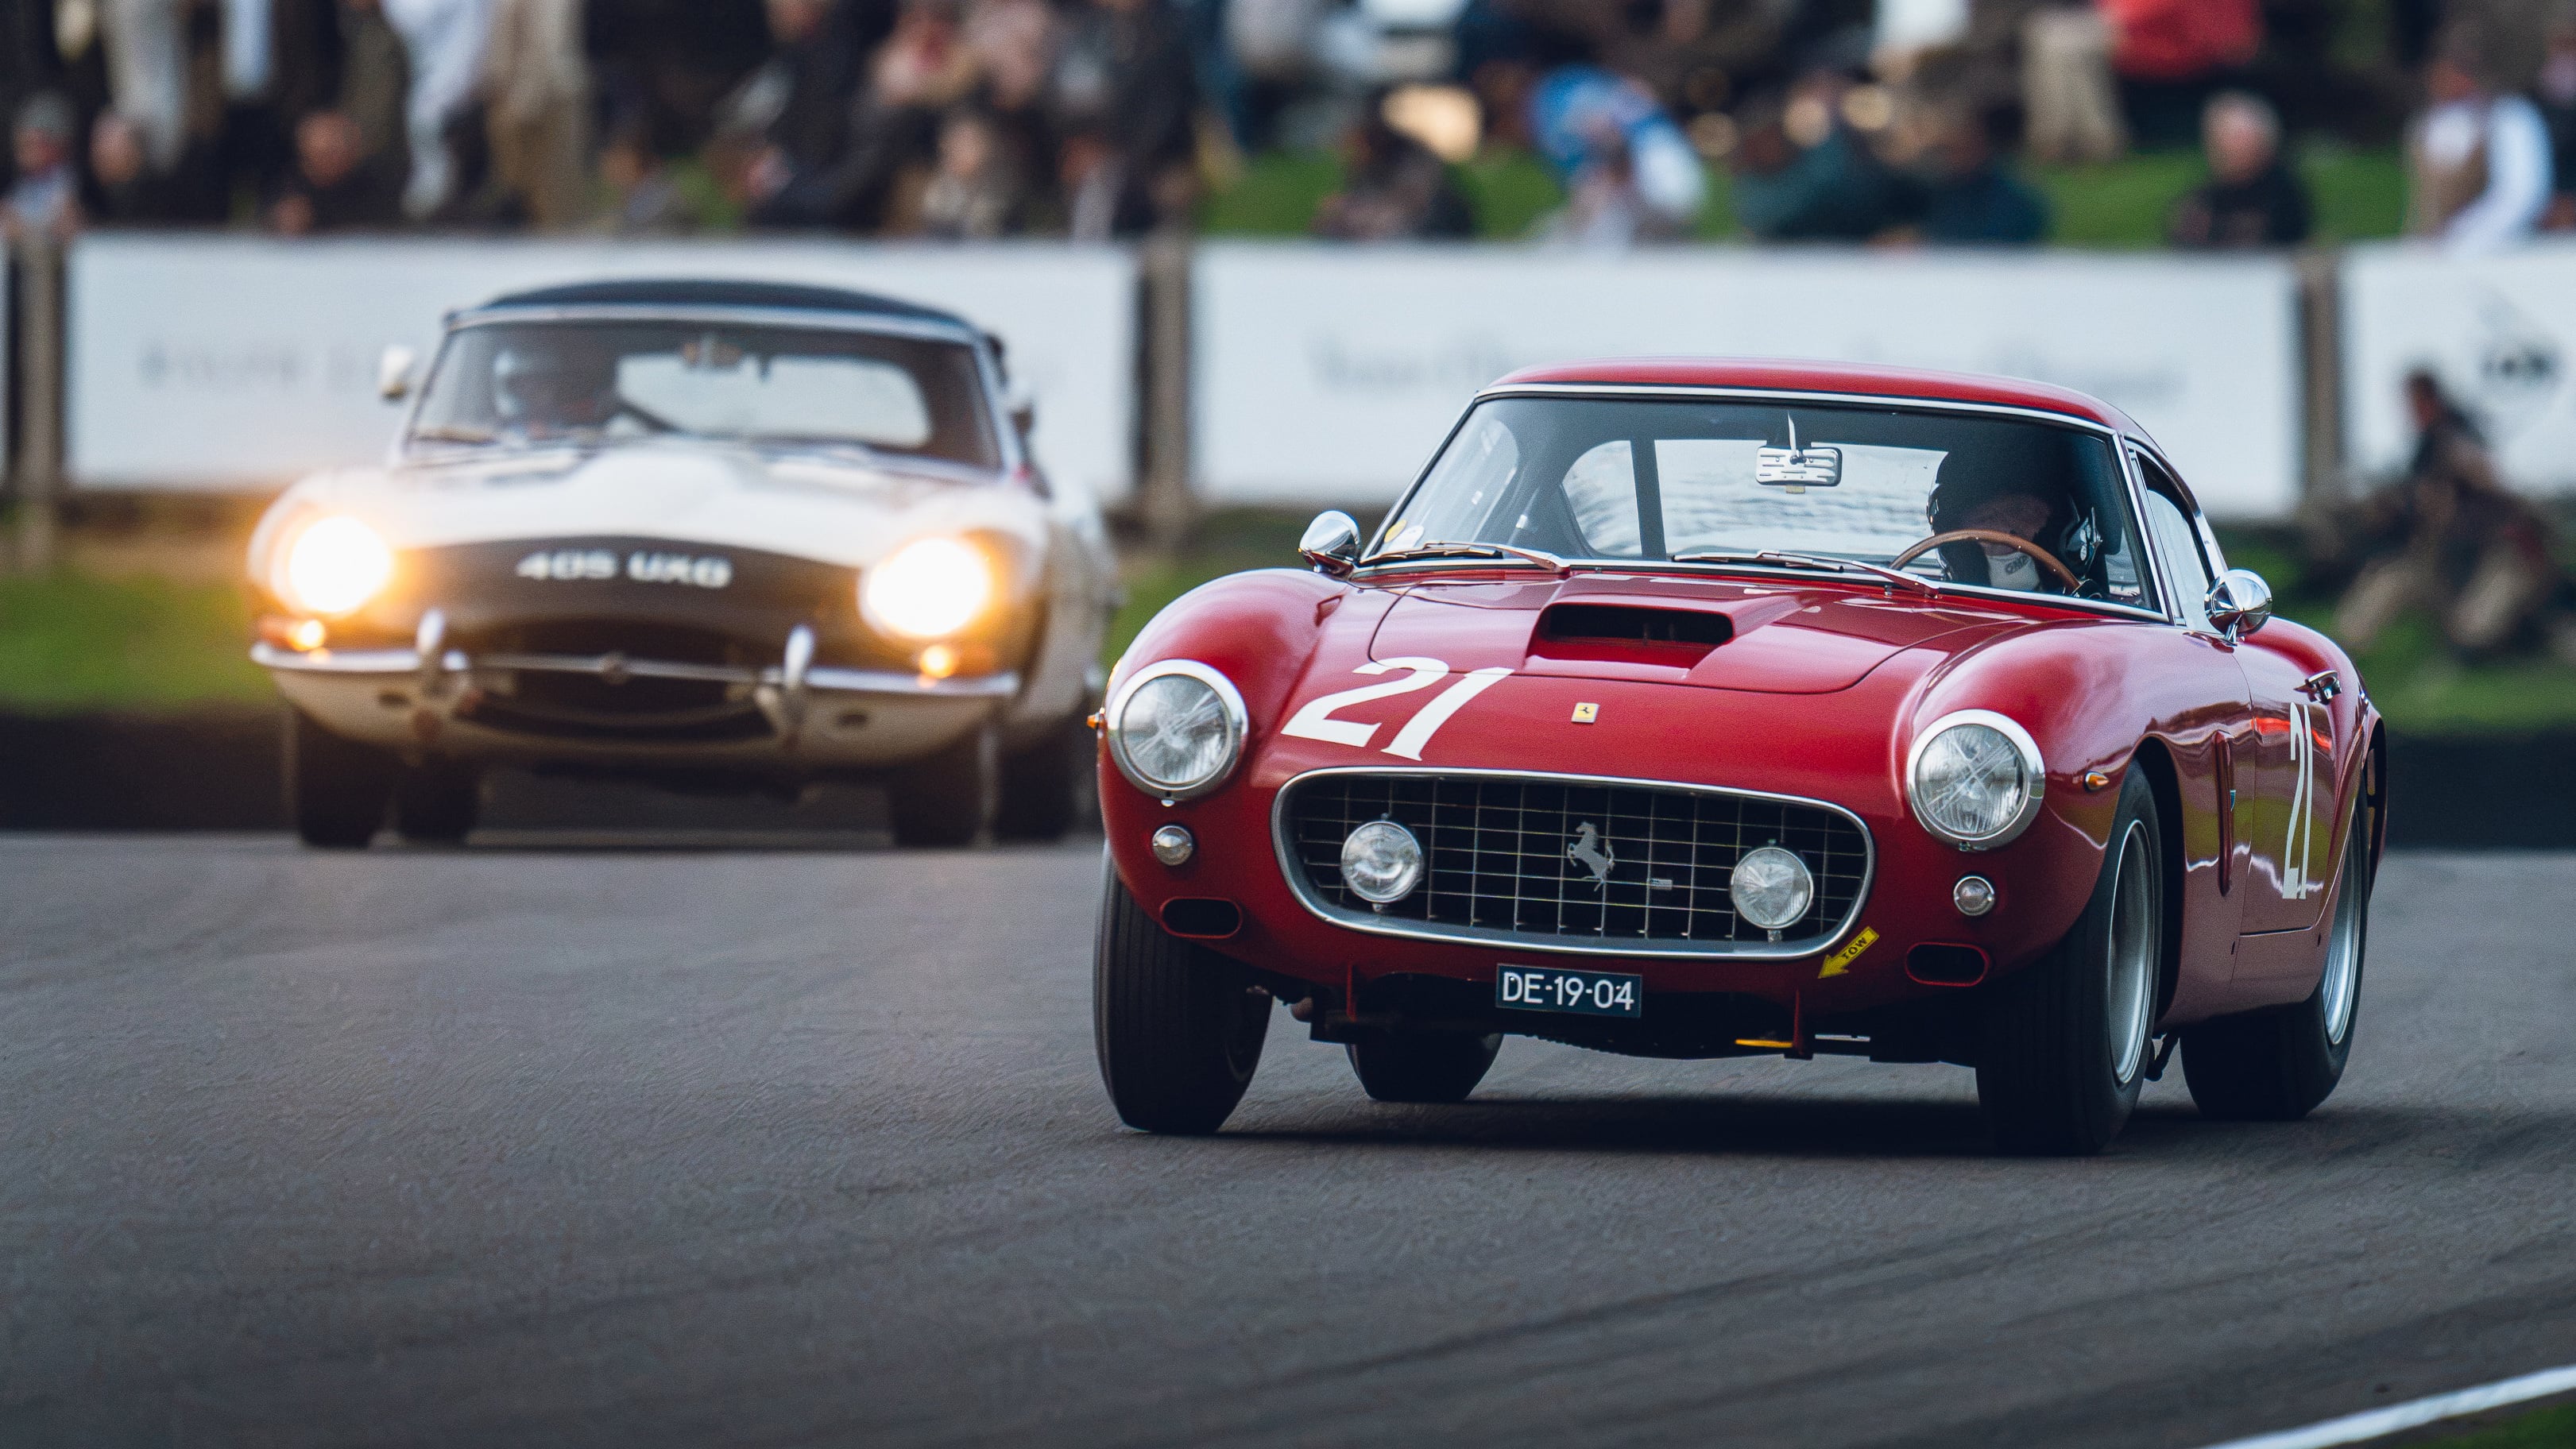
Race 2: Stirling Moss Memorial Trophy
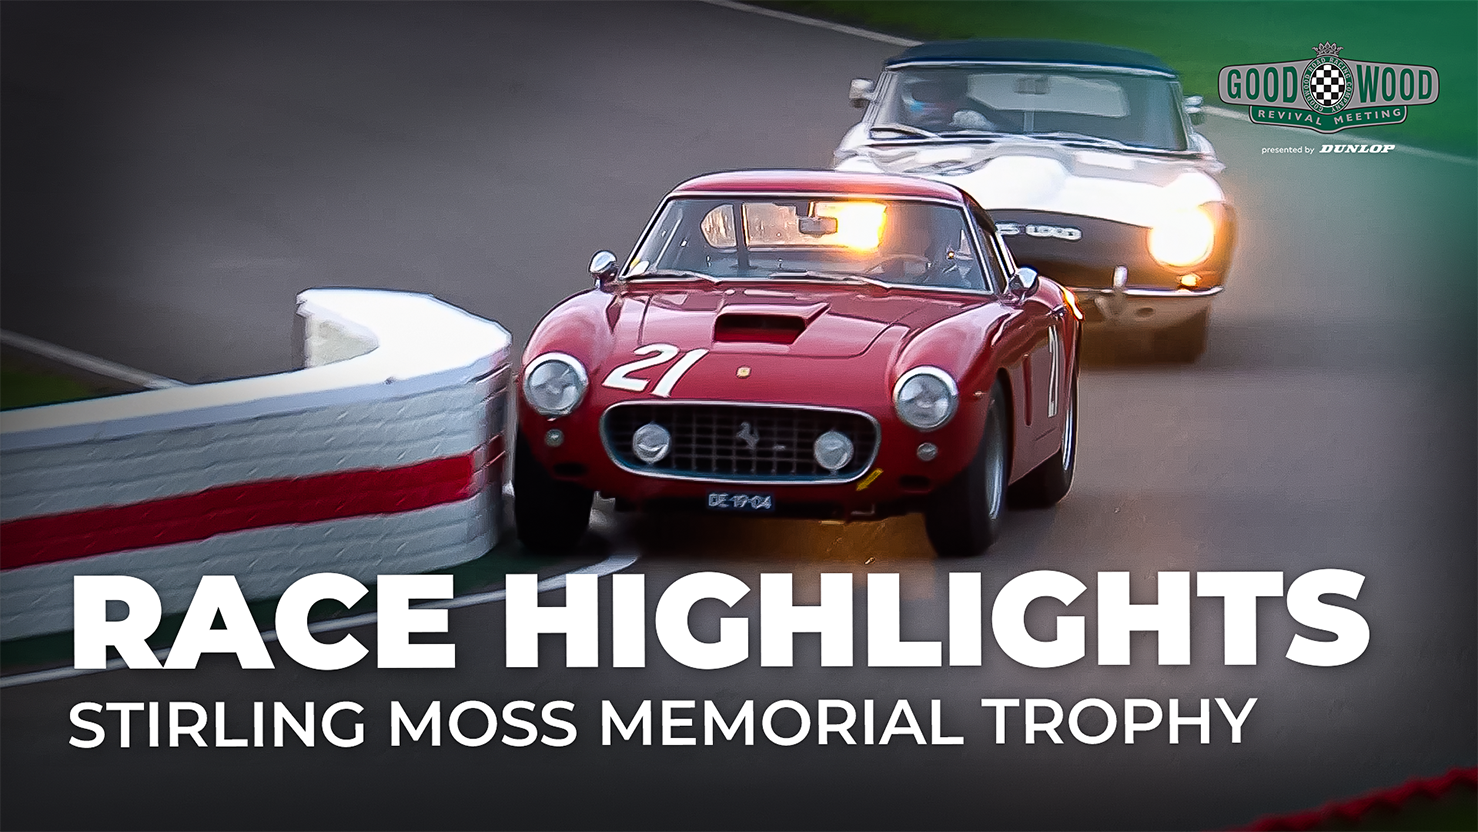
Alexander Van Der Lof and Yemer Buurman didn’t put a foot wrong in their Ferrari 250 GT SWB in the Stirling Moss Memorial Trophy that ran through the gloaming and into the dark. From second on the grid, Van Der Lof stormed into the lead and there the Ferrari stayed for the entirety of the race. After the driver changes, Yelmer Buurman continued in the same vein and settled into a comfortable lead.
Further back, Michael Gans and Horatio Fitz-Simon were working their Lotus Elite LX hard to battle through from fifth on the grid to second when the chequered flag fell. Along the way, Fitz-Simon set the fastest lap of the race in the flyweight Lotus. Chris Harris and Richard Kent rounded out the podium about their Jaguar E-Type, making it three very different cars at the sharp end.
|
Position |
Driver |
Car |
|
1 |
Alexander Van Der Lof / Yemer Buurman |
Ferrari 250 GT SWB/C |
|
2 |
Michael Gans / Horatio Fitz-Simon |
Lotus Elite LX |
|
3 |
Richard Kent / Chris Harris |
Jaguar E-Type |
|
4 |
Joe Macari / Tom Kristensen |
Ferrari 250 GT SWB |
|
5 |
Richard Meins / Rob Huff |
Jaguar E-Type |
Race 3: Chichester Cup
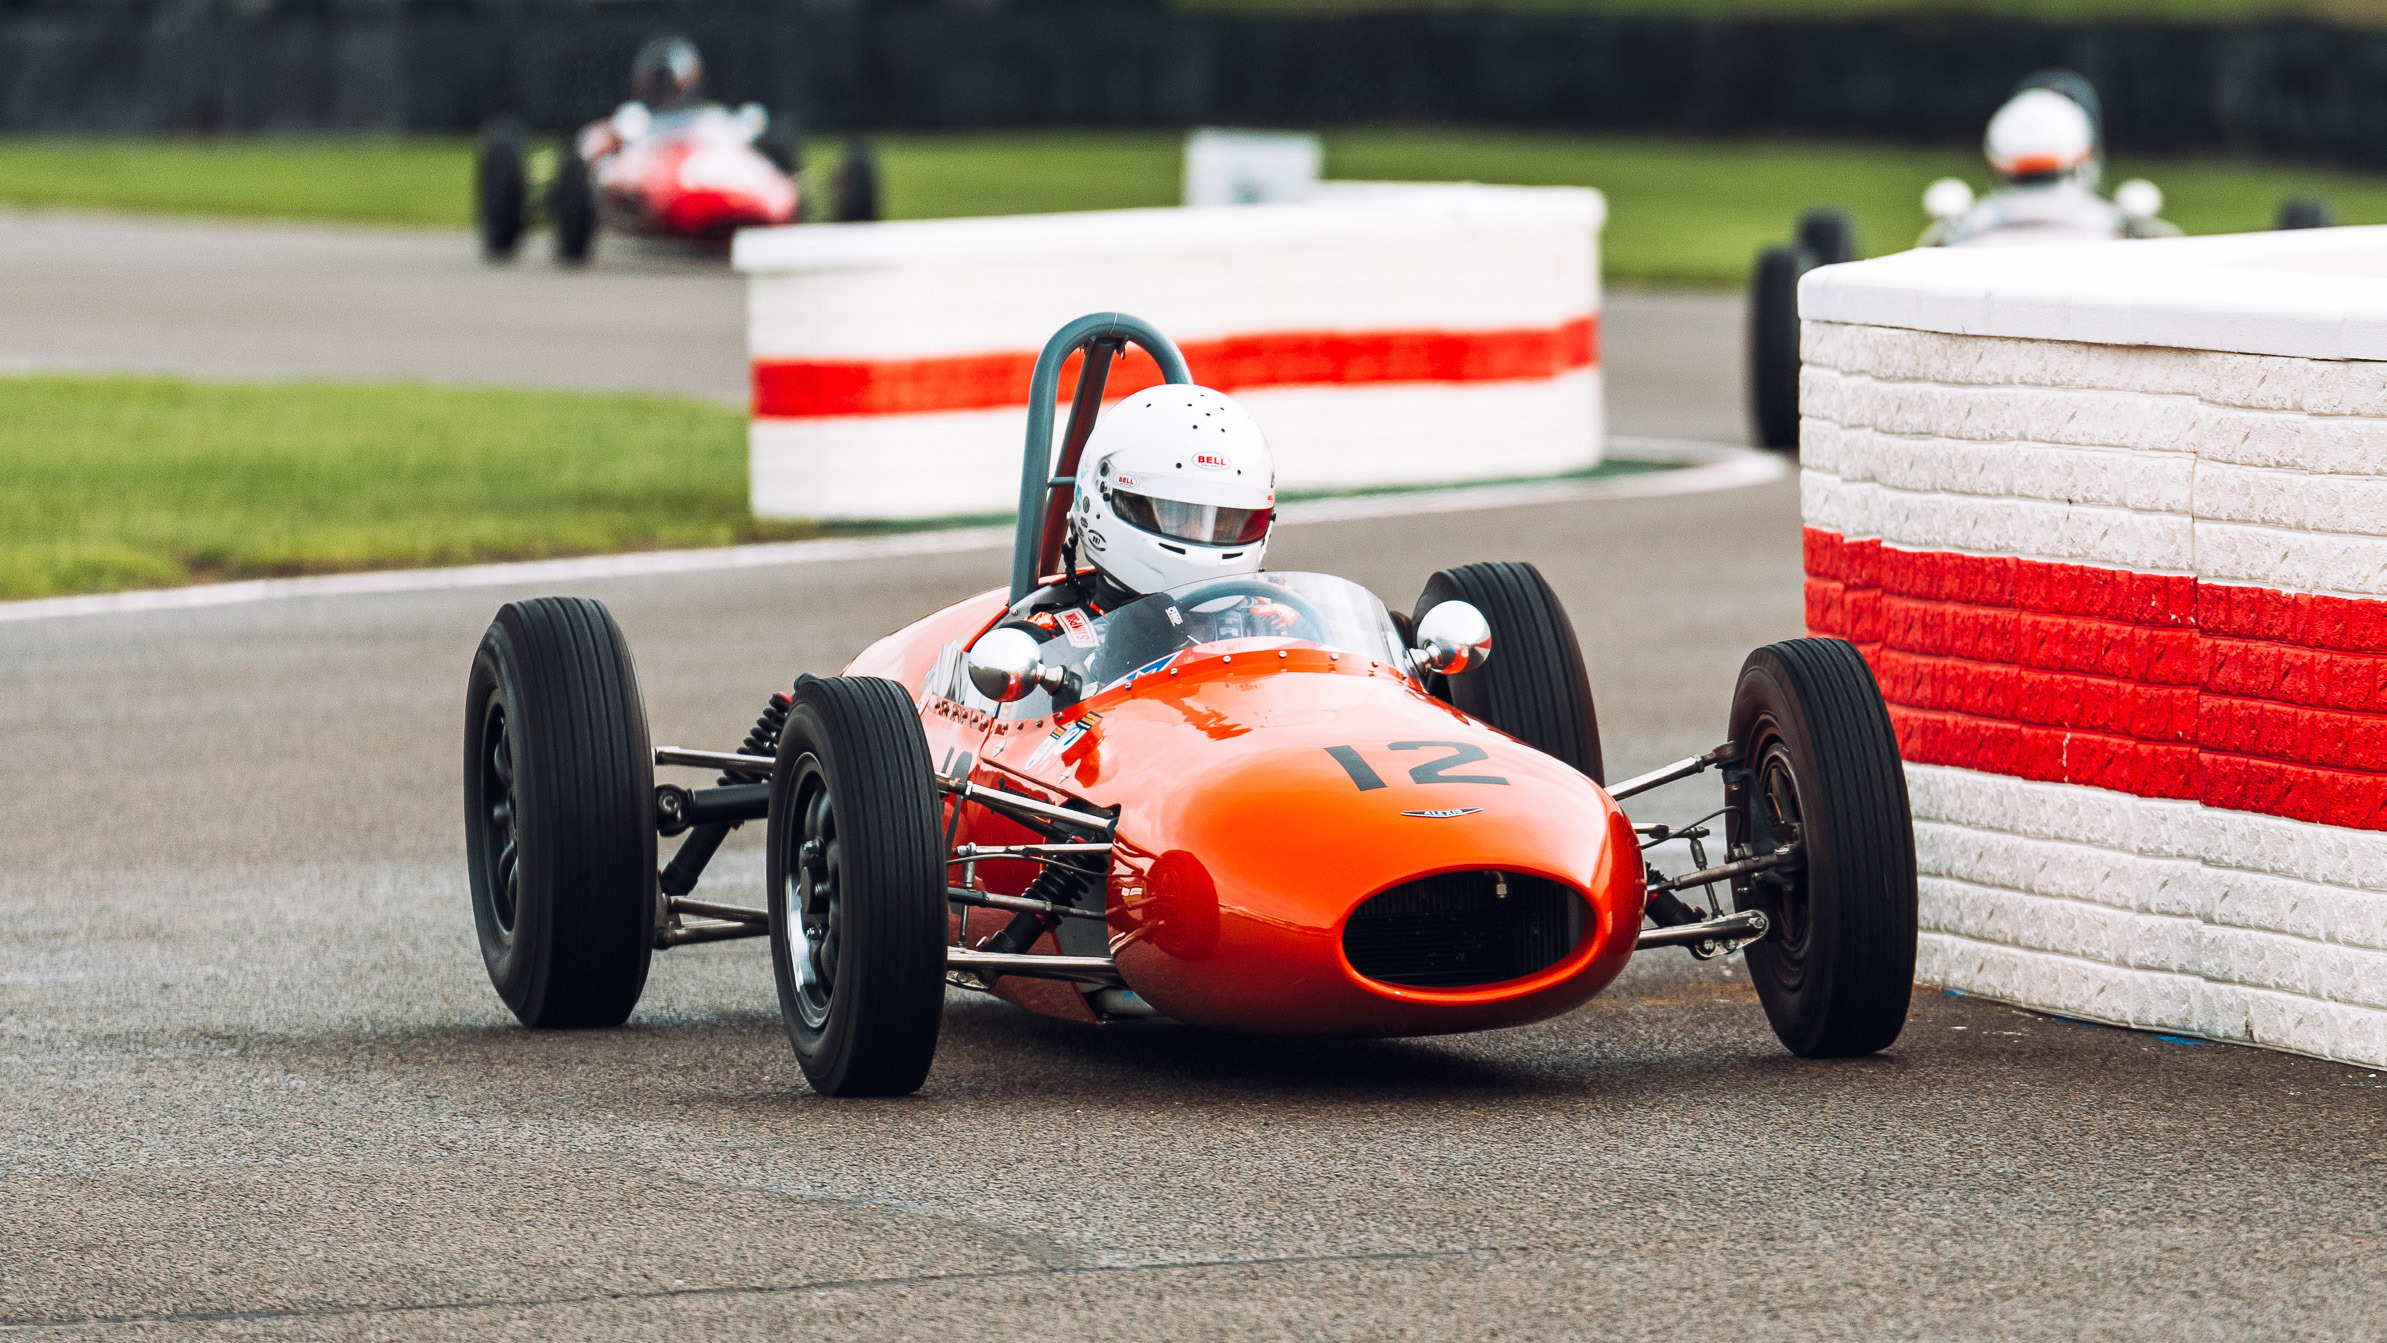
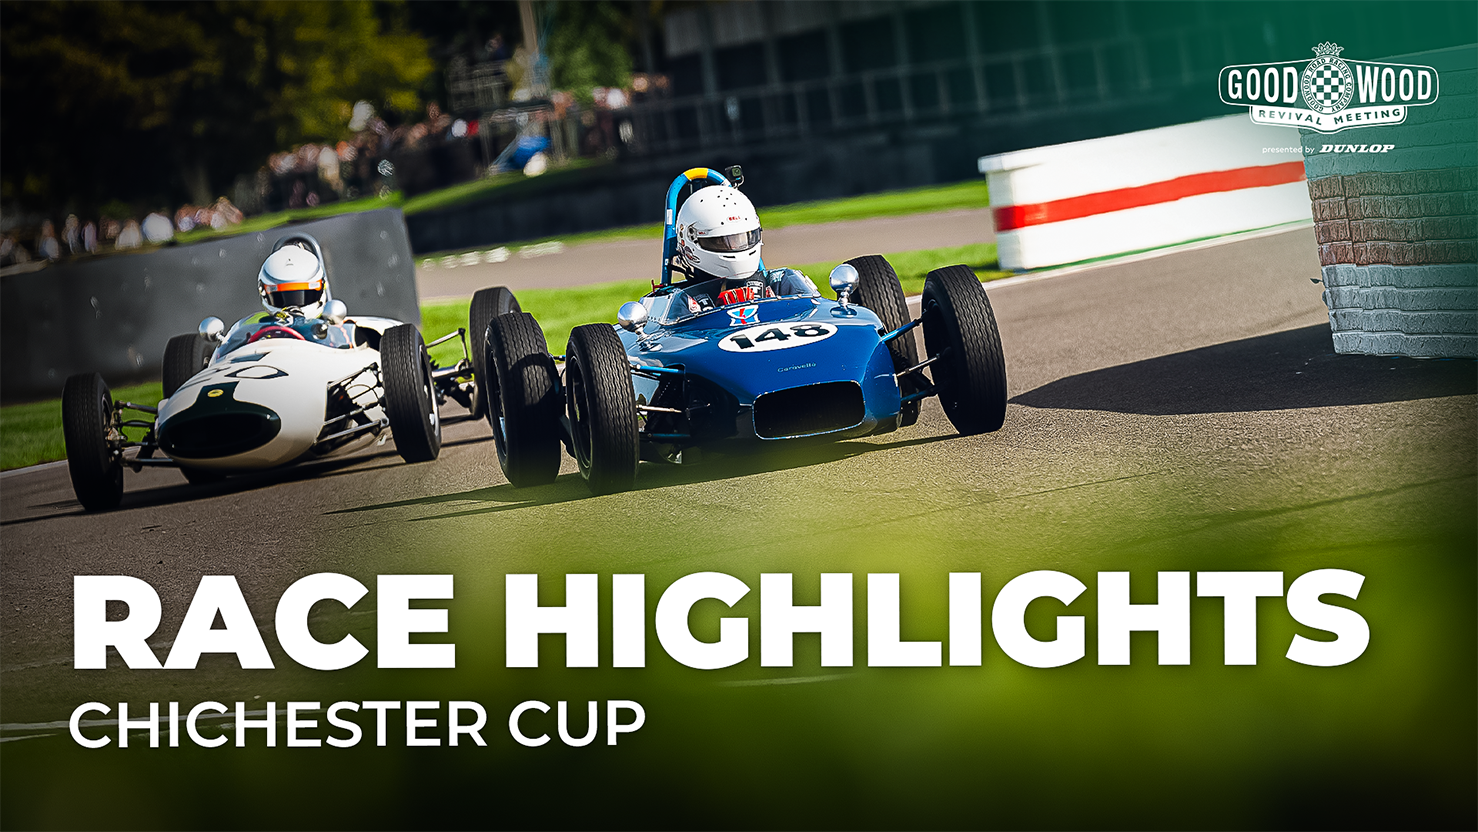
Overnight rain left the circuit incredibly greasy for Saturday morning’s Chichester Cup, forcing drivers into a high-stakes game of hide-and-seek to find rare dry patches of tarmac. Hicks found himself sliding onto the grass in the Caravelle Mk III early on, closely followed by Nathan Metcalfe, who spun his Lotus-Ford 20 wildly off-course onto the sodden turf.
At the front, a clash of titans erupted between Stuart Roach and Andrew Hibberd. The two previous winners locked horns in a ferocious battle for first place, but it was Roach who masterfully wrestled through the backmarkers and heavy traffic to break away, carving out a gap of over 40 seconds. By the time the chequered flag waved, Roach had sealed a masterclass victory, crossing the line with a spectacular one-minute lead over the rest of the pack.
|
Position |
Driver |
Car |
|
1 |
Stuart Roach |
Alexis-Ford Mk3 |
|
2 |
Andrew Hibberd |
Lotus-Ford 20 |
|
3 |
Joe Colassacco |
R.A.M Formula JR |
|
4 |
Nic Carlton-Smith |
Lotus-Ford 20 |
|
5 |
Nathan Metcalfe |
Lotus-Ford 20 |
Race 4: Brooklands Trophy
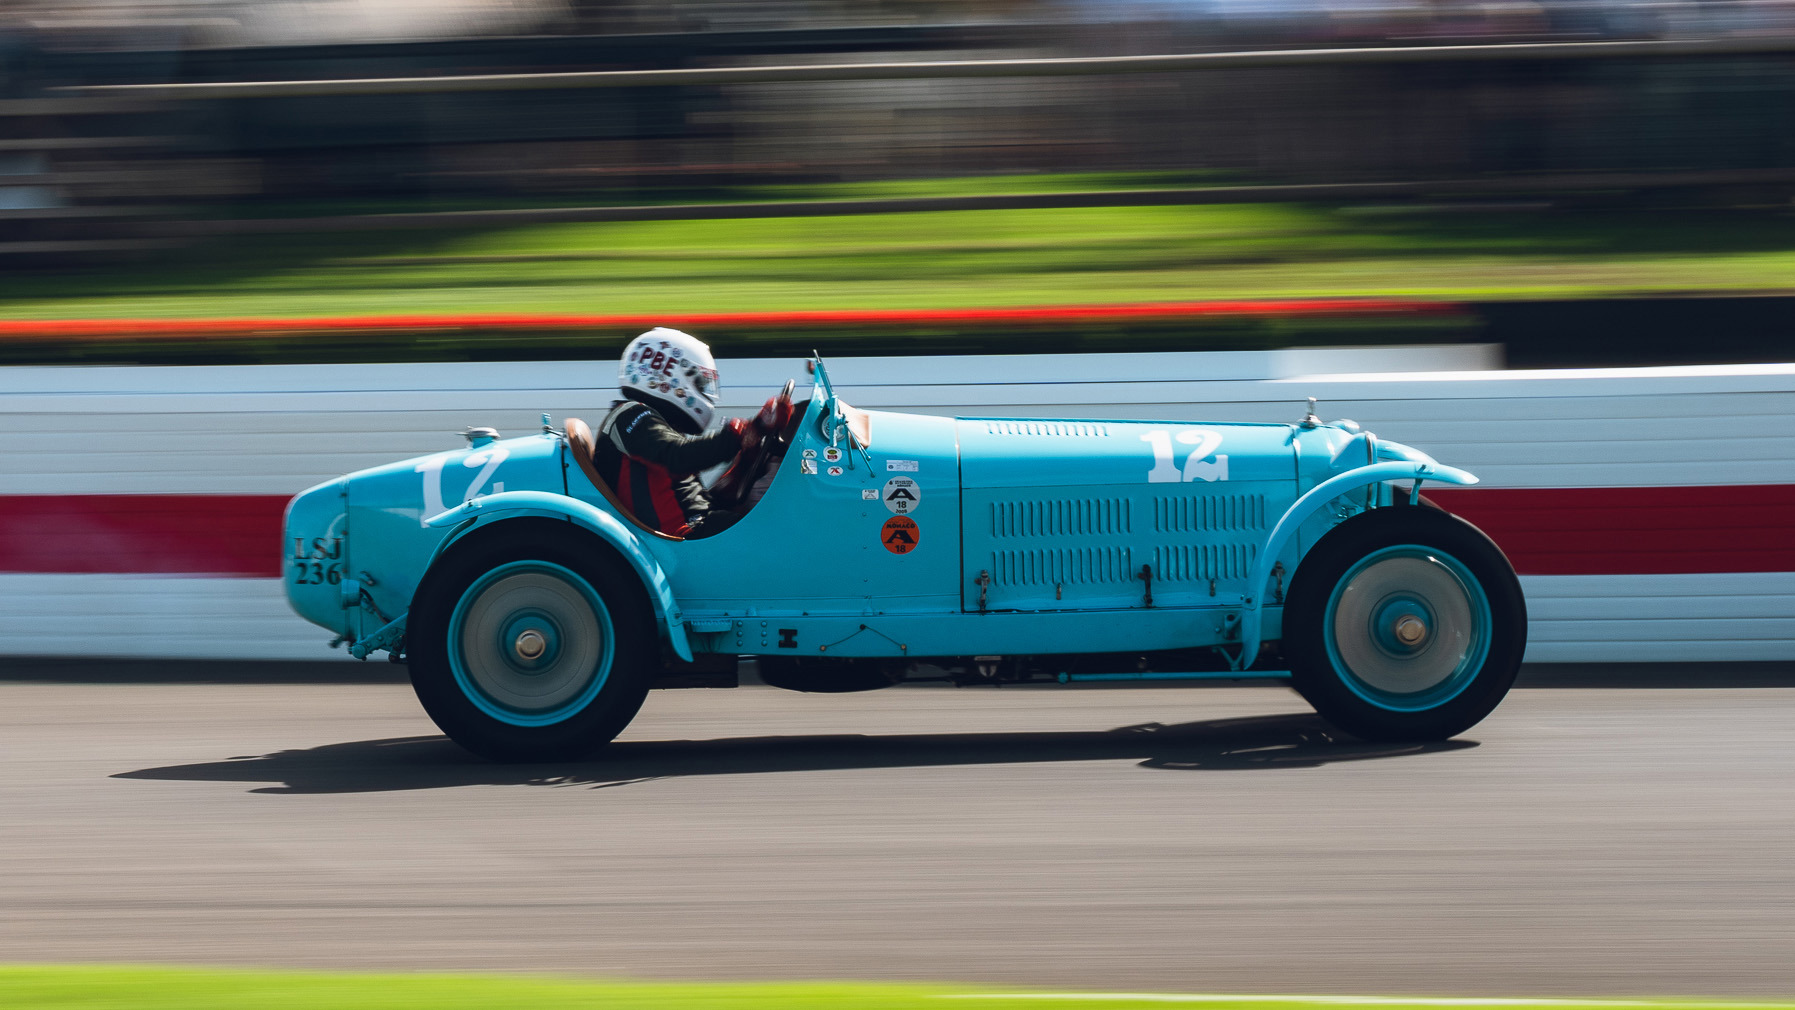
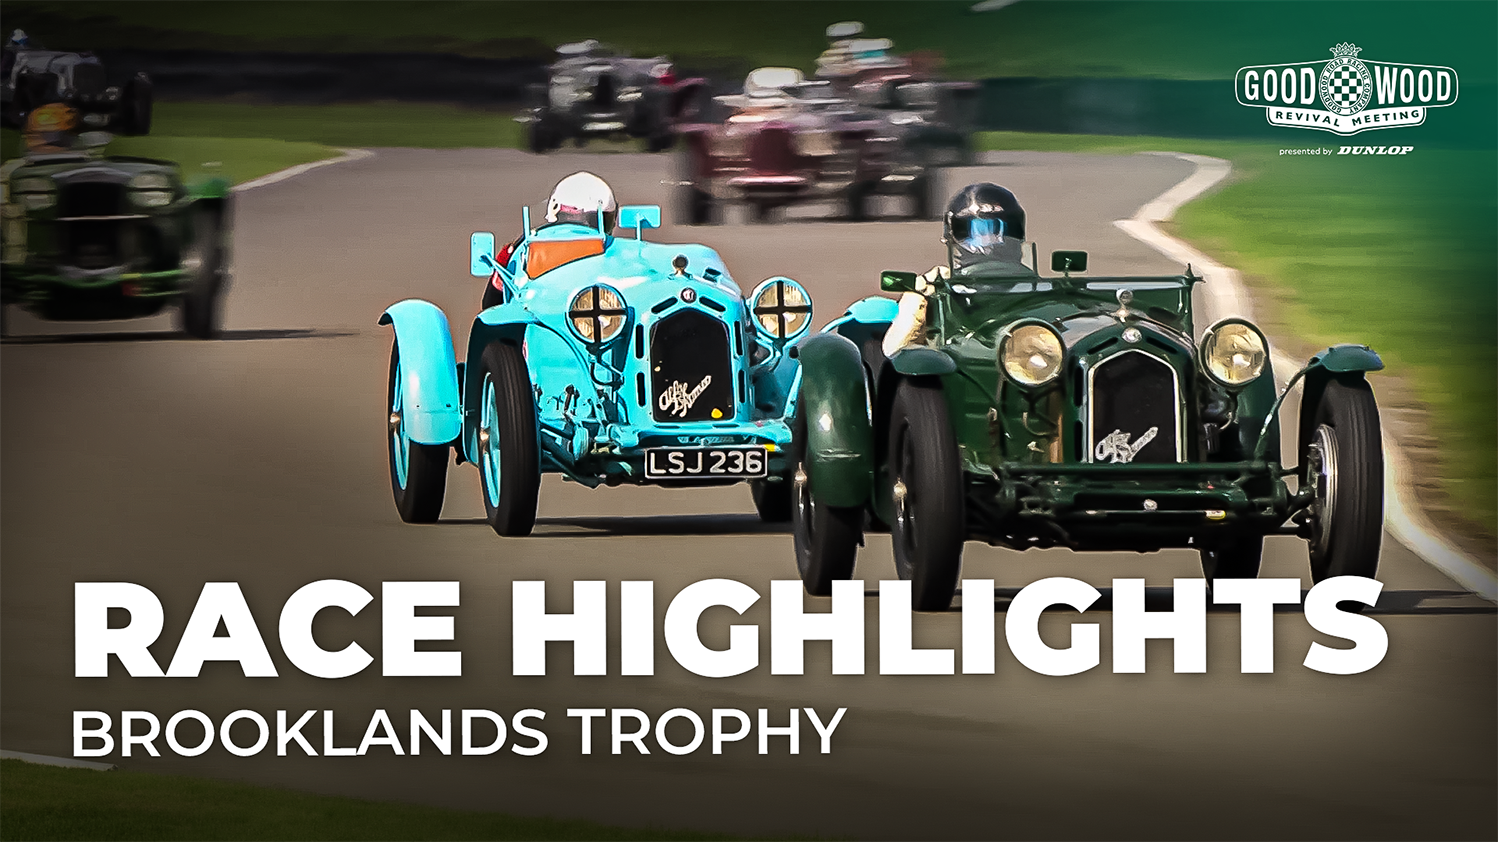
Motorsport is evolutionary, and as such, we wouldn’t have the racing cars we know and love today had it not been for the heroes who piloted cars like those of the Brooklands Trophy in-period. These pioneering racers were built from 1925 to 1940, but you wouldn’t have guessed that from the way they were being hustled in the race.
After the first lap Roderick Jack’s Alfa Romeo 8C 2300 Monza was in the lead, but less than a second behind was both Patrick Blakeney-Edwards’ 8C 2300 Monza and Robert Beebee’s Frazer Nash TT Replica. Over the following laps the two Alfa Romeos traded the top spot, with the less powerful but lighter Frazer Nash clinging on, ready and waiting to capitalise on a mistake ahead. Sure enough, at the end of lap four, Beebee’s Nash was able to cut past Jack’s Alfa Romeo, but in the end it was Blakeney-Edwards who took the victory, followed by Jack in second and Beebee in third.
|
Position |
Driver |
Car |
|
1 |
Patrick Blakeney-Edwards |
Alfa Romeo 8C 2300 Monza |
|
2 |
Roderick Jack |
Alfa Romeo 8C 2300 Monza |
|
3 |
Robert Beebee |
Frazer Nash TT Replica |
|
4 |
Alan Middleton |
Aston Martin Speed Model 'Red Dragon' |
|
5 |
Josef Rettenmaier |
Maserati 8C 3000 |
Race 5: Barry Sheene Memorial Trophy Part 1
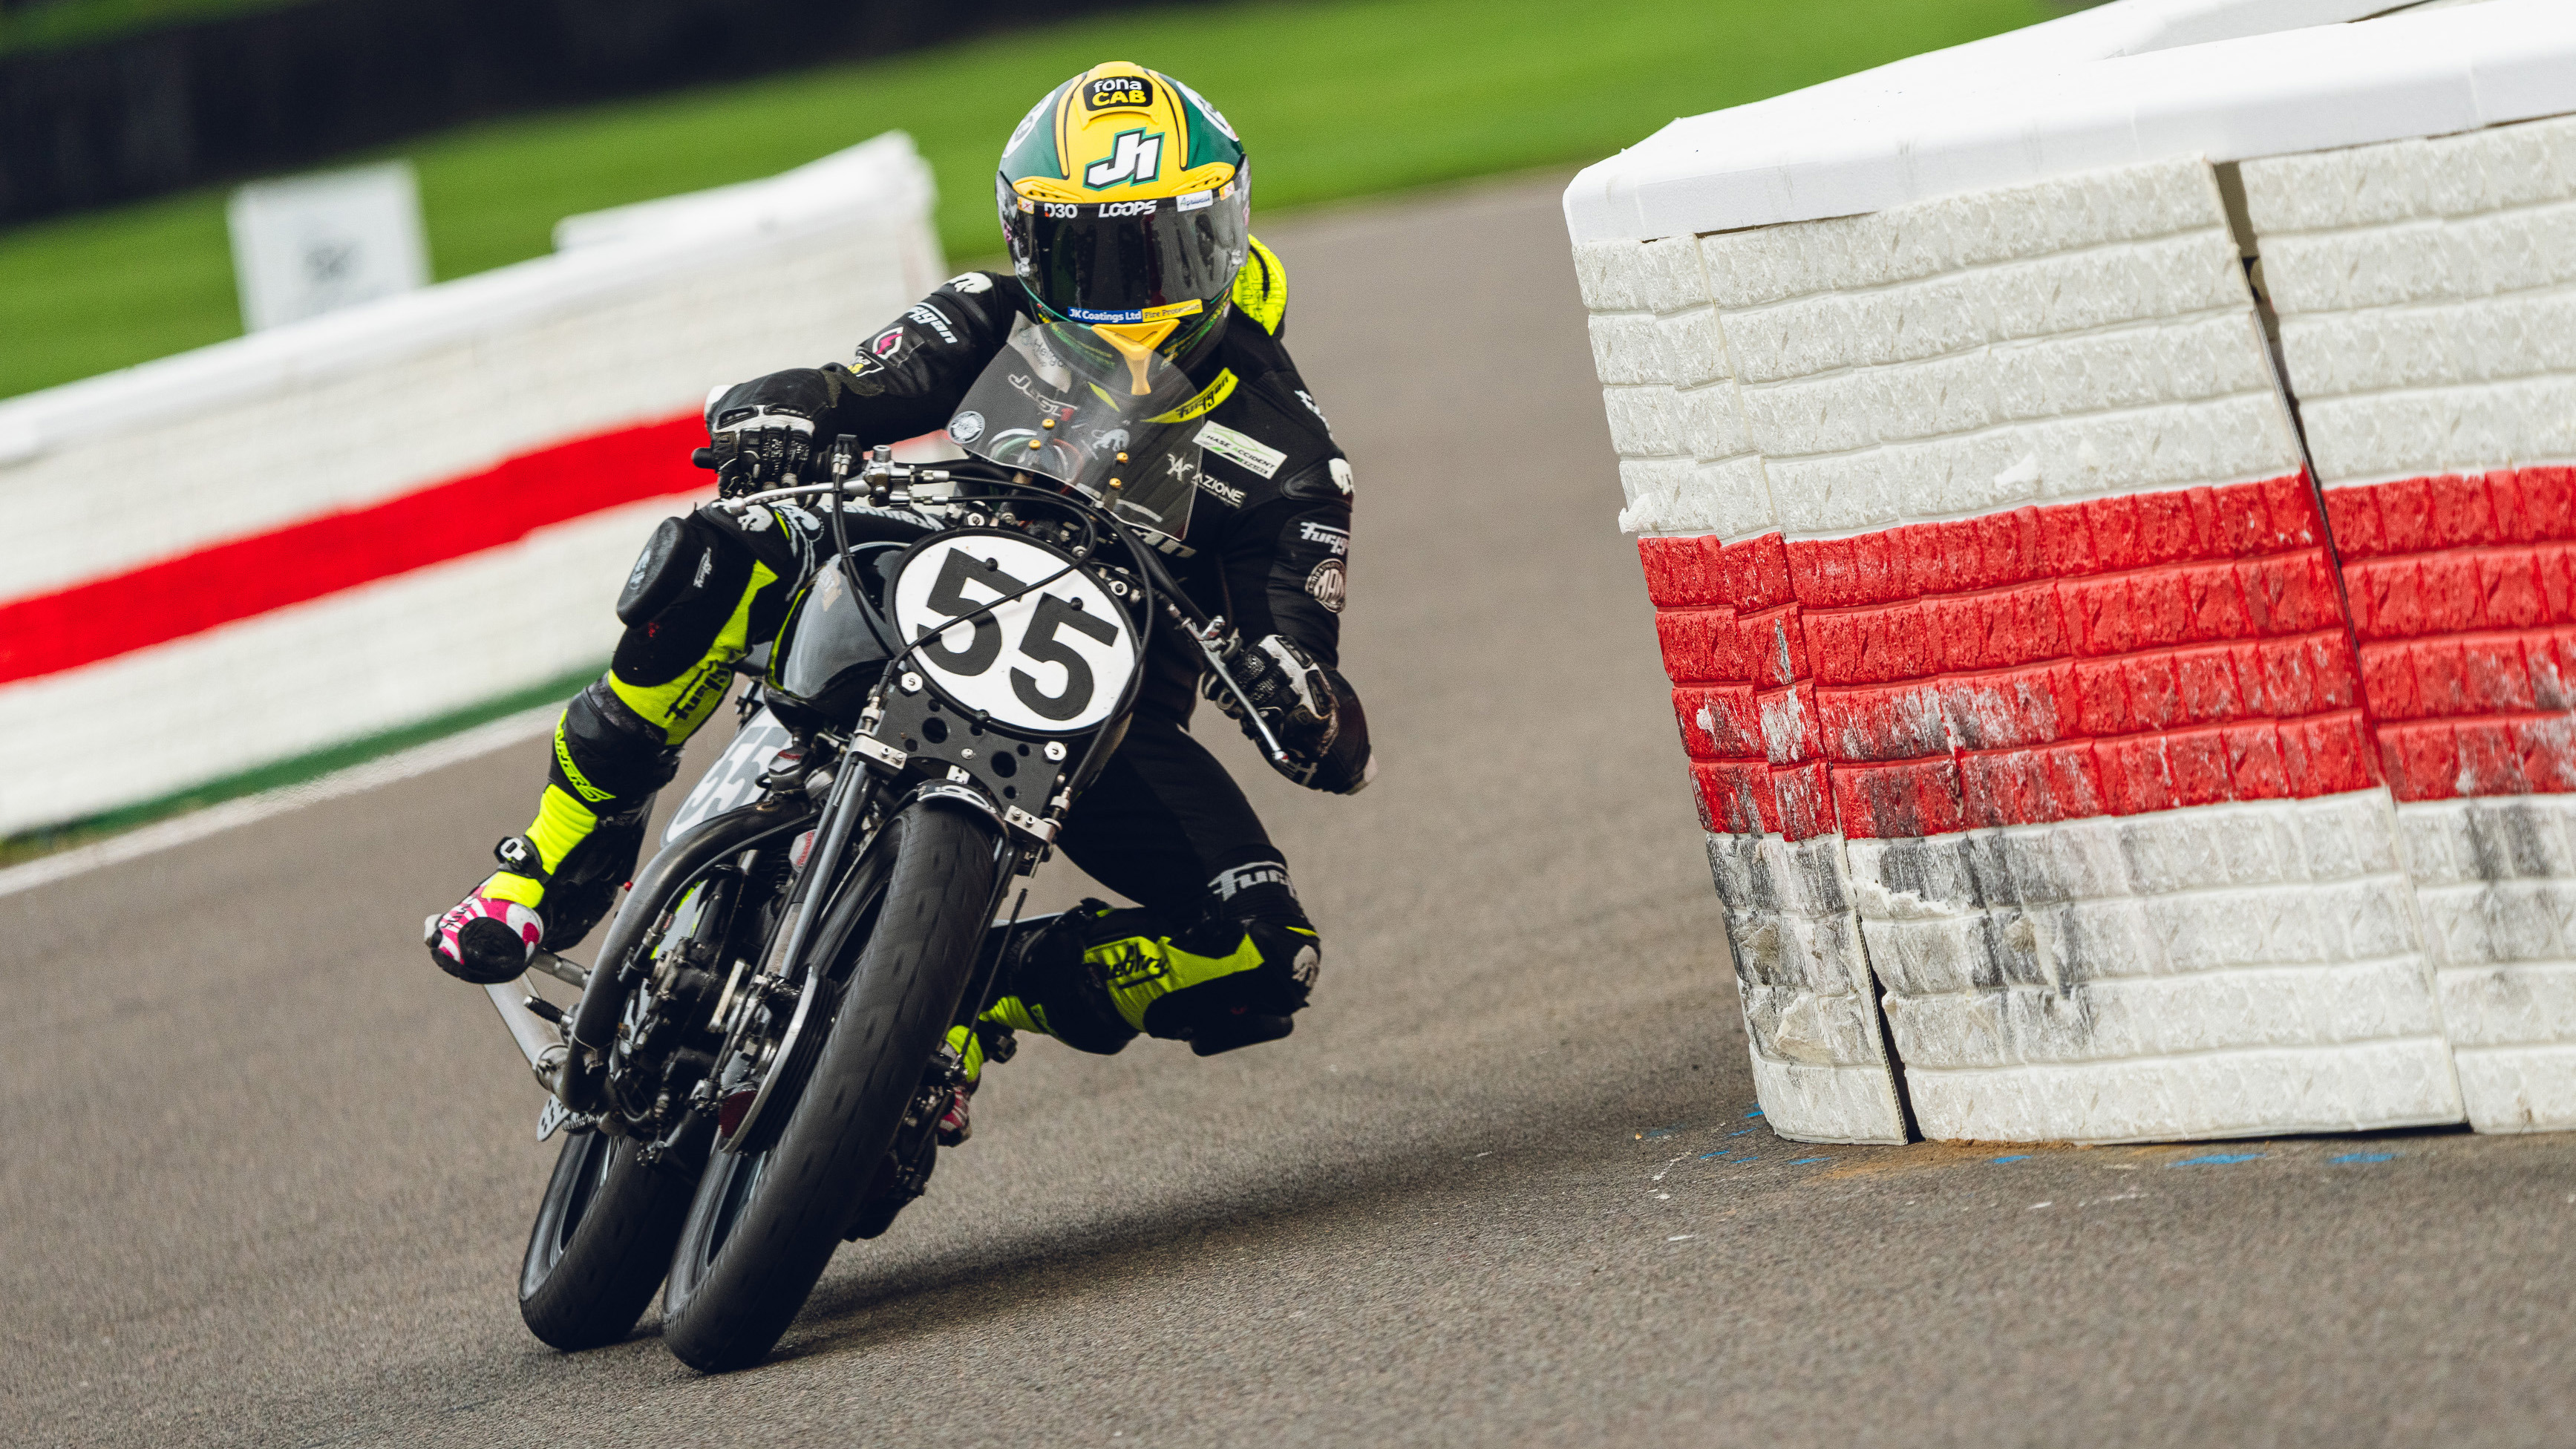
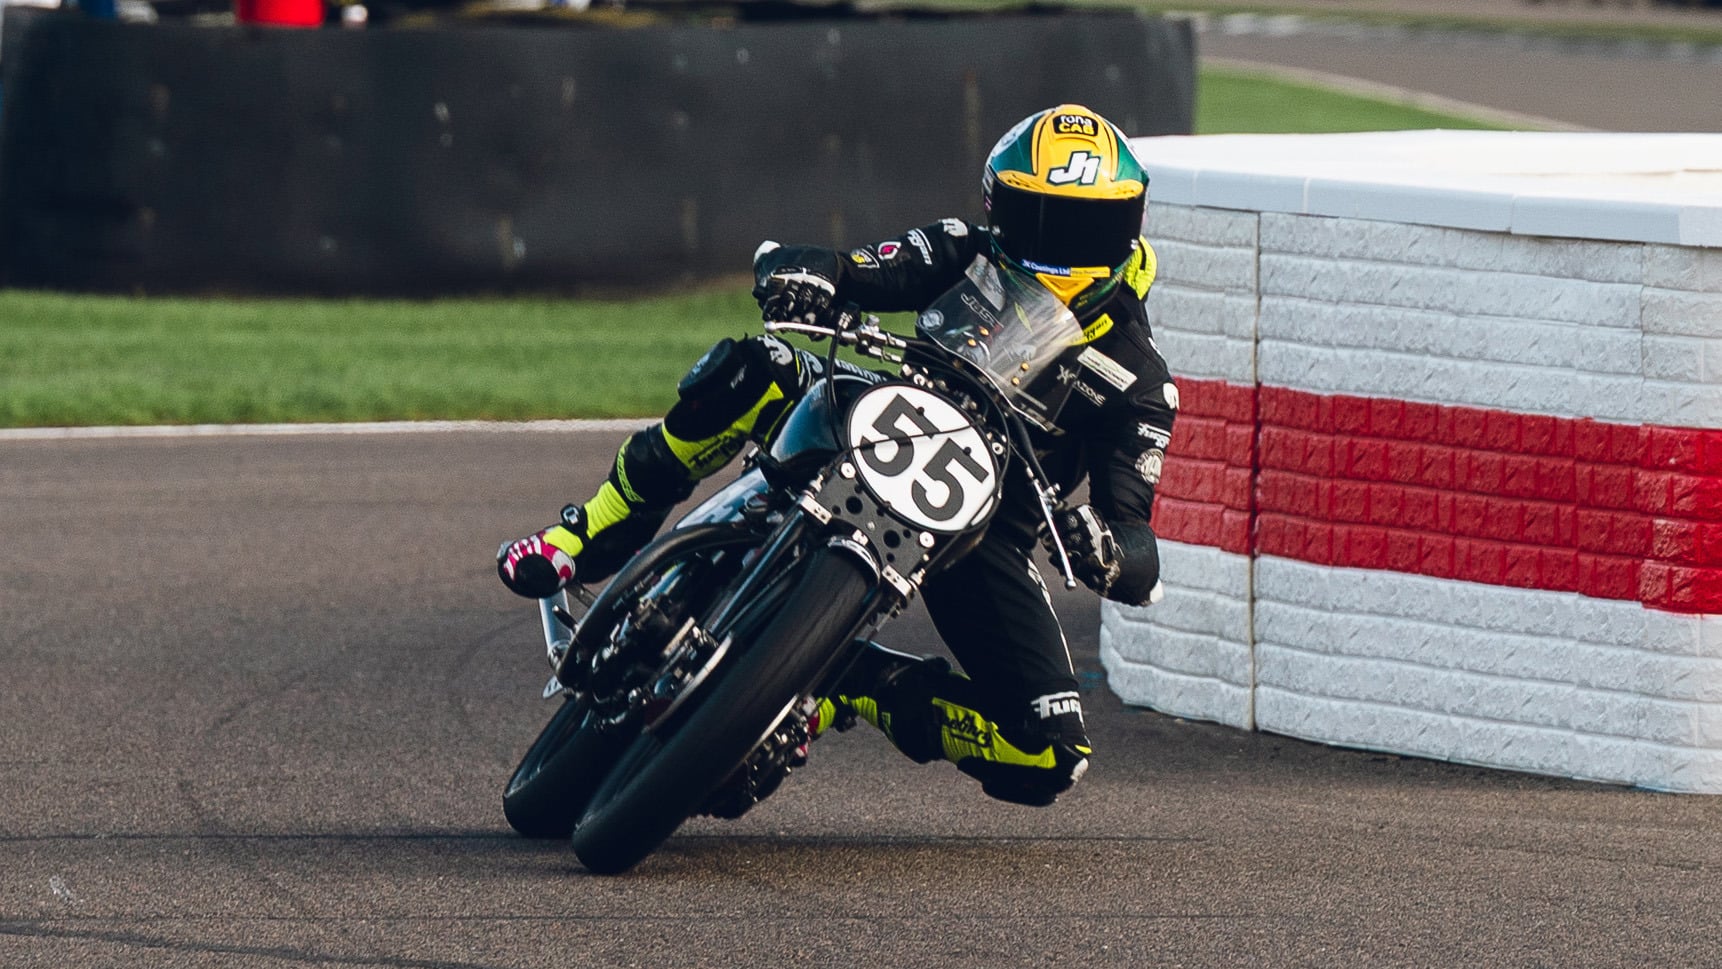
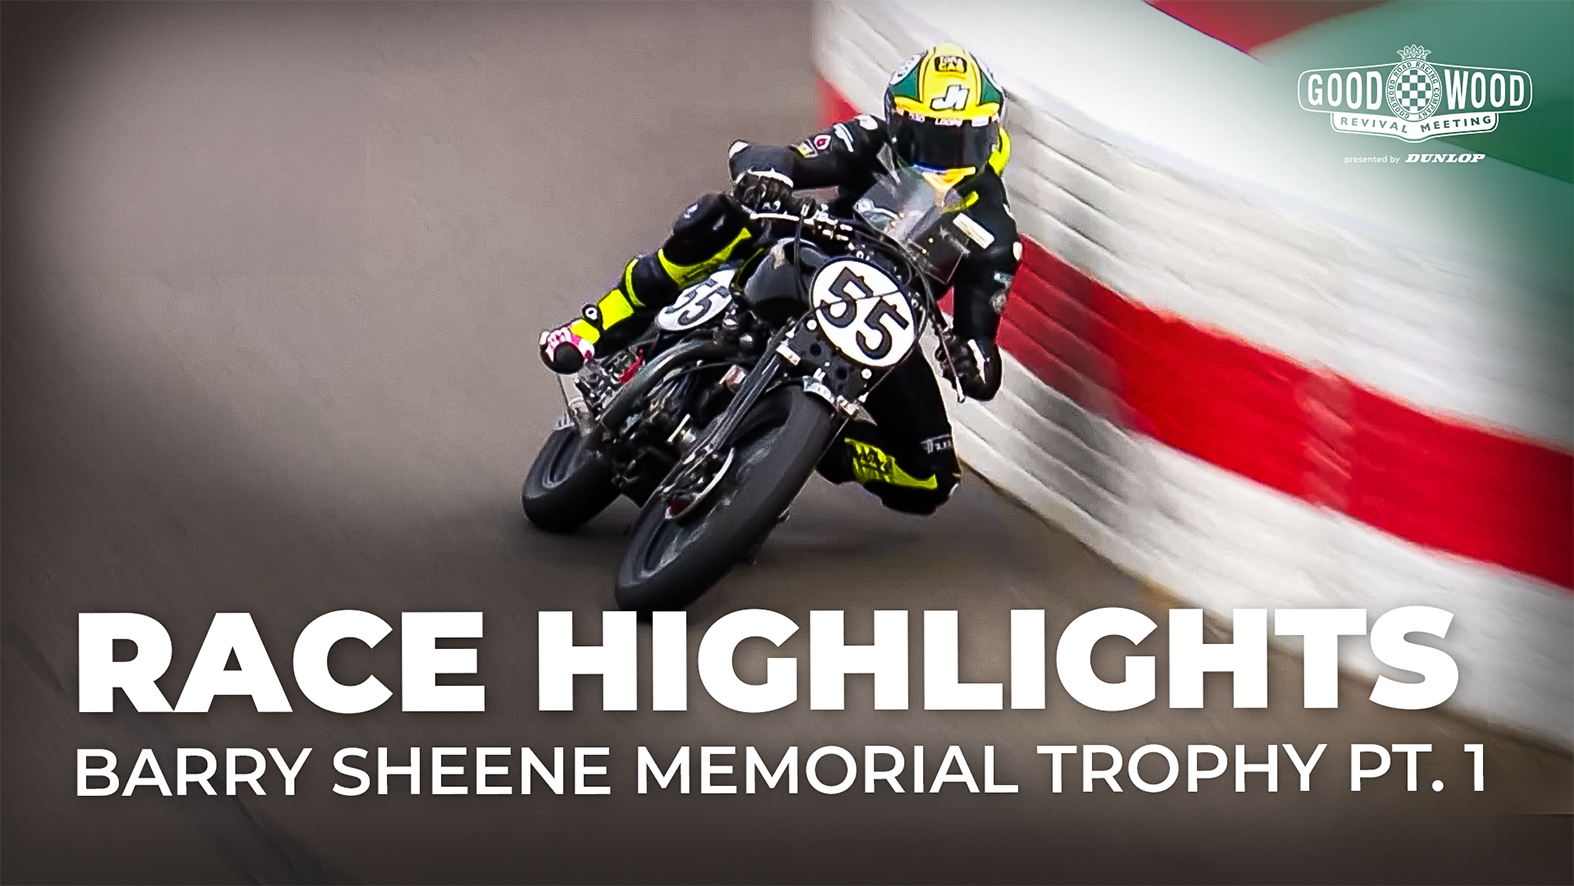
The Barry Sheene Memorial Trophy Part 1 delivered drama straight from its Le Mans-style start. The brutal nature of the circuit was immediately evident when the Vincent Comet Grey Flash failed to fire up, and as the flag dropped Hutchinson and Bain launched their Norton International into the lead. While the BMW R5SS Kompressor of Todd and Schwab barely moved, fortunes reversed at the first corner when the leading Norton suffered engine issues and fell back.
Mechanical attrition defined the afternoon. The Cooper and Barton Royal Enfield Meteor retired onto the grass after just three laps, joining a casualty list that claimed five major contenders, including a Velocette MSS 500 and a Vincent Rapide. Amidst the carnage, the Vincent Black Shadow of Booth-Amos and Kingham put on a masterclass, opening a 40-second gap over the recovering BMW Kompressor, as Bayliss and Taylor staged an extraordinary charge of their own on their Norton Manx, slicing from 12th to finish an impressive fourth.
|
Position |
Riders |
Bike |
|
1 |
Booth-Amos/ Kingham |
Vincent Black Shadow |
|
2 |
Todd/ Schwab |
BMW R57 Kompressor |
|
3 |
McGuiness/ Parker |
Norton Manx |
|
4 |
Bayliss/ English |
Norton Manx |
|
5 |
Sykes/ Tosolini |
Vincent Black Lightning |
Race 10: Barry Sheene Memorial Trophy Part 2
Part 2 of the Barry Sheene Memorial Trophy saw Stuart Tonge get off to the best start, though Glen English (Norton Manx) responded well and was leading the race by the end of the first lap. Tony Perkin (Velocette MSS 500) kept the pressure on, with Parker (Norton Manx) in third place until he was passed by Mark Taylor on his way to second.
When the pit window opened for rider changes, the lead bike stayed out longest. This didn’t play out well for English, who came off at the chicane before the chance to hand over to Troy Bayliss. Eugene Laverty took over from Perkin at the same time Nathan Harrison took over from Taylor, falling from first and second places to third and fourth. After the rider changes had settled down, Race 1 winner Tom Booth-Amos established a decisive lead, John McGuiness crossed the line on the first single-cylinder bike. Adam Child came home third on his Matchless G80 shared with Tonge.
|
Position |
Rider |
Bike |
|
1 |
Booth-Amos/Kingham |
Vincent Black Shadow |
|
2 |
McGuinness/Parker |
Norton Manx |
|
3 |
Child/Tonge |
Matchless G80CS |
|
4 |
Harrison/Taylor |
Norton Manx International |
|
5 |
Mainwaring-Smart/Folch-Rusinol Jr |
BMW R57 Kompressor |
Barry Sheene Memorial Trophy combined result
|
Position |
Rider |
Bike |
|
1 |
Booth-Amos/Kingham |
Vincent Black Shadow |
|
2 |
McGuinness/Parker |
Norton Manx |
|
3 |
Child/Tonge |
Matchless G80CS |
|
4 |
Todd/Schwab |
BMW R57 Kompressor |
|
5 |
Harrison/Taylor |
Norton Manx International |
Race 6: Lavant Cup
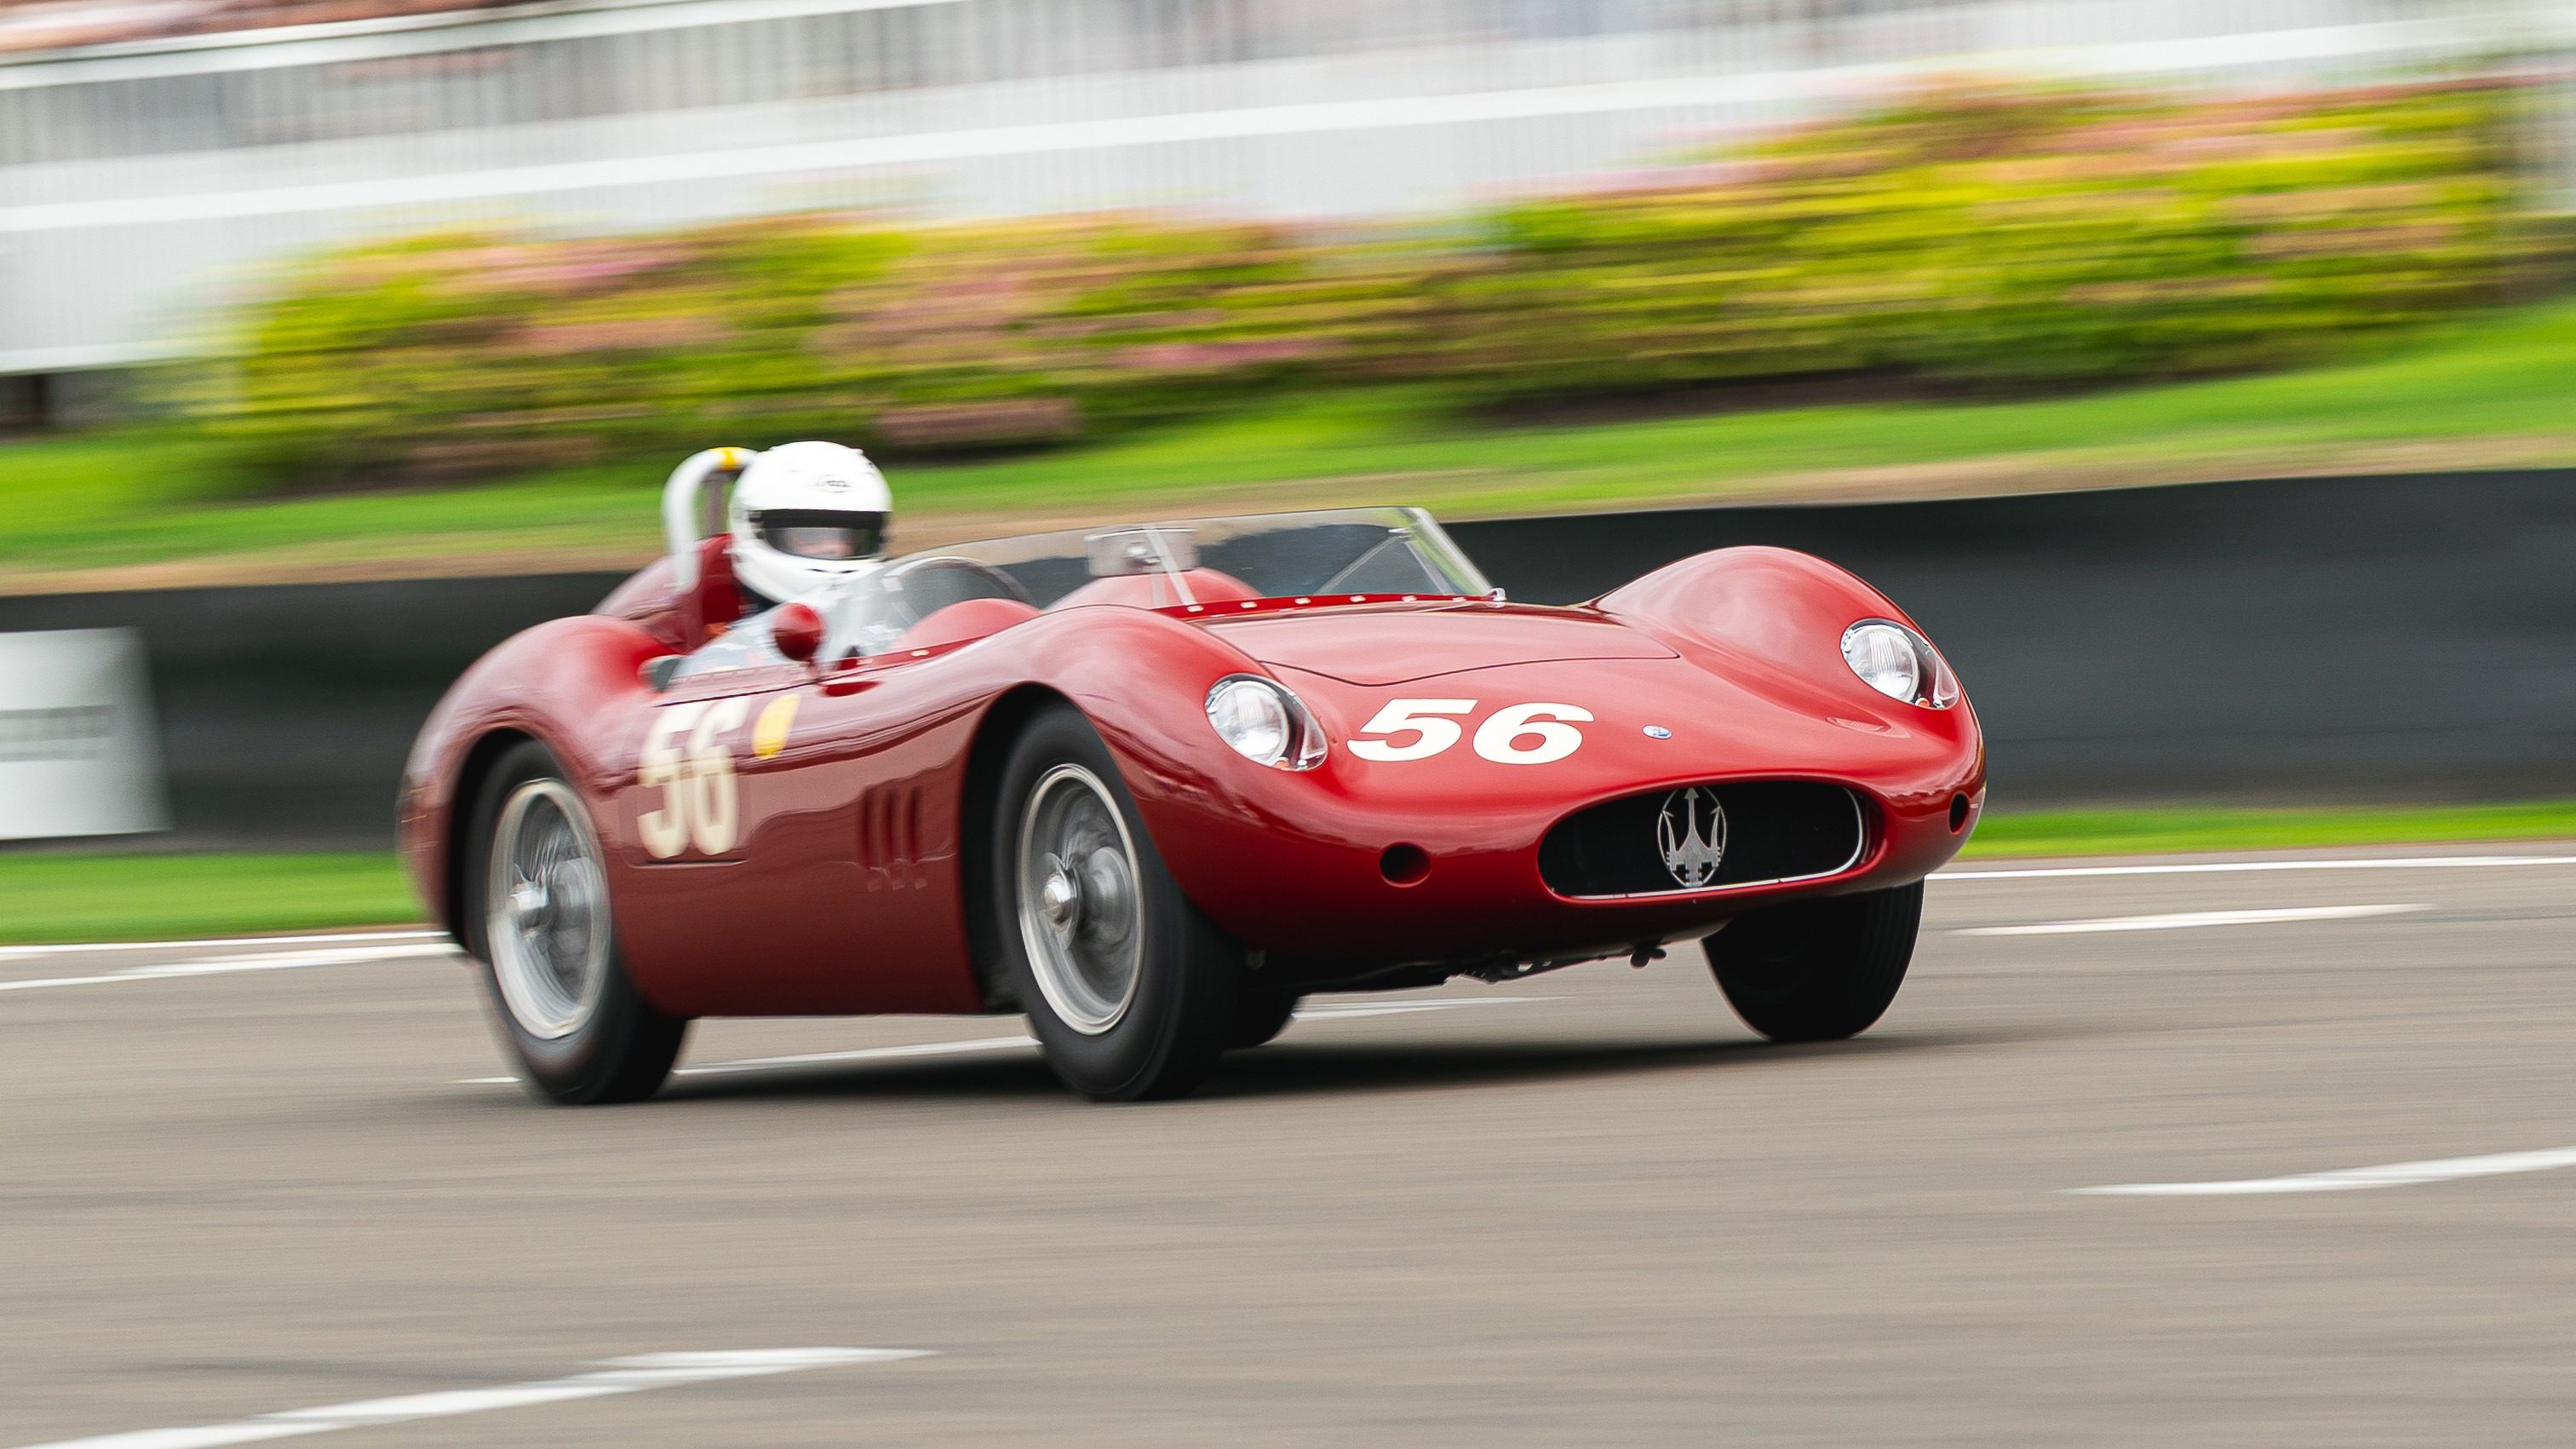
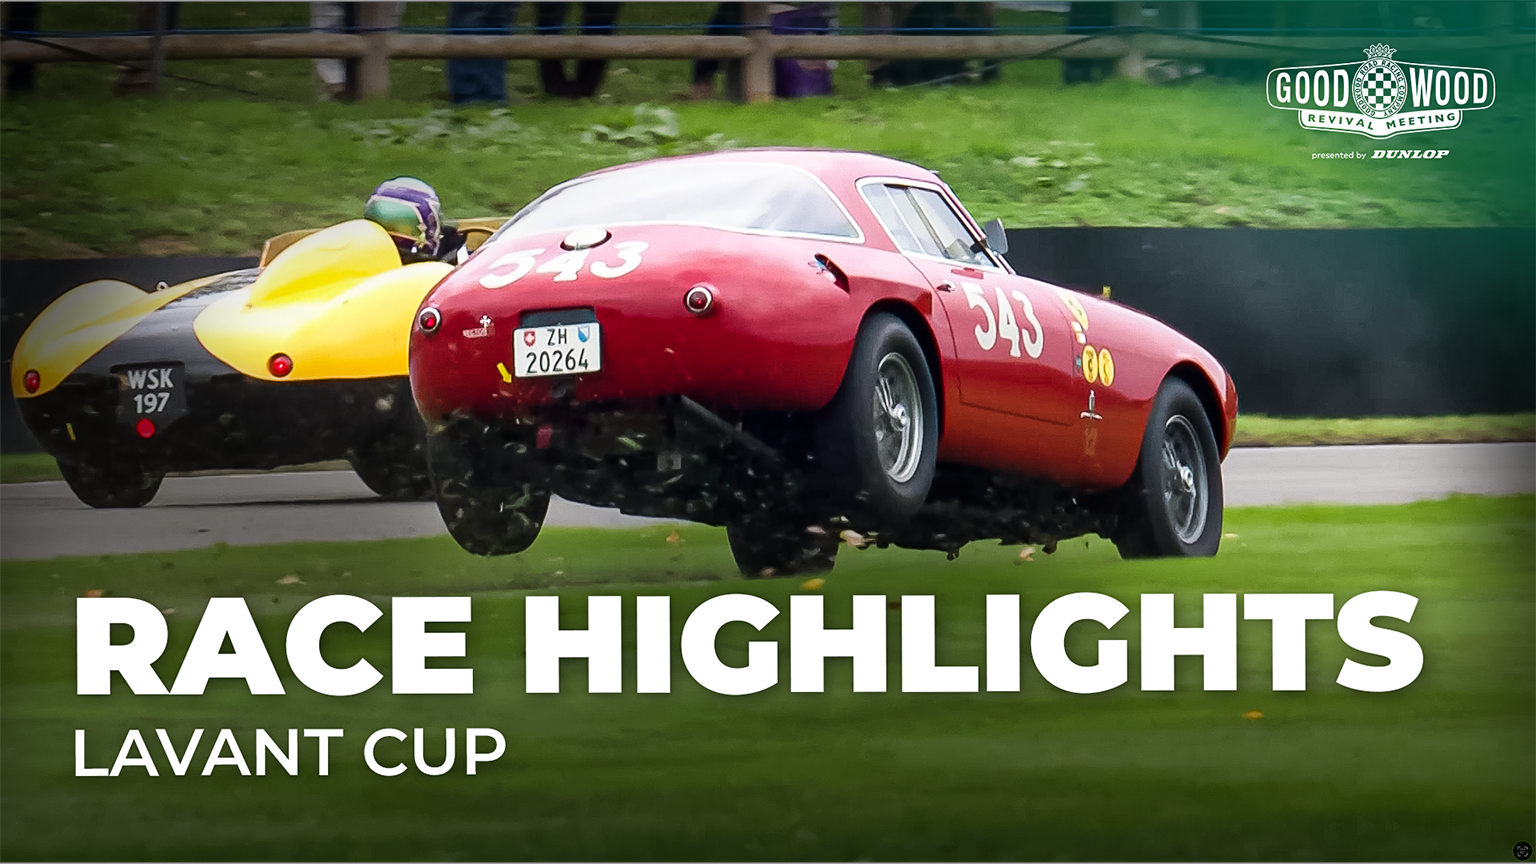
Richard Wilson might have had some problems with his onboard timing equipment, but he certainly didn’t have any issues with his 1950 Maserati 250S, converting his pole position to a win in the 2026 Lavant Cup. The real fight was in the places behind, as James Cottingham in his Ferrari 500 TRC spent the entire race looking in his mirrors at Frank Stippler’s Ferrari 250MM. On lap seven Stippler was one second behind, on lap eight he trailed by eight tenths, chipping away until on lap 11 there was only two tenths of a second between the pair.
Joe Macari retired from fourth in his Ferrari 250TR, with fourth place seemingly cursed as NASCAR hero Jimmie Johnson in his Ferrari 250TR retired from fourth just one lap later. The battle for second and third continued until the final lap, when a huge snap of oversteer in the first corner saw Stippler veer onto the grass on the inside, bounding off a grass mound with all four wheels of the ground. Keeping it in the straight ahead, though, he kept his podium position. The result: a win for Wilson, followed by a relieved Cottingham and an even more relieved Stippler.
|
Position |
Driver |
Car |
|
1 |
Richard Wilson |
Maserati 250S |
|
2 |
James Cottingham |
Ferrari 500 TRC |
|
3 |
Frank Stippler |
Ferrari 250MM |
|
4 |
Conrad Ulrich |
Maserati 300S |
|
5 |
Franco Valobra |
Ferrari 750 Monza |
Race 7: Goodwood Trophy
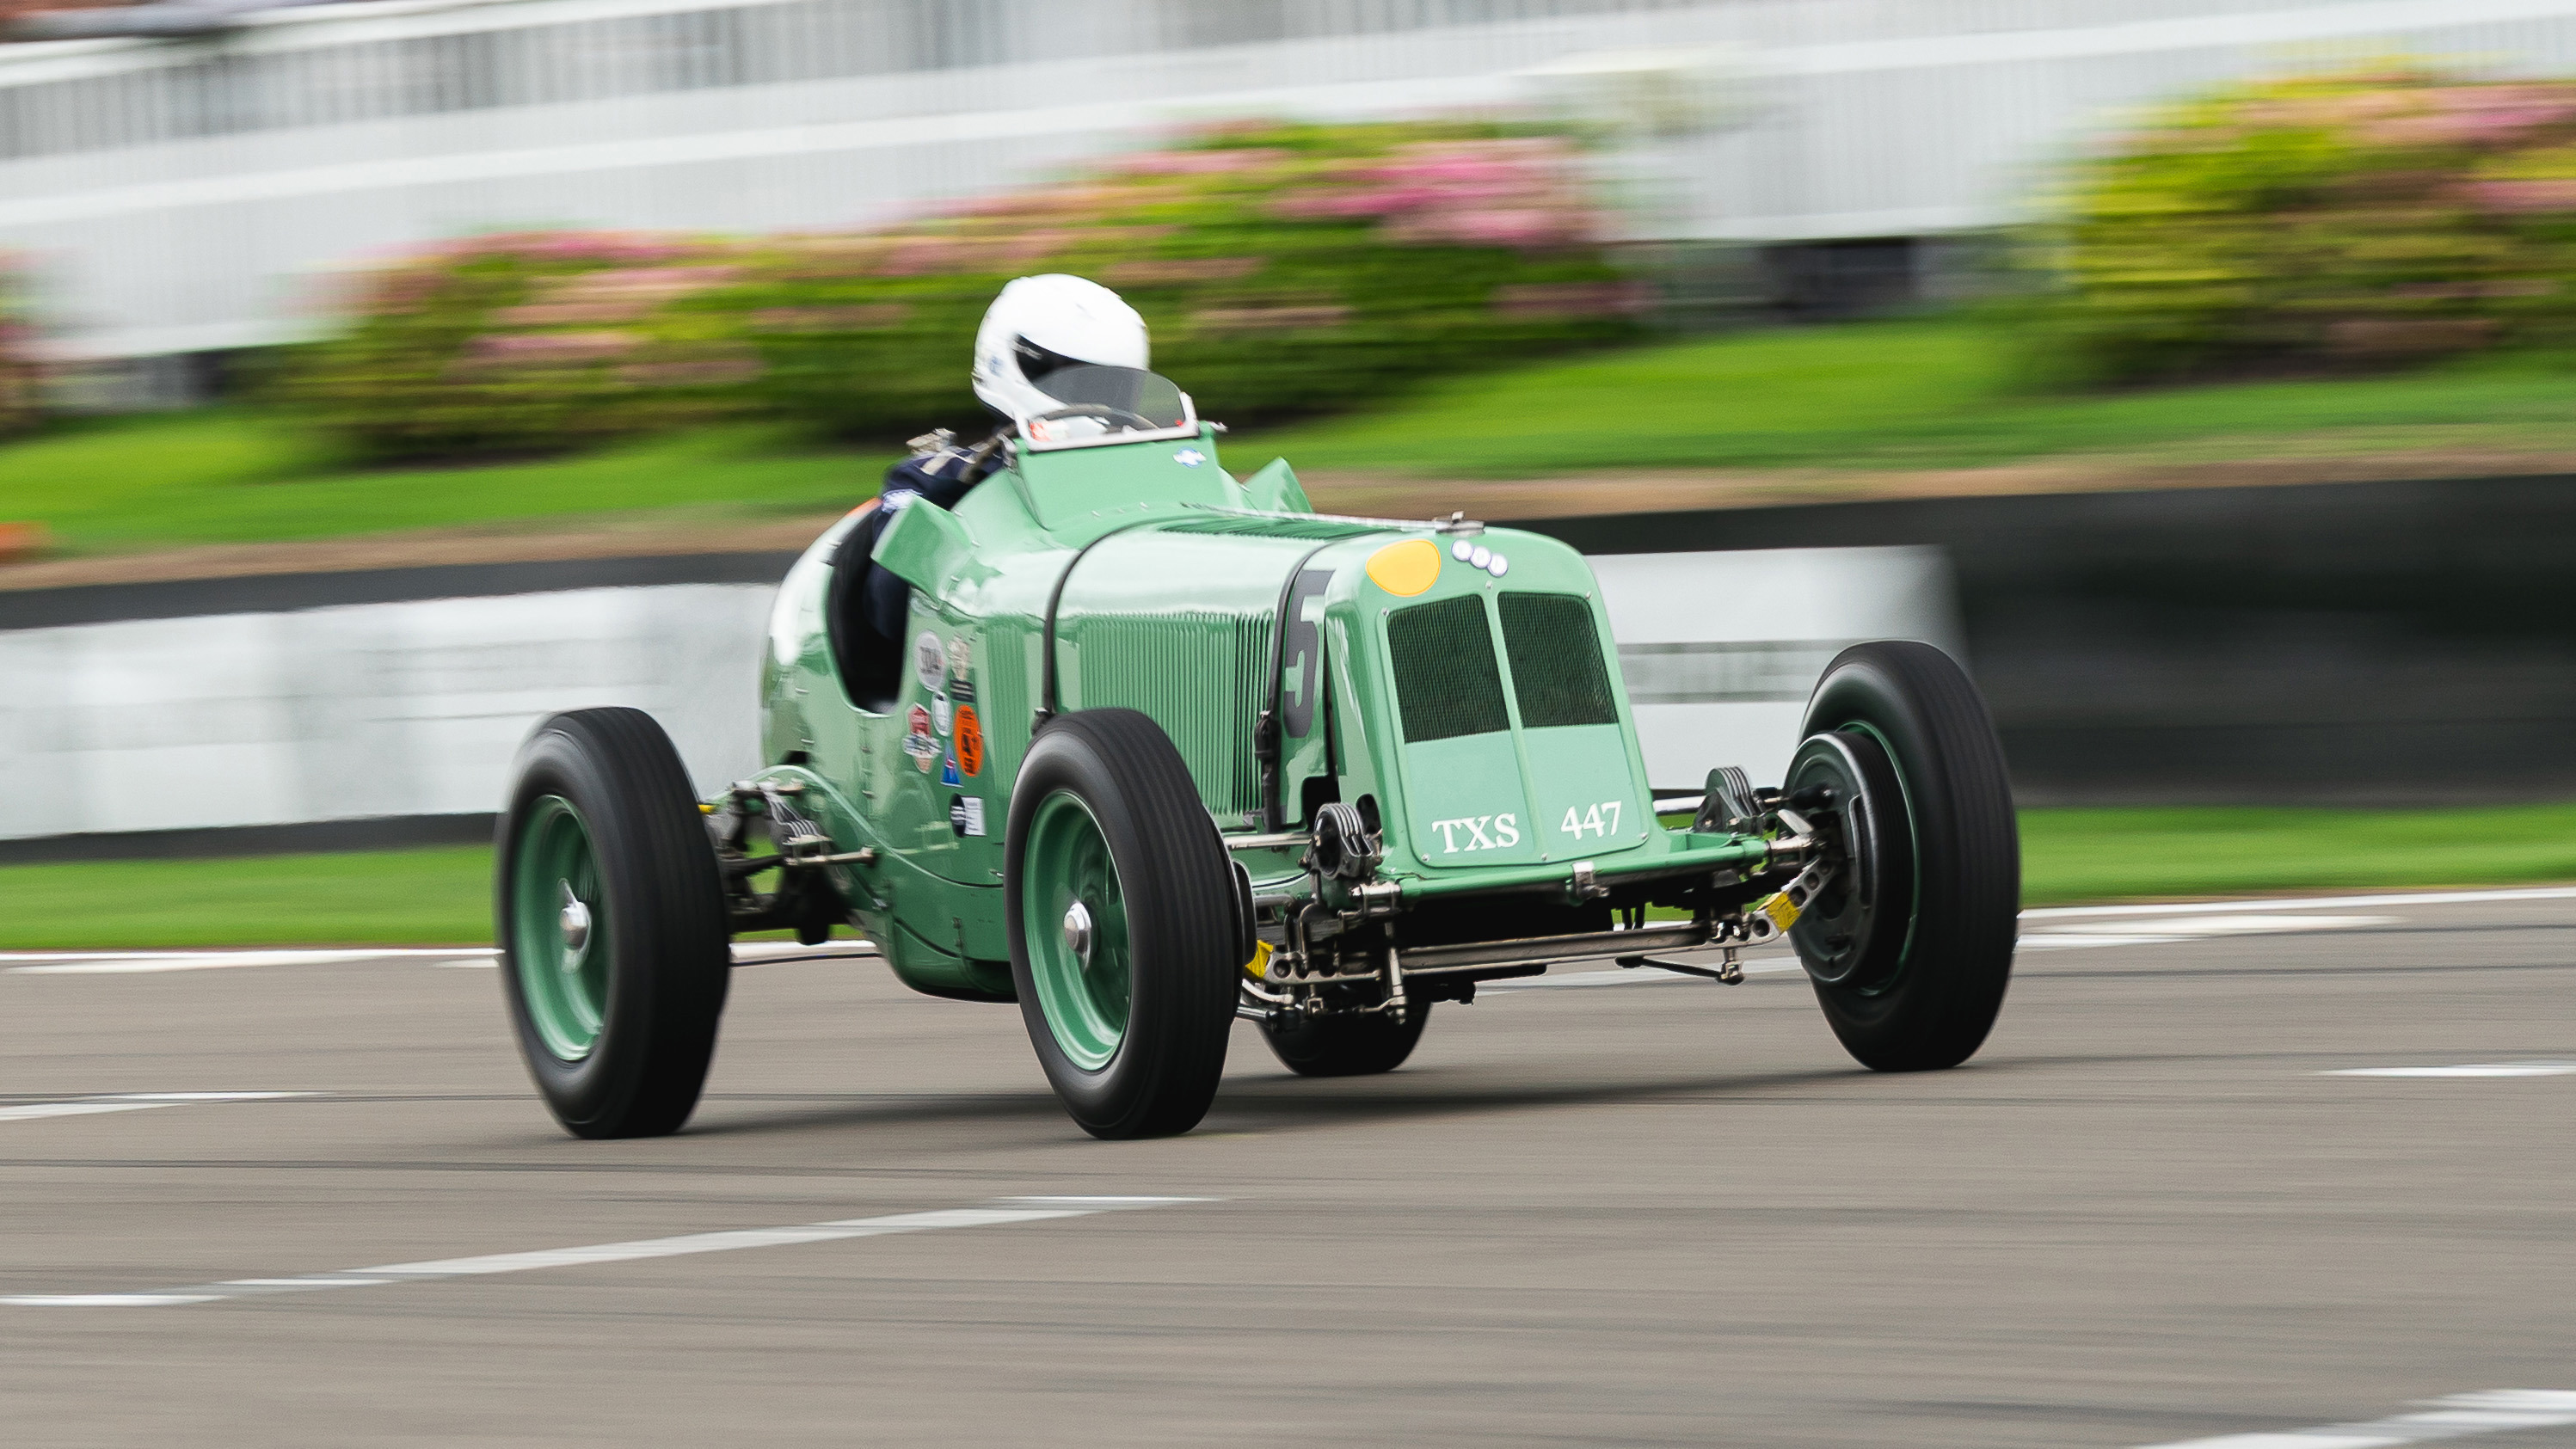
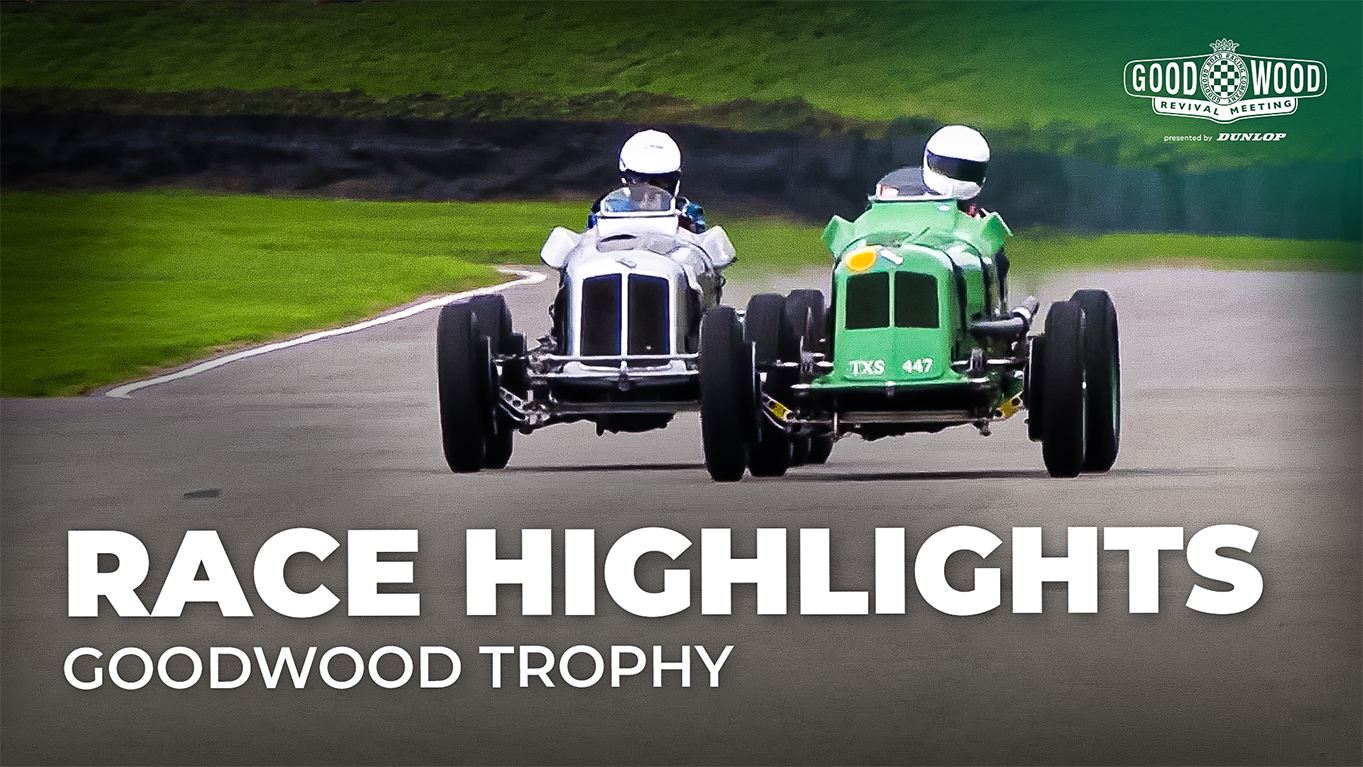
The Goodwood Trophy saw Formula 1 pioneers fight for the circuit's original prize in a spectacular afternoon of historic racing. The gruelling nature of the contest quickly took its toll on the iconic machinery as Ben Fidler provided a heart-stopping moment when he wrestled his ERA D-type R4D to save a dramatic near-miss. Others were less fortunate; the Maserati Tipo 26M was forced to contend with fluid leaking from its radiator, while Tom Dark’s Maserati V8RI slid off the track, stranded after being unable to be pushed back on.
Up front, a spectacular battle for victory erupted between Mark Gillies in the ERA A-type R3A and David Morris in the ERA B-type R11B. Ultimately, Gillies triumphed to win the Goodwood Trophy once again, offering a thumbs-up to Morris to signify just how much fun he had during their thrilling final-lap scrap. It was a dominant weekend for the marque, with the top three spots swept entirely by ERAs.
|
Position |
Driver |
Car |
|
1 |
Mark Gillies |
ERA A-type R3A |
|
2 |
David Morris |
ERA B-type R11B |
|
3 |
Michael Gans |
ERA B-type R1B |
|
4 |
Ben Fidler |
ERA D-type R4D |
|
5 |
Brad Baker |
ERA B-type R10B |
Race 8: Richmond & Gordon Trophies
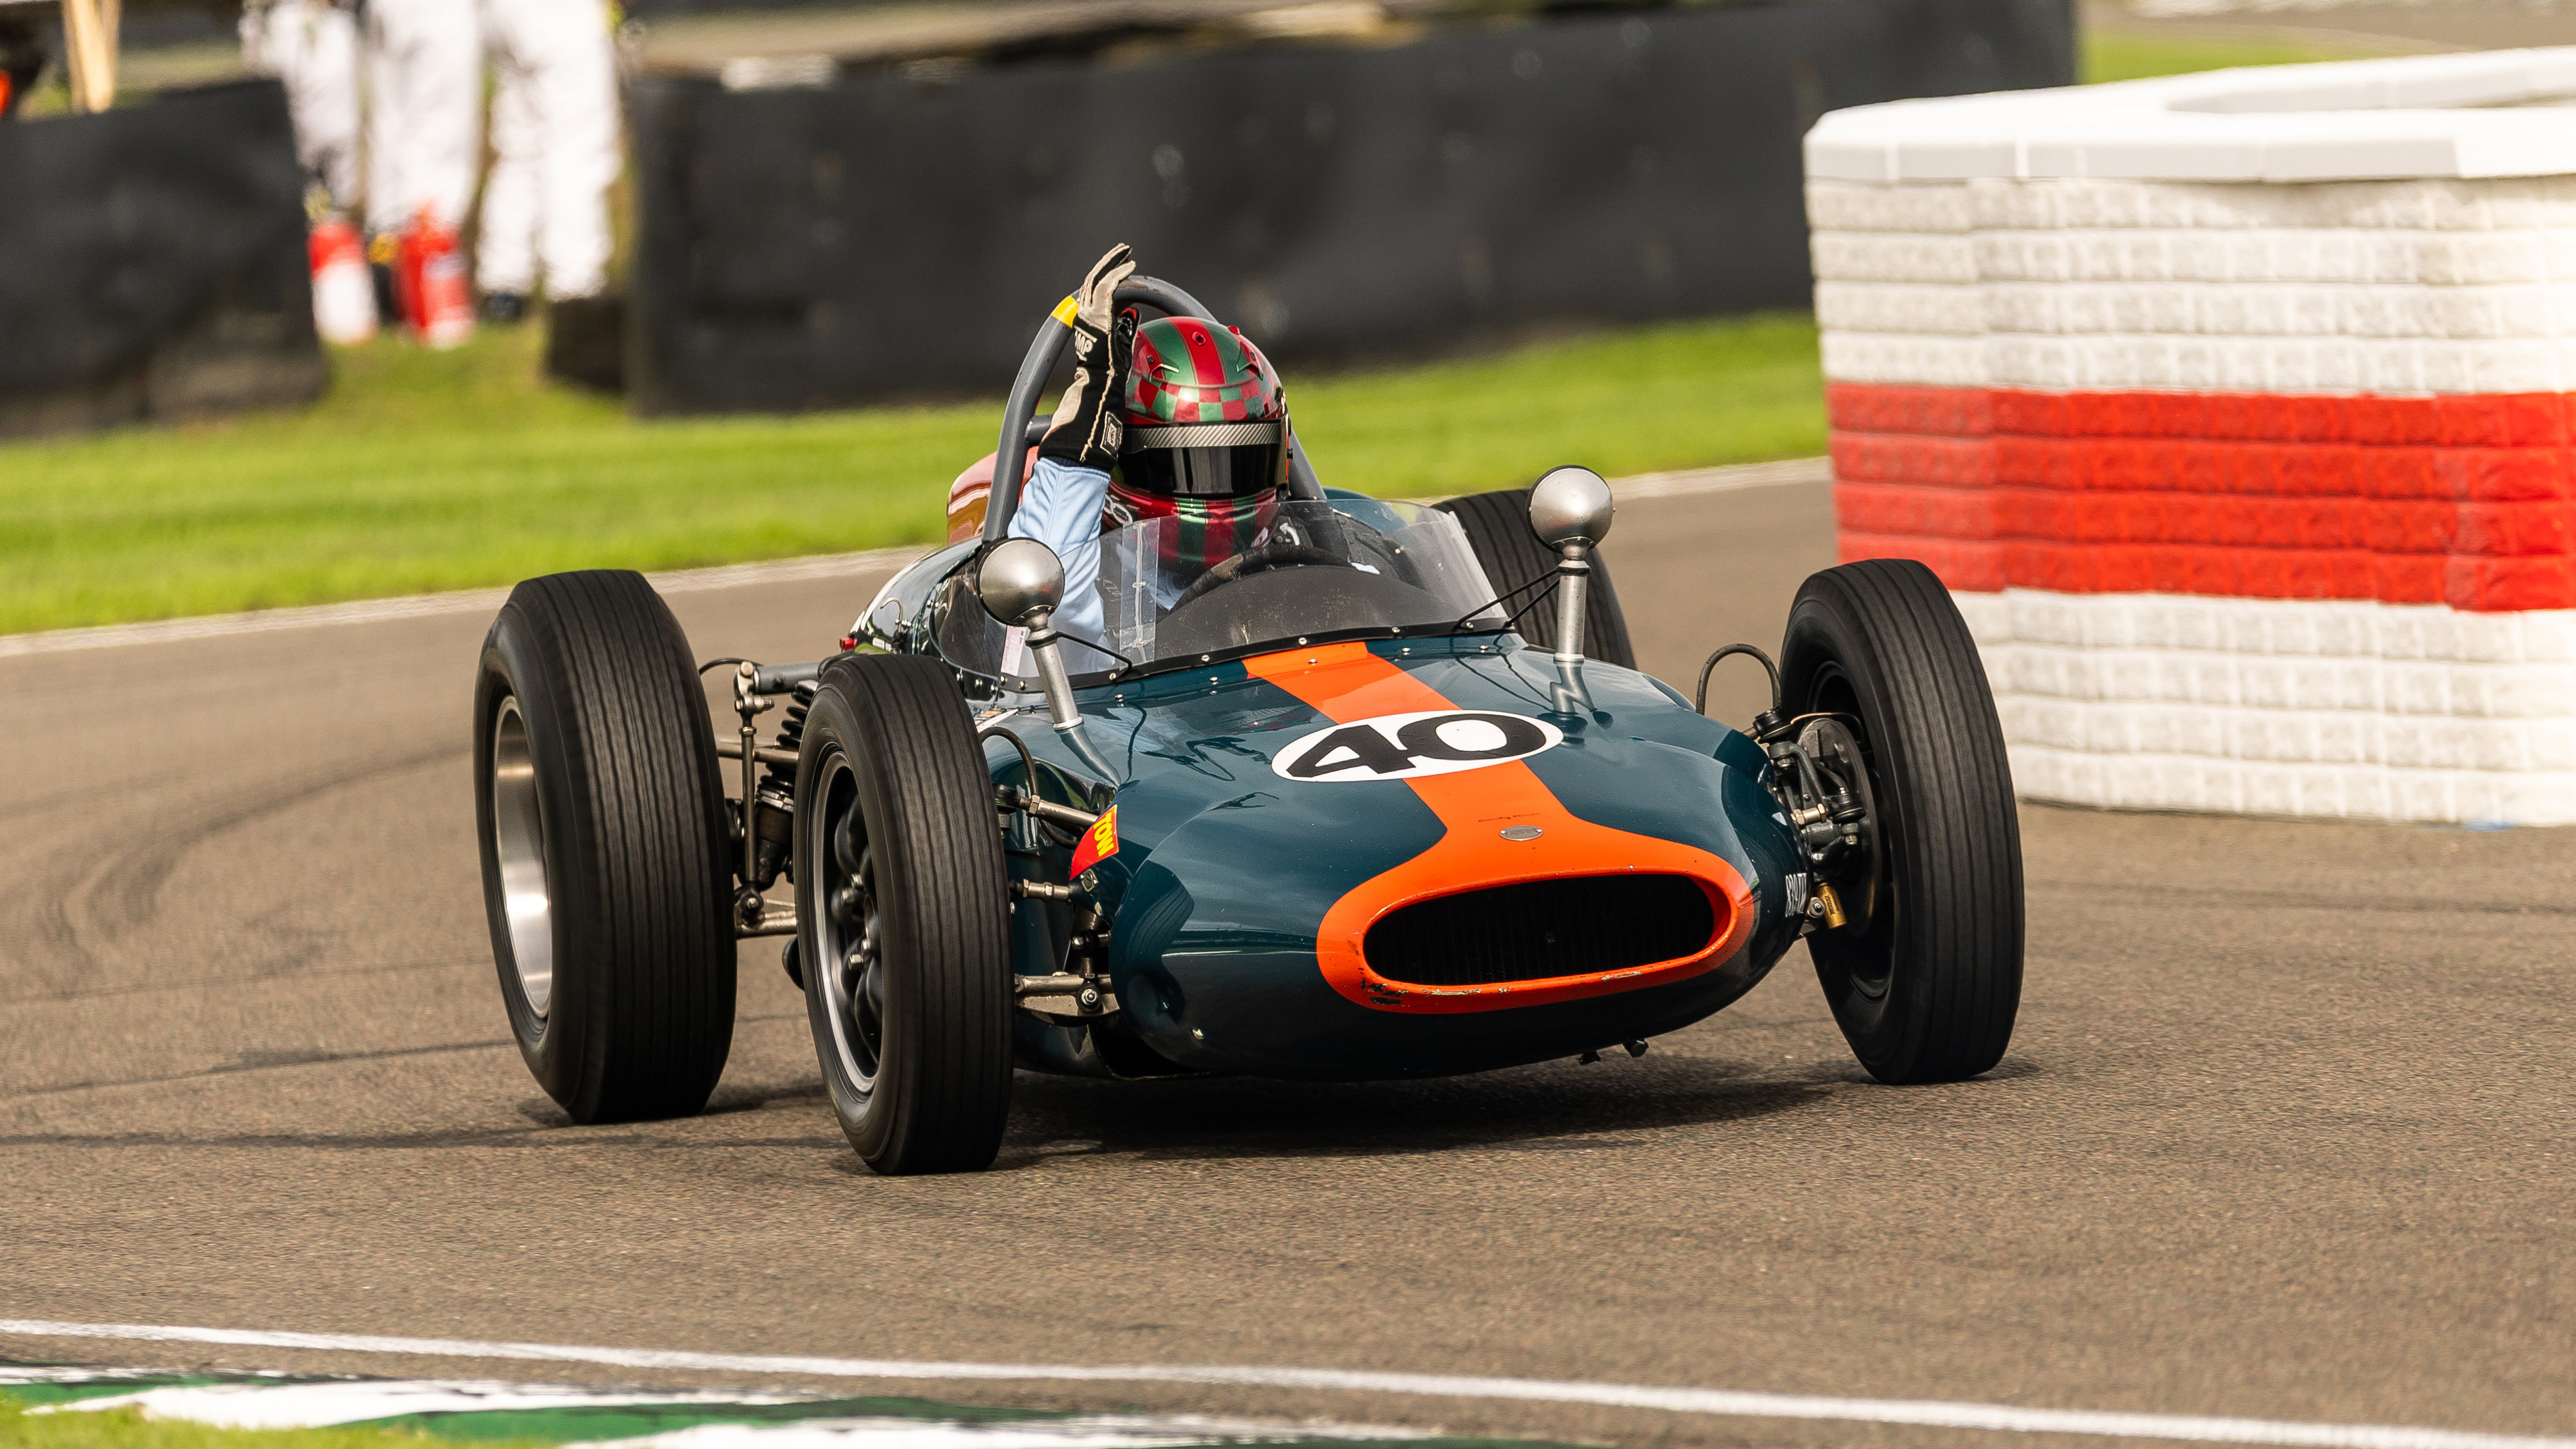
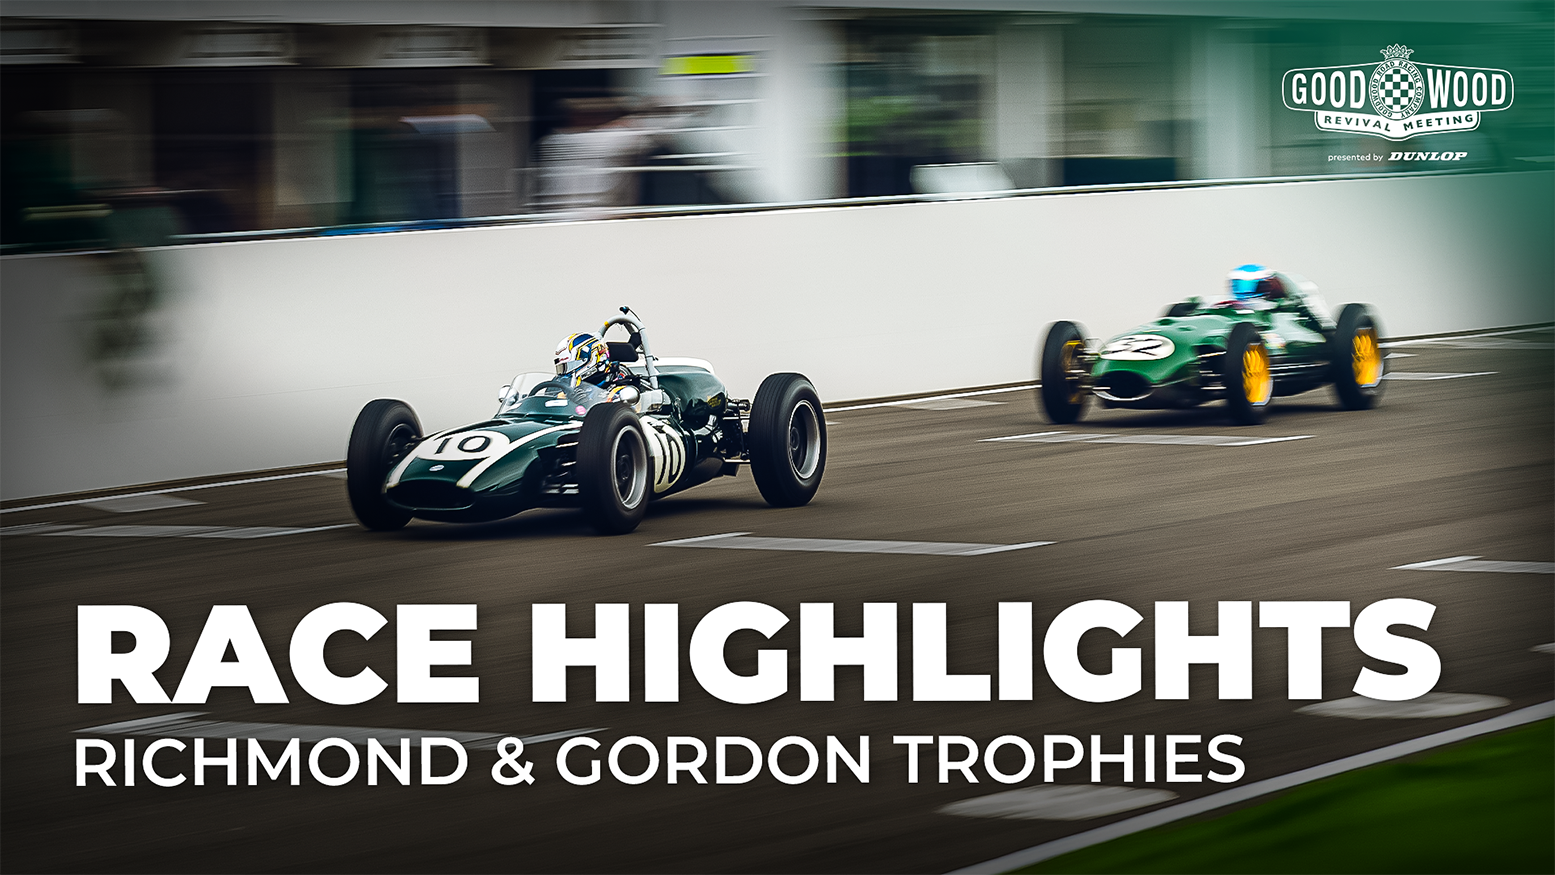
Theory tells you that front-engined cars should be outpaced by their more modern mid-engined rivals in the Richmond & Gordon Trophies race, but clearly that memo didn’t reach Lotus 16 driver Miles Griffiths. Not only did he put his car on the front row of the grid, he entered into a race-long battle with Cooper T53 driver William Nuthall for the lead, the pair exchanging places numerous times throughout the hard-fought race.
But while they squabbled, Tom Waterfield was having things his own way. Having had to start from the very back of the grid, he scythed his way through the field to join our race leaders. As if that wasn’t impressive enough he quickly got the better of them, too. Having taken a well-deserved lead, he had a couple of excursions onto the grass before regaining his focus to take the chequered flag.
Waterfield was however disqualified after the race, so Will Nuthall inherited his sixth win in the Richmond & Gordon Trophies race.
|
Position |
Driver |
Car |
|
1 |
William Nuthall |
Cooper-Climax T53 ‘Lowline’ |
|
2 |
Miles Griffiths |
Lotus-Climax 16 |
|
3 |
Mark Shaw |
Scarab-Offenhauser |
|
4 |
Joaquin Folch-Rusinol I Corachan |
Lotus-Climax 16 |
|
5 |
Maxime Castelein |
Lotus-Climax 18 |
Race 9: Sussex Trophy
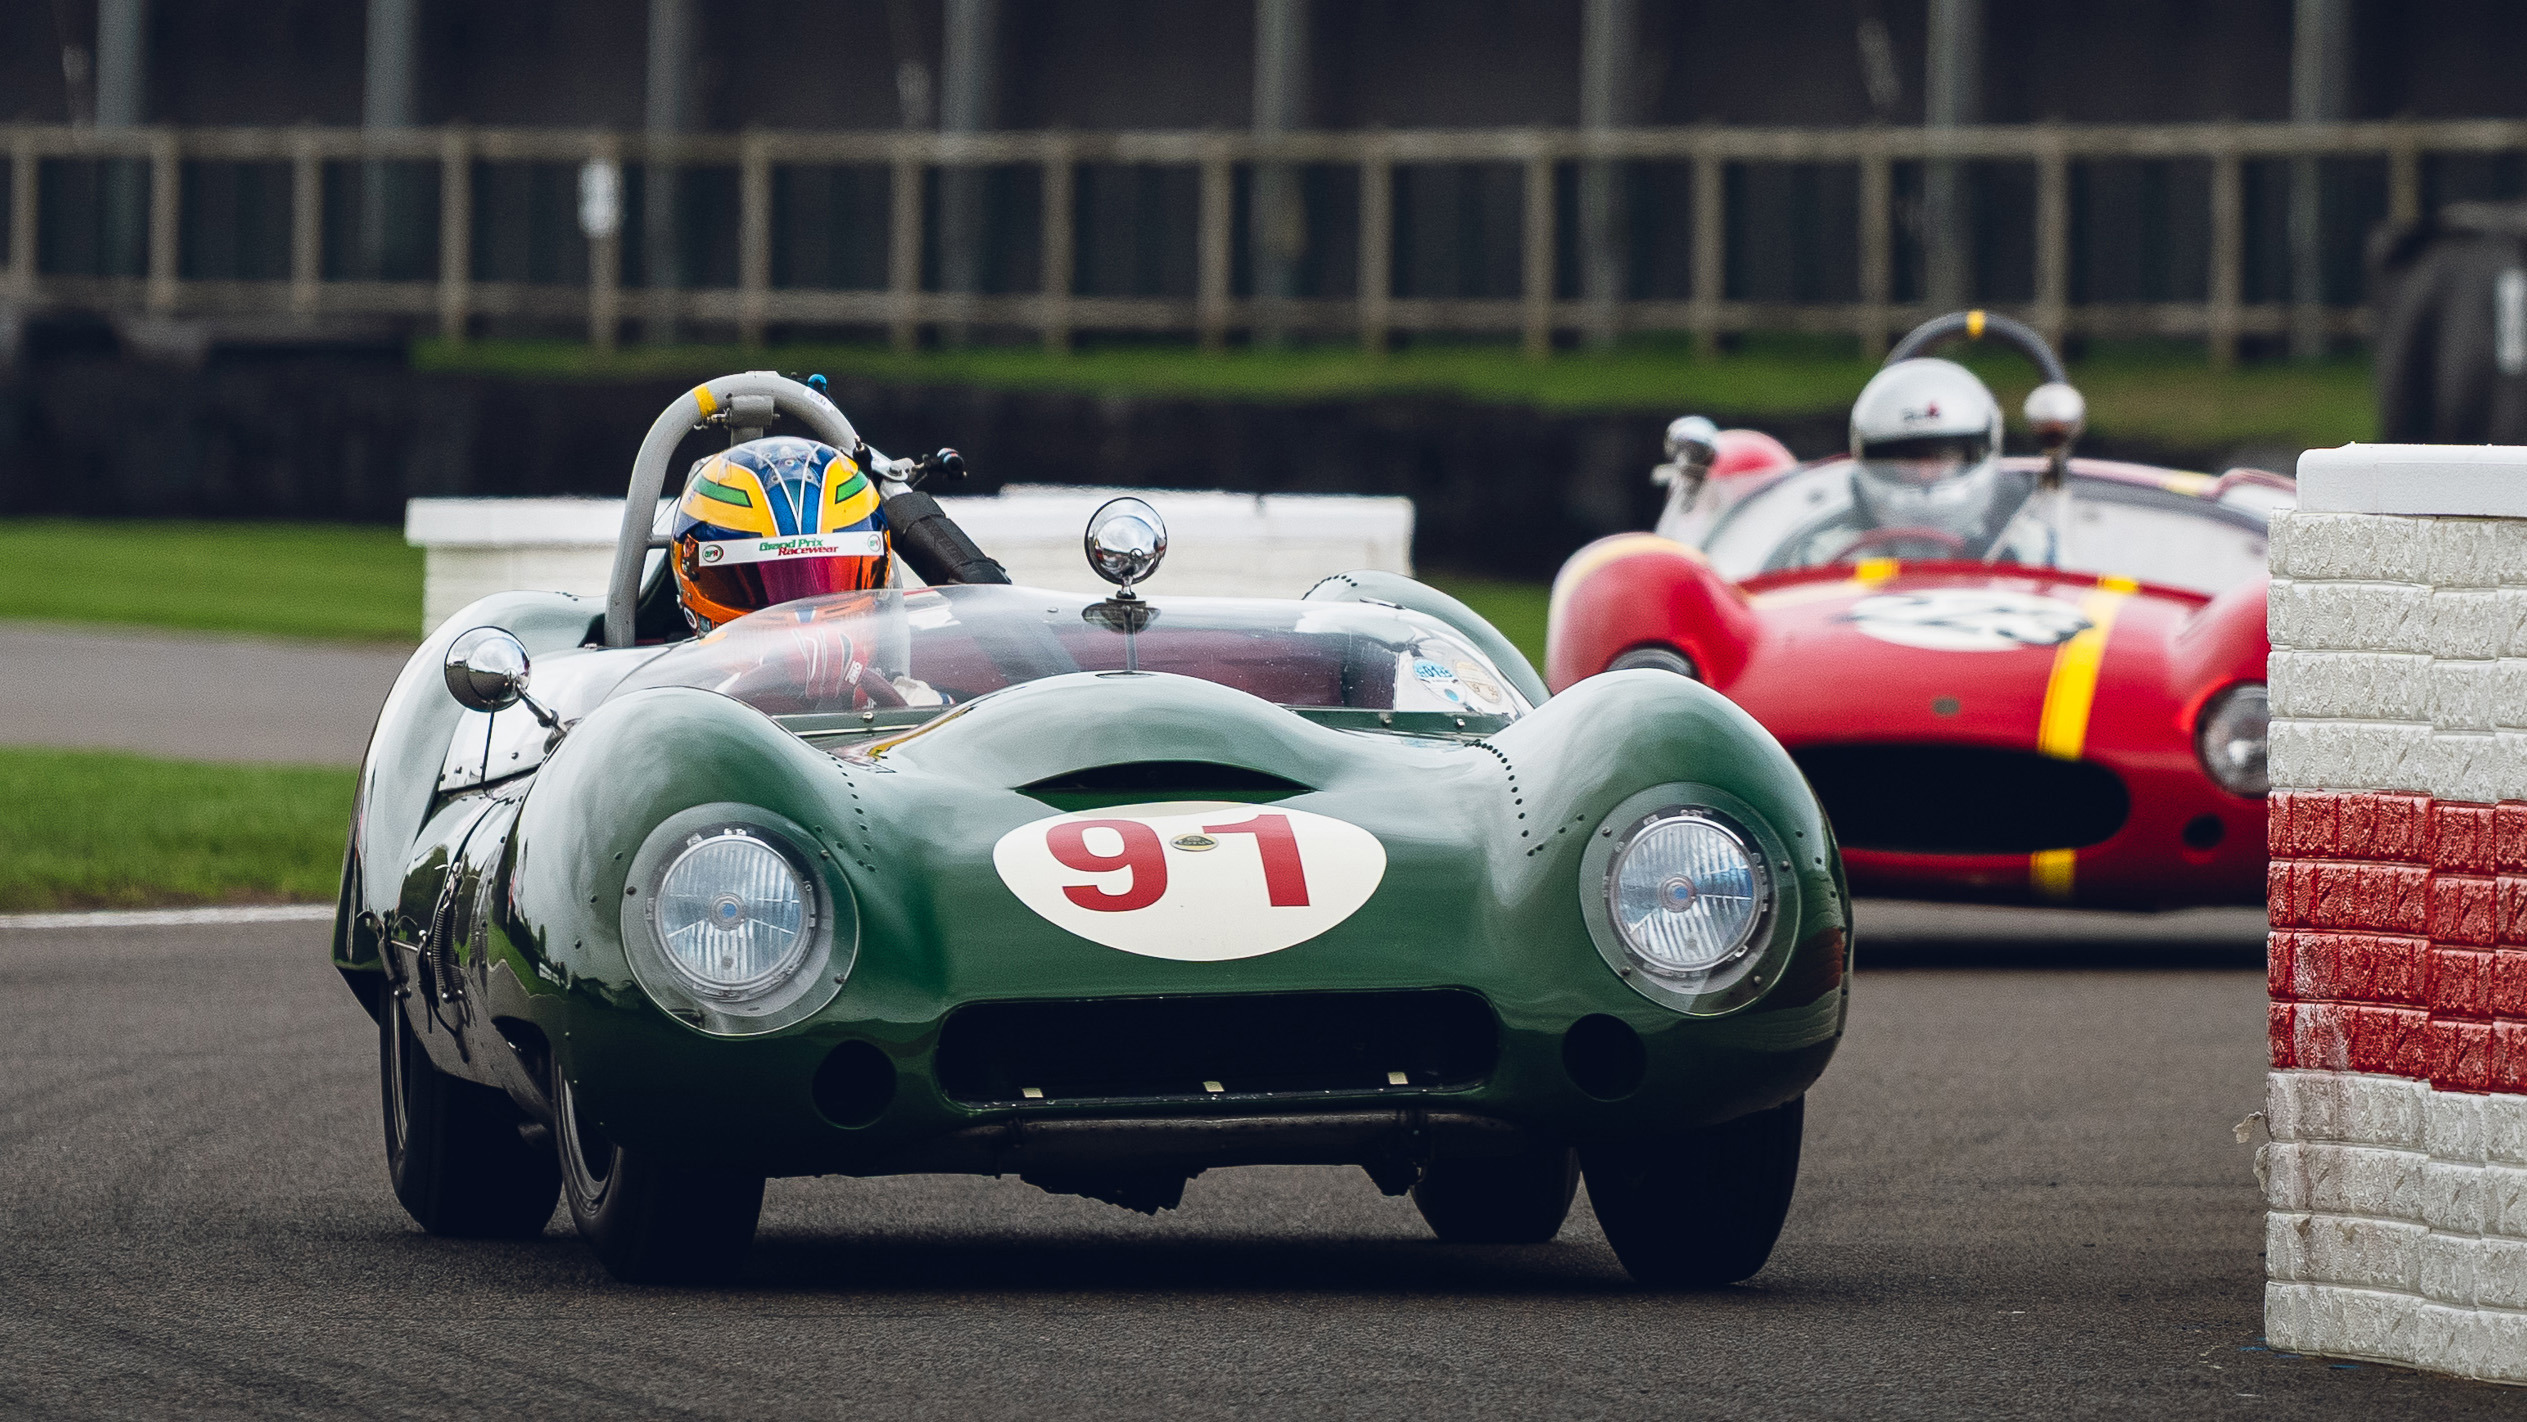
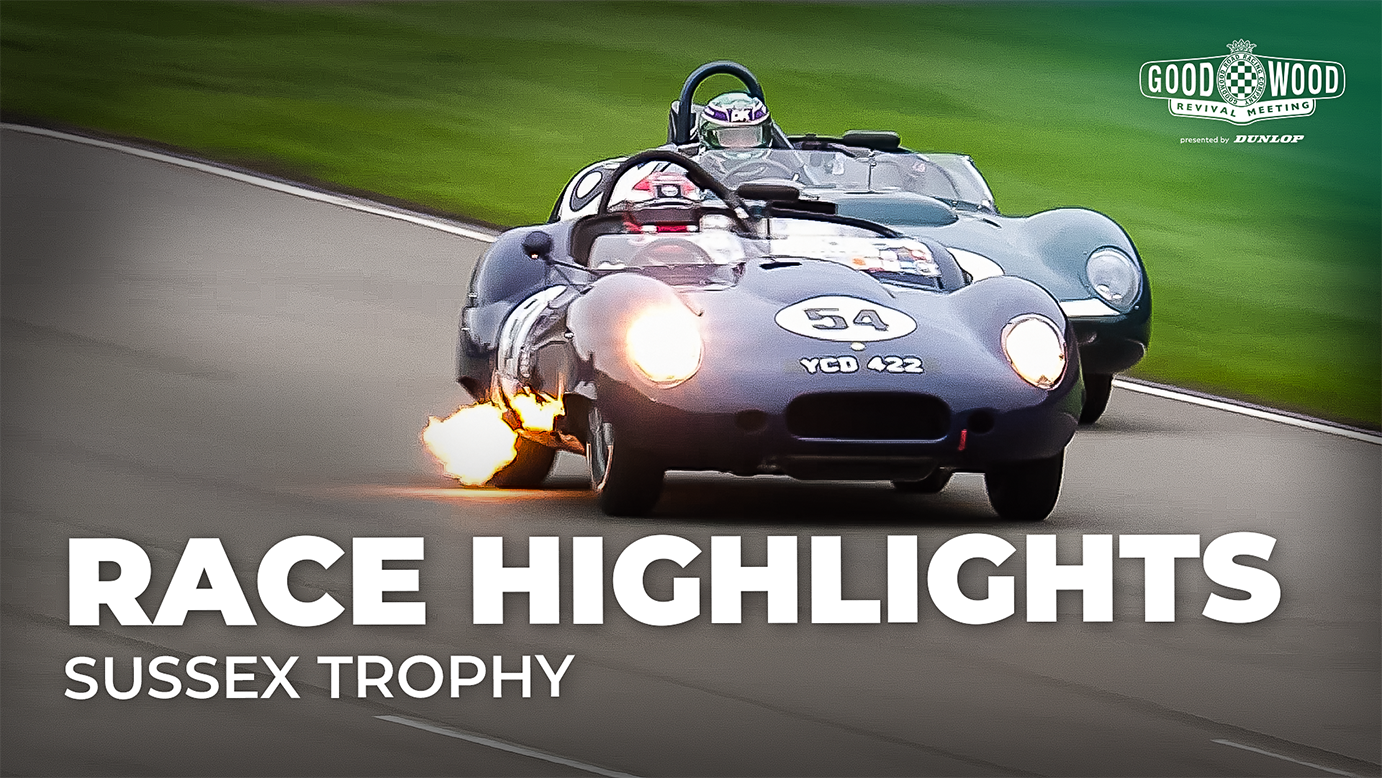
The Lotus 15 of Johnny Mowlem and Bonamy Grimes lined up in pole position for the 2026 Sussex Trophy, and it was Grimes who got a terrific start to capitalise on that position, expanding his lead with every passing moment. That was until the safety car came out and bunched the field back up.
There was only one post-safety car lap before the driver-change window, and Grimes was the first to pit. After leaping into the driver’s seat, Mowlem exited the pits and was able to rebuild the gap to the cars behind, in the end crossing the finishing line with 18 seconds in hand against the second-place Lister-Jaguar Knobbly of Gordon Shedden and Saif Assam. The closest battle on the road was further down the pack, where Tom Kristensen (Lister-Jaguar Flat Iron) was scrapping with an often-sideways Chris Ward (Jaguar D-Type).
|
Position |
Driver |
Car |
|
1 |
Grimes/Mowlem |
Lotus-Climax 15 |
|
2 |
Assam/Shedden |
Lister-Jaguar Knobbly |
|
3 |
Jarvis/Malvern |
Lister-Chevrolet Costin |
|
4 |
McCaig/Cottingham |
Tojeiro-Jaguar |
|
5 |
Hanson/Cottingham |
Lister-Jaguar Knobbly |
Race 11: Freddie March Memorial Trophy
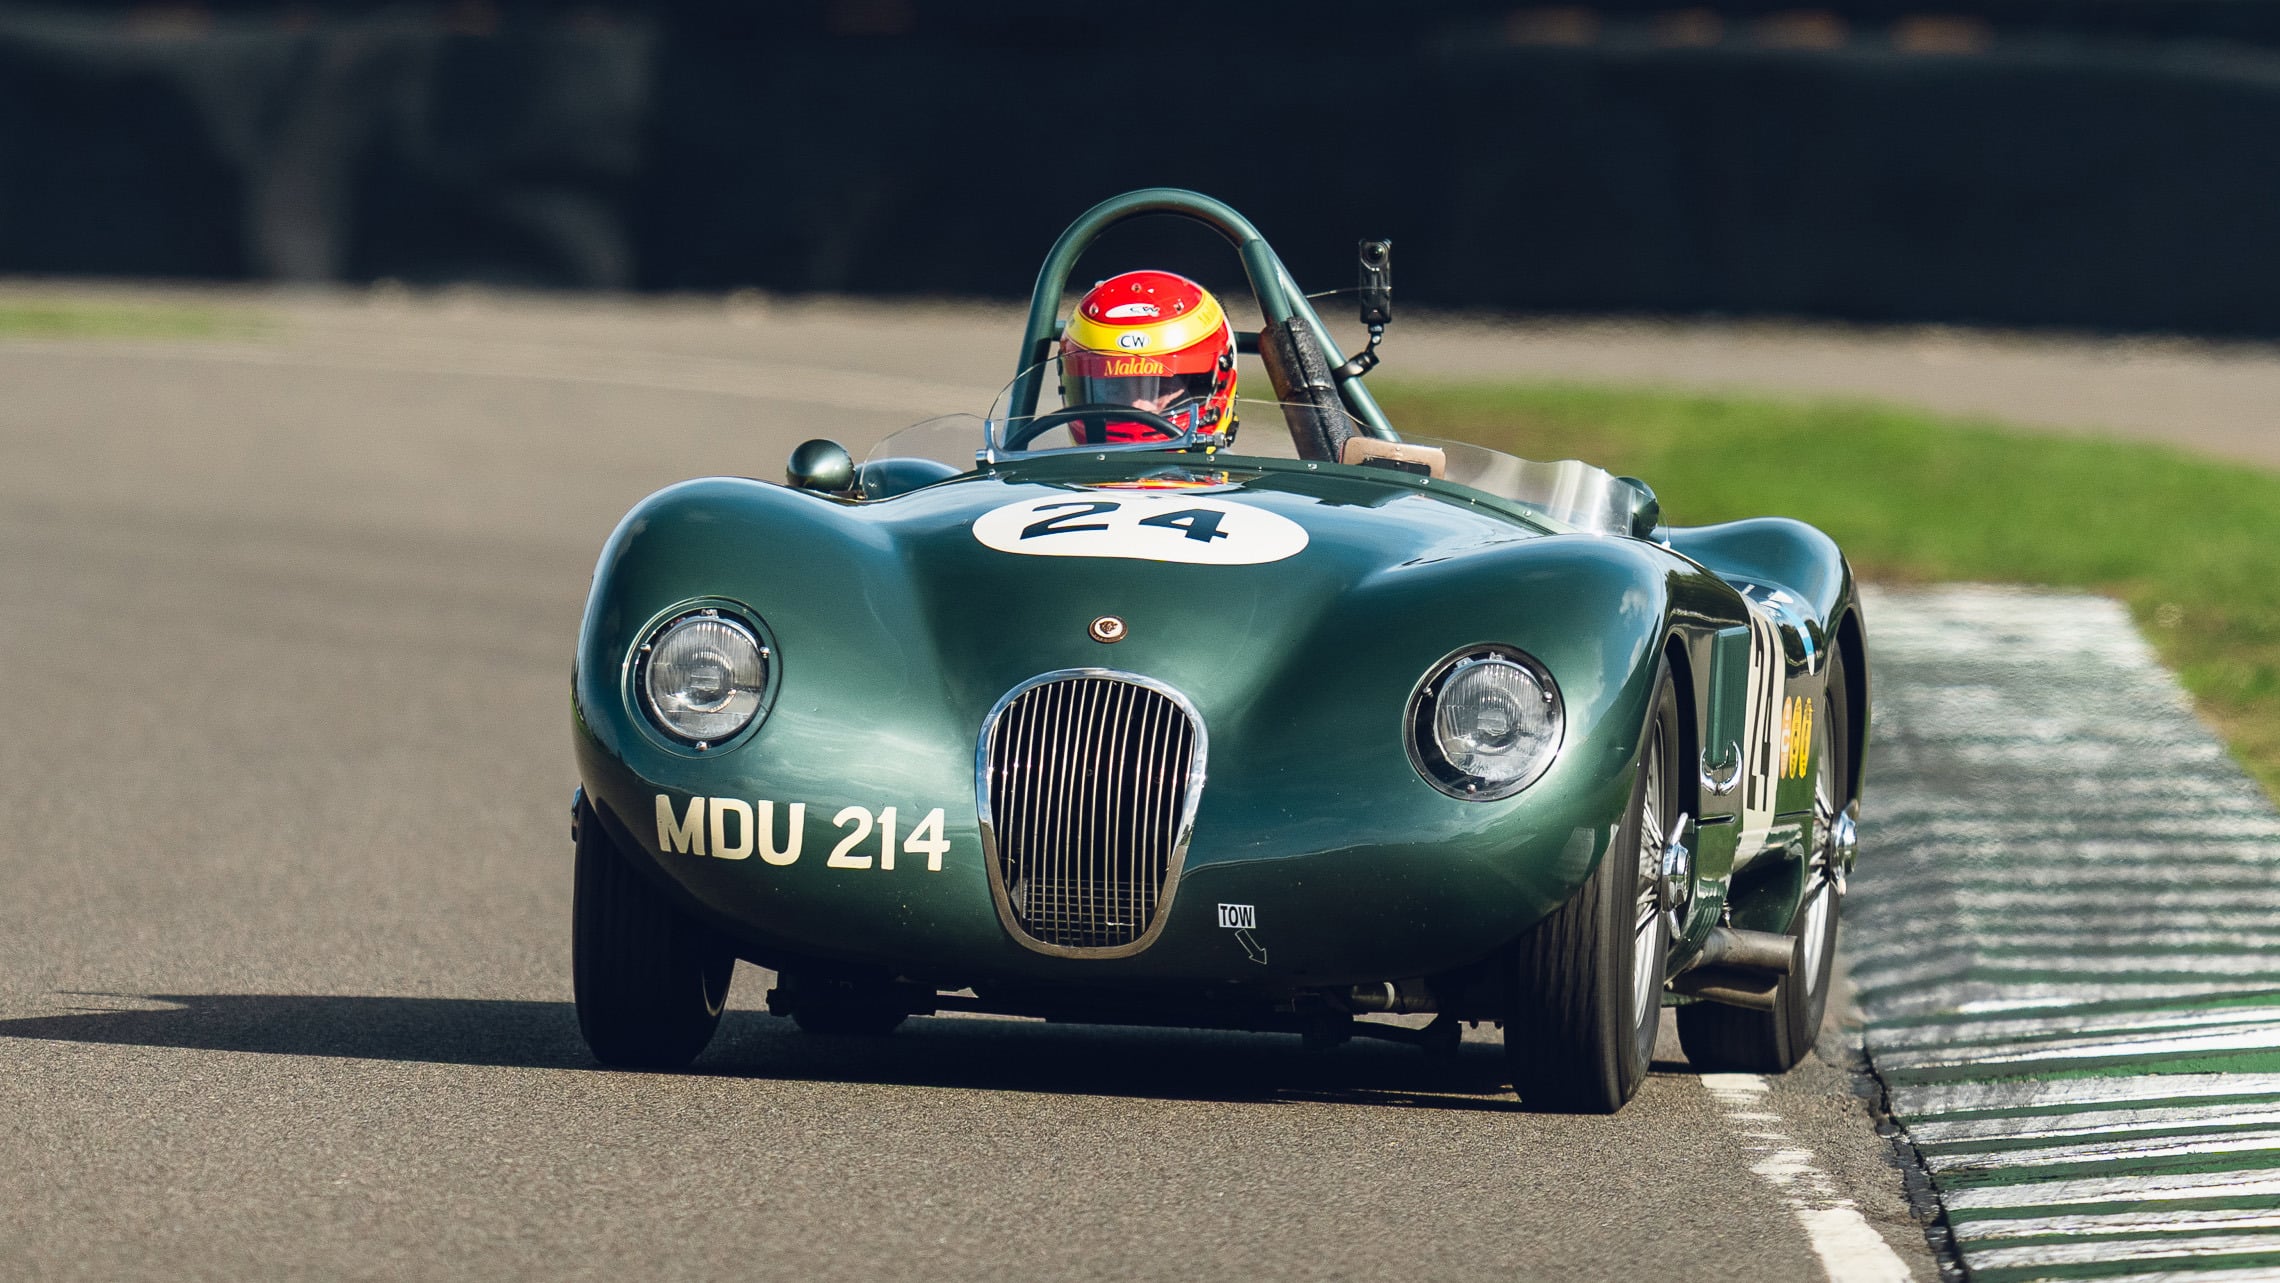
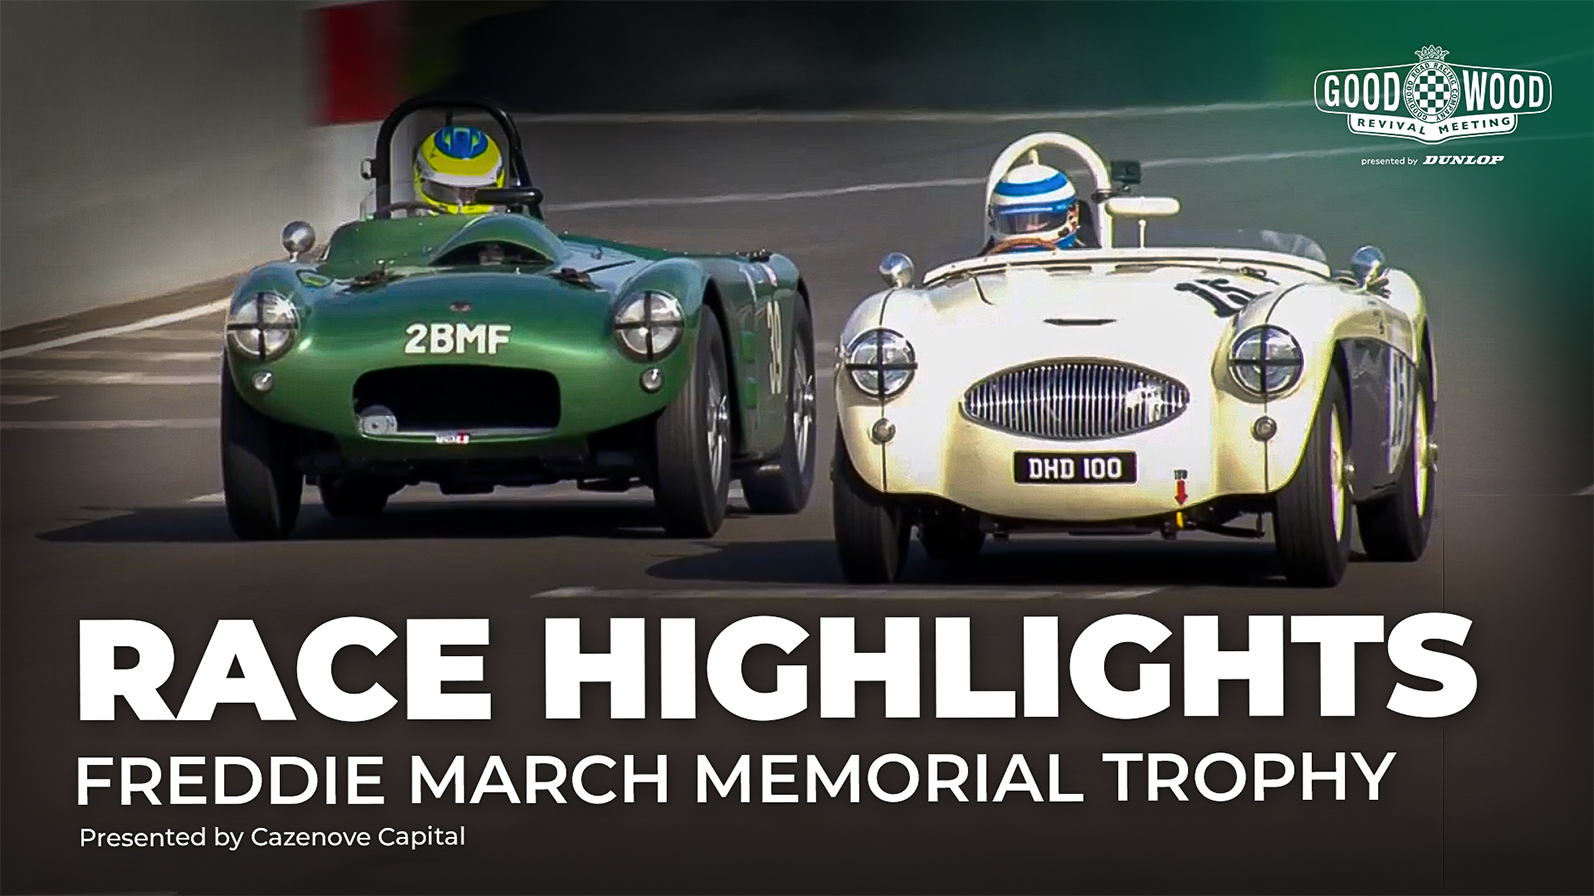
A mere 0.227 seconds separated Chris Ward and Jenson Button in their equally matched Jaguar C-Types in Freddie March Memorial Trophy Official Practice, and it was Button who got an excellent start from second on the grid. Ward was immediately challenging until Button’s ex-Fangio car succumbed to a mechanical problem that saw him drop back through the field and eventually retire.
Ward marched off into the distance for a comfortable win, followed home by Theo Hunt and Bill Shepherd. The podium-placed cars were well spread out, but spectators were treated to a close battle for fourth place. The sheer grunt of Richard Woolmer’s HWM-Cadillac played against the agility of Jack Rawles’ Austin-Healey 100S. There was little to separate them and they changed places many times, but ultimately Rawles’ efforts came to nought when his Austin-Healey faltered and retired with under two minutes of the race to run.
|
Position |
Driver |
Car |
|
1 |
Chris Ward |
Jaguar C-Type |
|
2 |
Theo Hunt |
HWM-Jaguar |
|
3 |
Bill Shepherd |
Ford Thunderbird ‘Battlebird’ |
|
4 |
Richard Woolmer |
HWM-Cadillac |
|
5 |
Guy Harman |
Cooper-Jaguar T33 |
Race 12: Whitsun Trophy
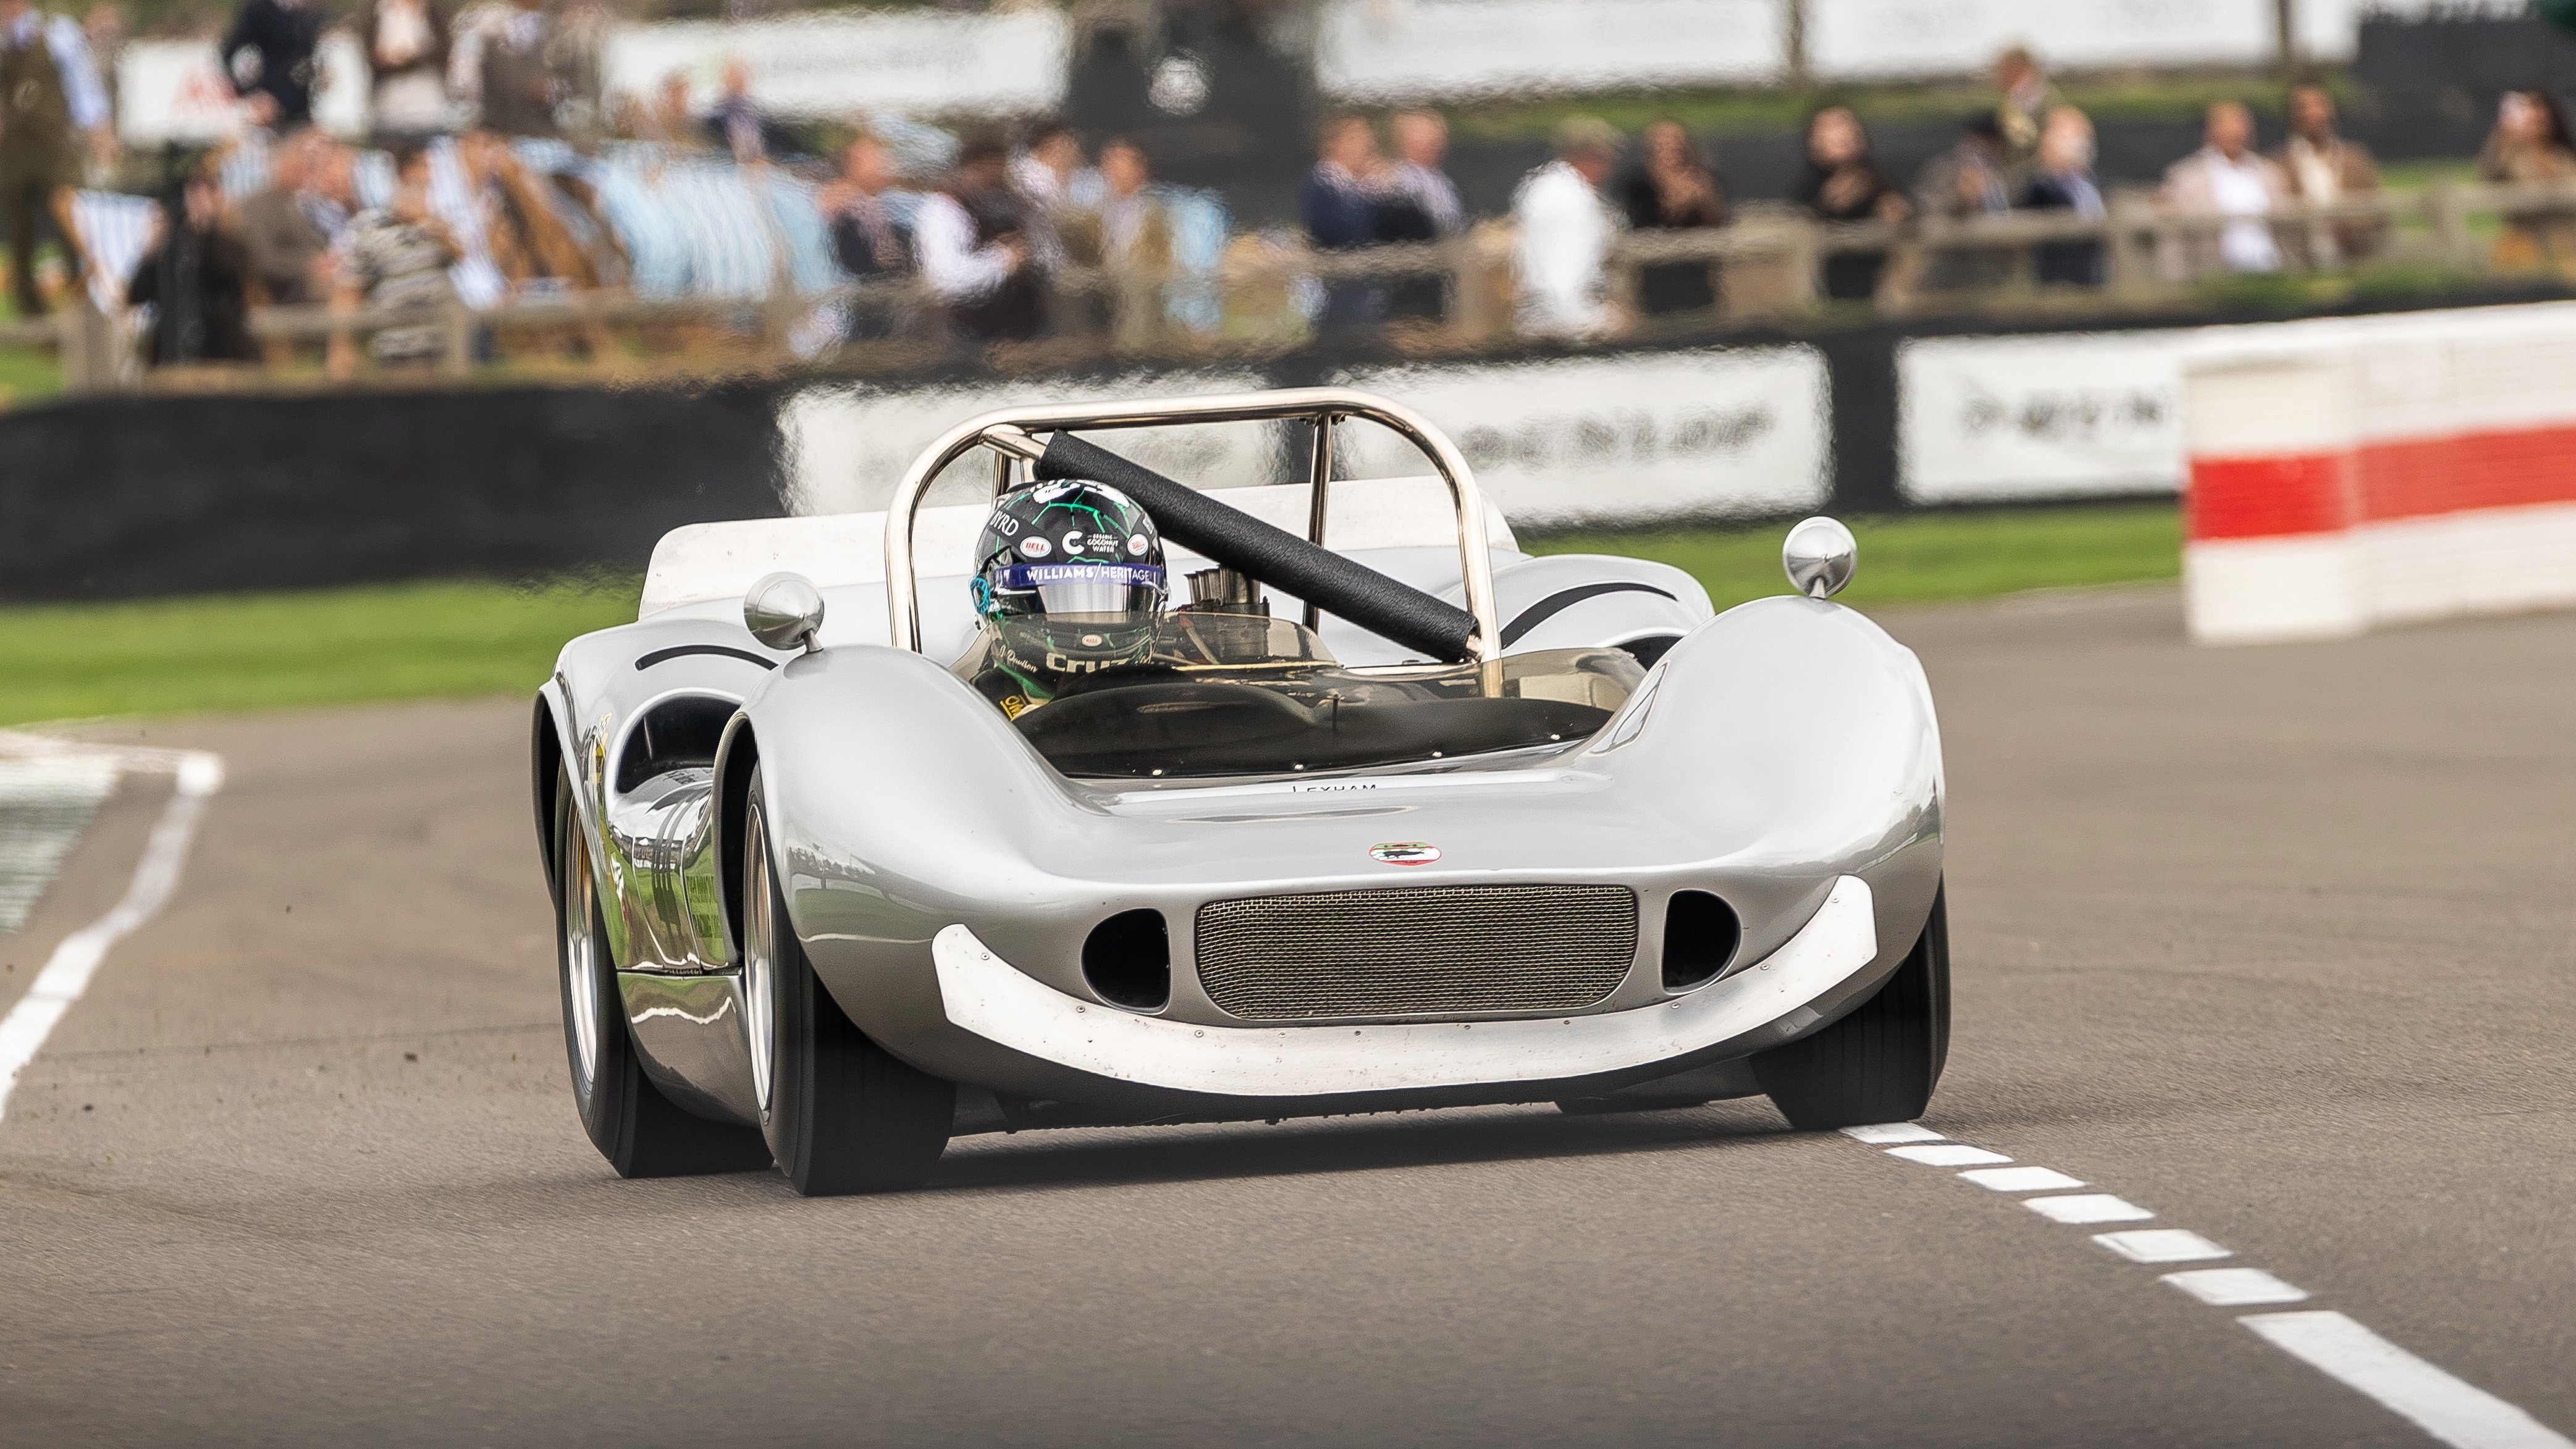
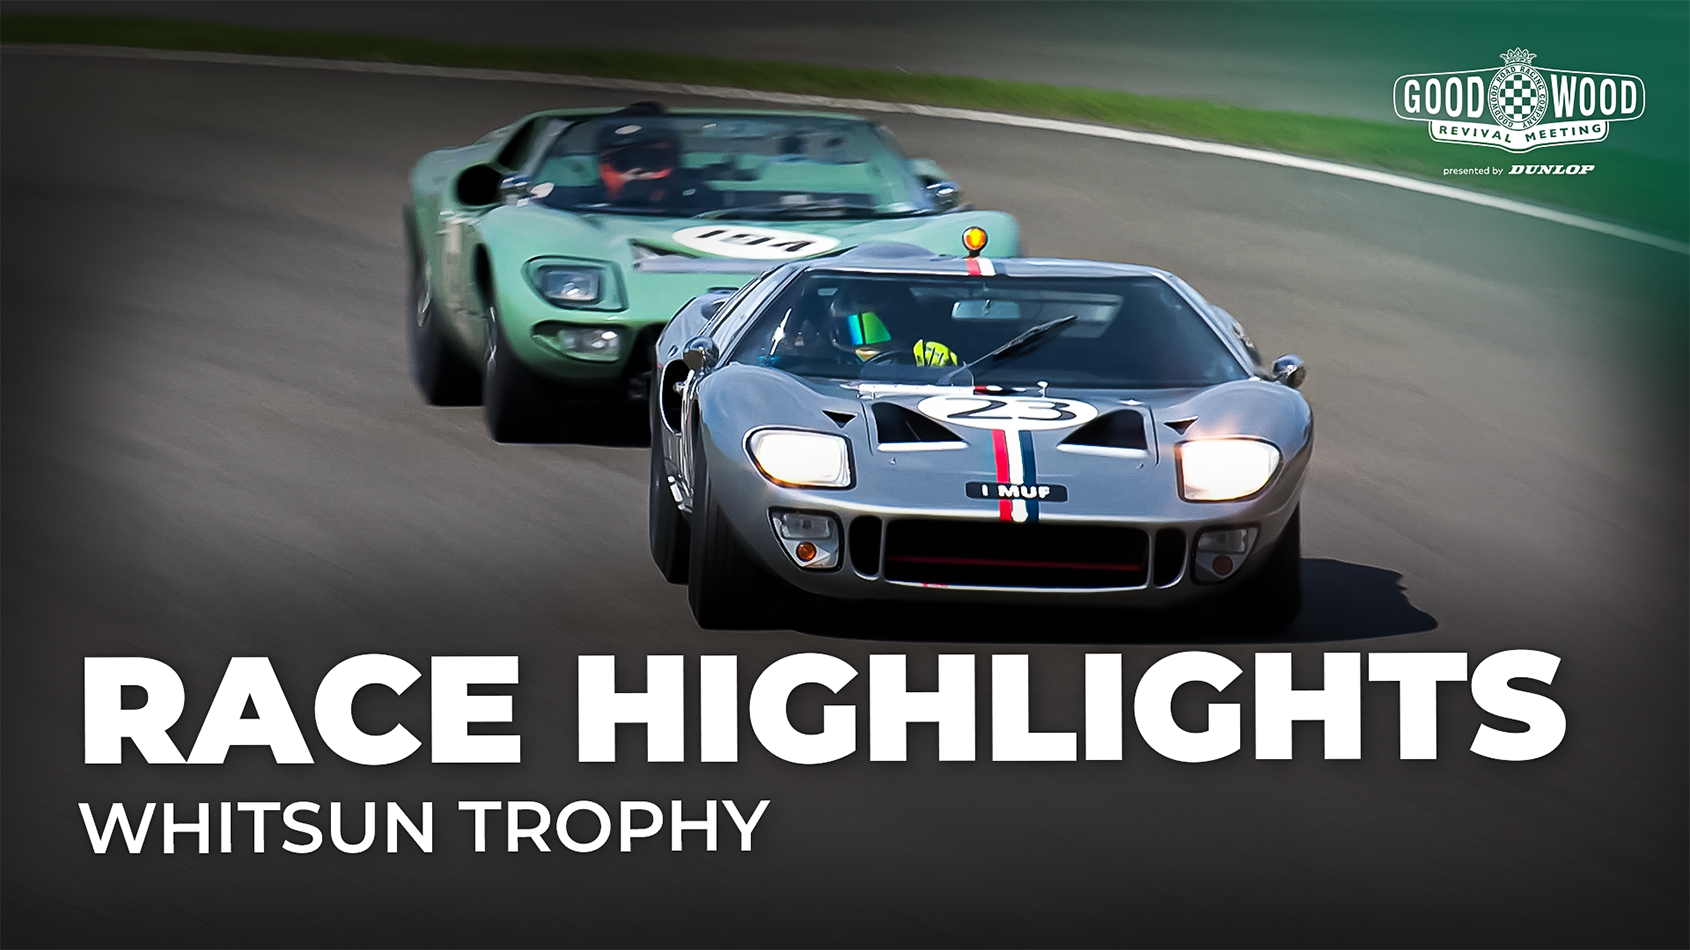
The Whitsun Trophy unleashed powerful V8 engines in the Goodwood Revival's fastest race. Drivers faced slippery conditions, and the drama escalated quickly when Stuart Hall went off the track in his Lola-Chevrolet T70 Spyder, narrowly missing Alex Brundle's own T70 Spyder. Moments later, Harvey Stanley fought hard to overtake Graham Moss through the chicane, nearly losing control of his Lola-Chevrolet T70 Spyder before managing a lucky recovery. Otto Reedtz-Thott also suffered a spin in his Ford GT40 but salvaged his position to stay in the race.
Steve Seaman was less fortunate, sliding his Lola-Chevrolet T70 Spyder off the track which prompted a safety car deployment with 15 minutes to go. With just minutes remaining, Jeremy Cottingham, Adam Sykes and James Davidson all had incidents of varying severity, as did Katsu Kubota, who in the final seconds carried too much speed into a corner. Ultimately, Davidson safely crossed the line, with Kubota bringing maximum entertainment right to the very end.
|
Position |
Driver |
Car |
|
1 |
James Davison |
McLaren-Chevrolet M1B |
|
2 |
Alex Brundle |
Lola-Chevrolet T70 Spyder |
|
3 |
Harvey Stanley |
Lola-Chevrolet T70 Spyder |
|
4 |
Graham Moss |
Lola-Chevrolet T70 MK2 |
|
5 |
Jack Layton |
Lola-Chevrolet T70 Spyder |
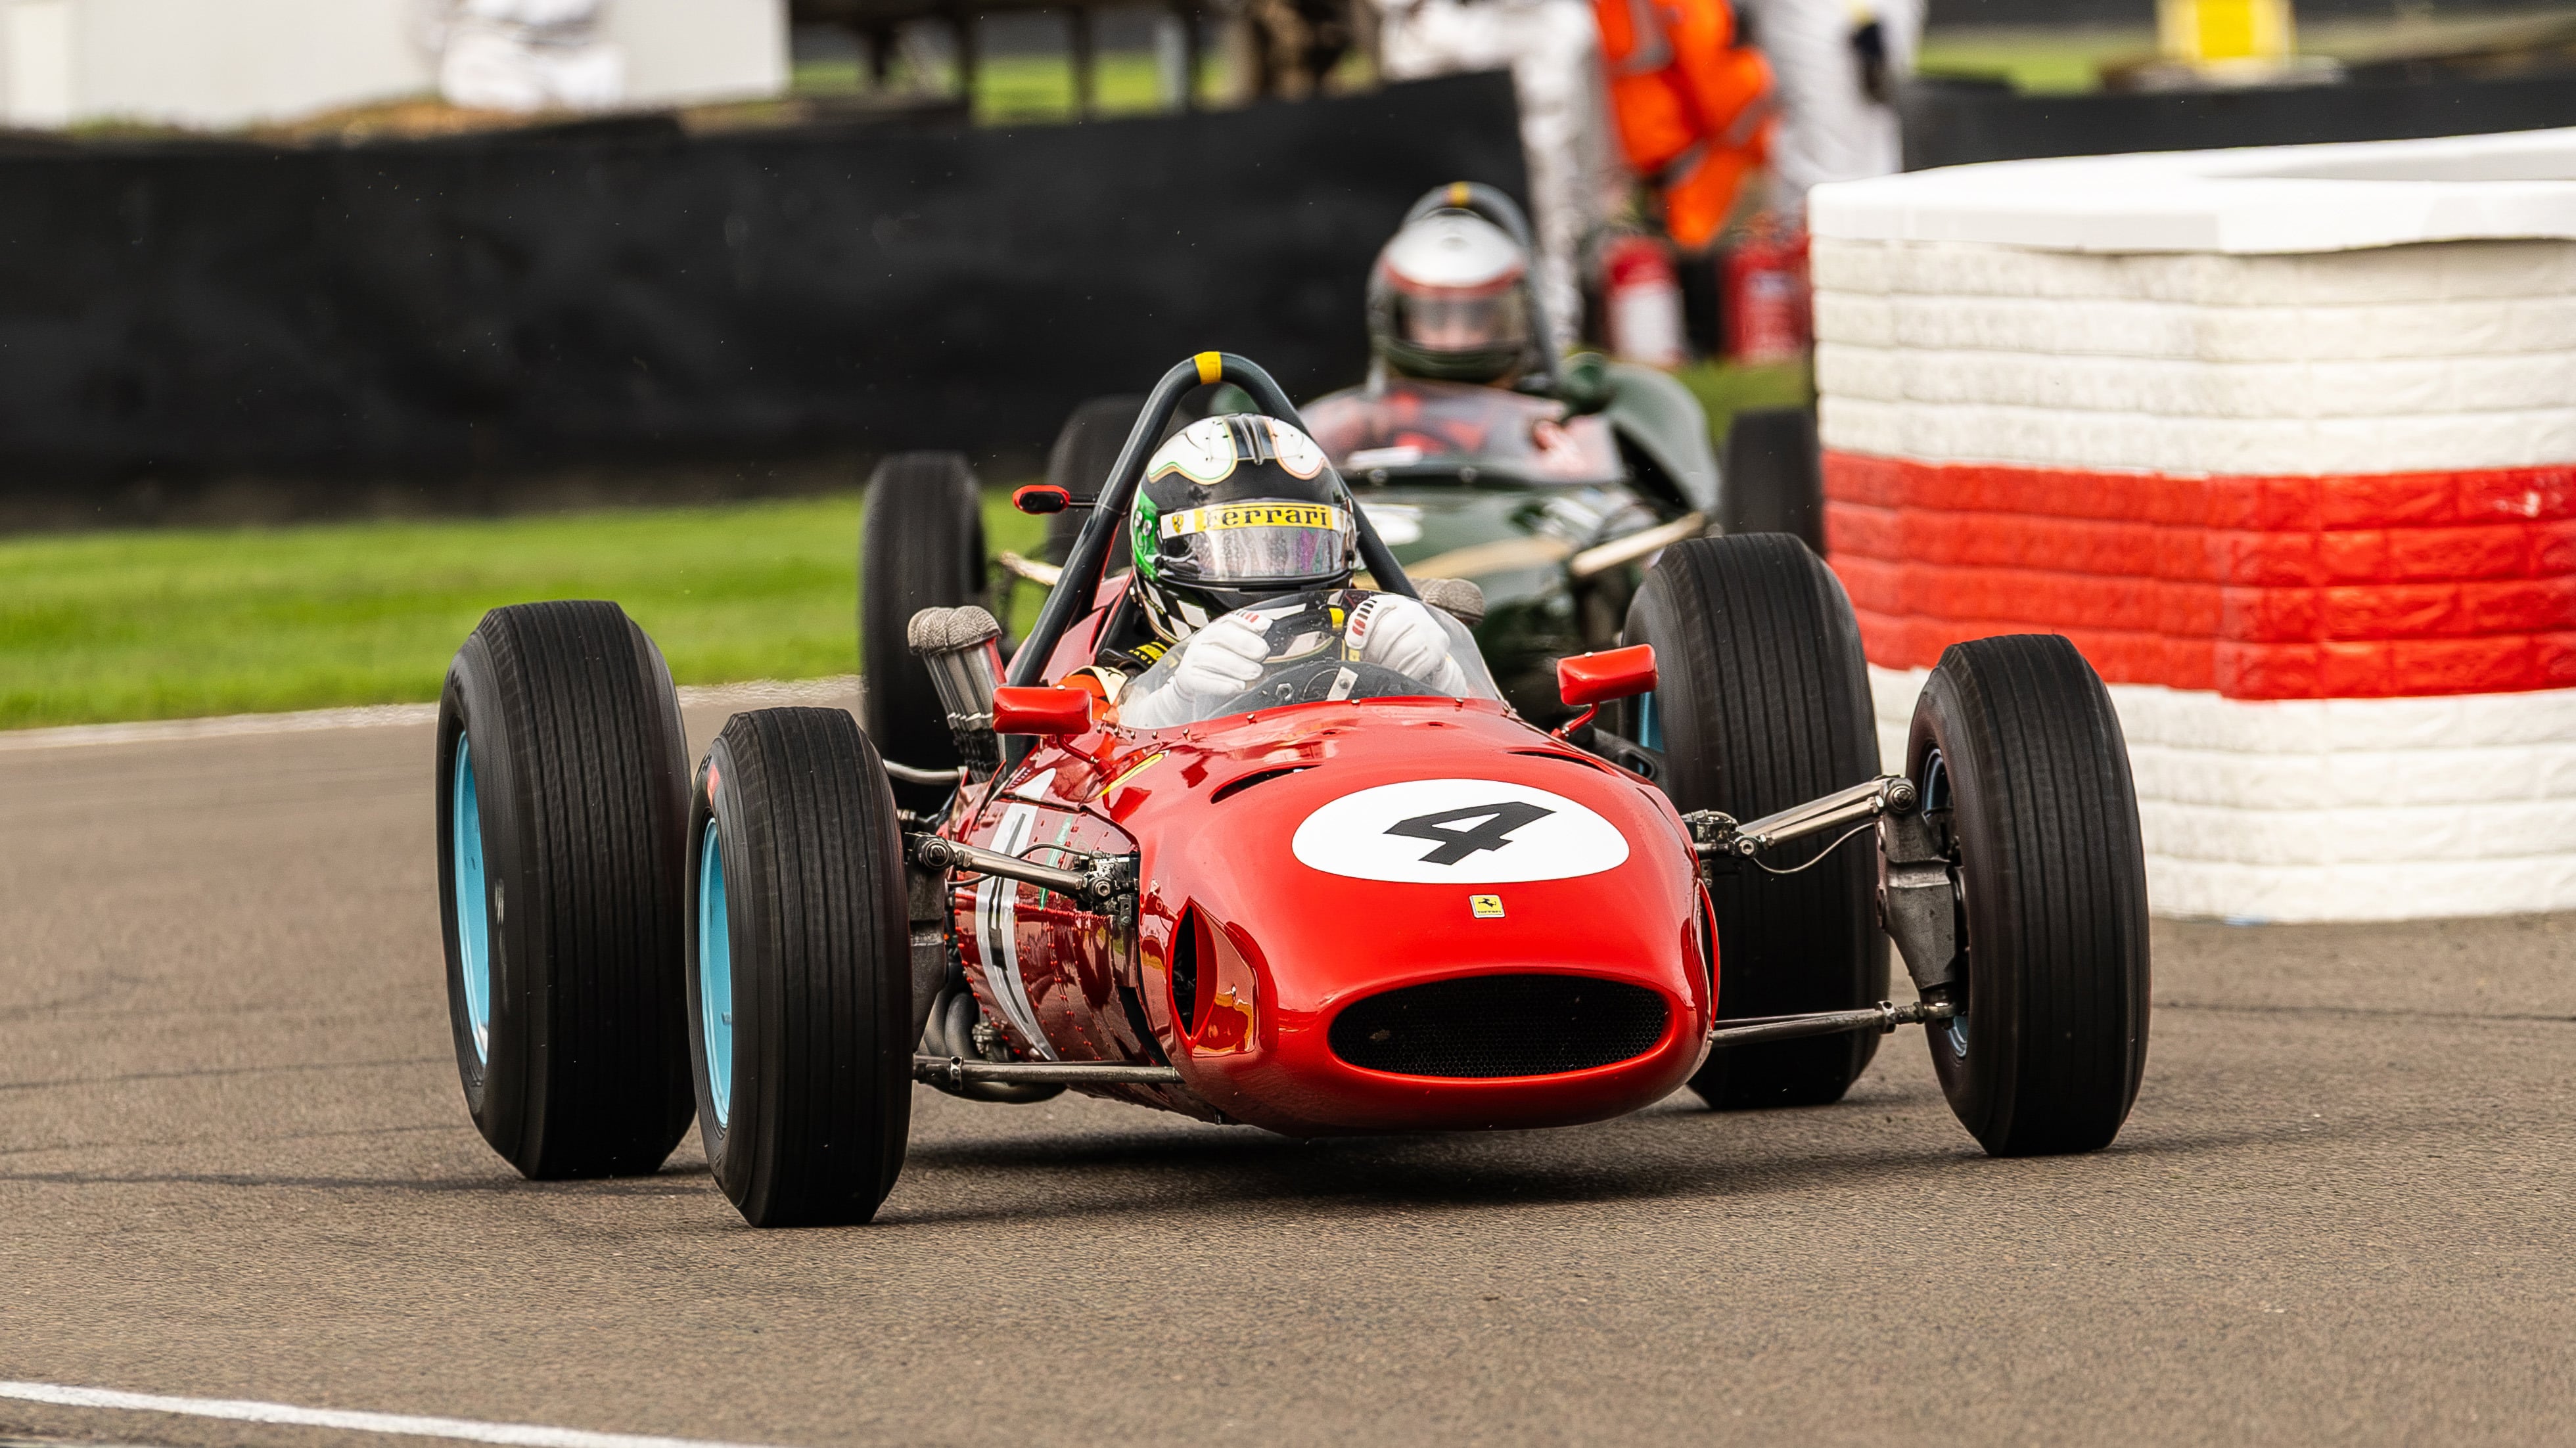
Race 15: Glover Trophy
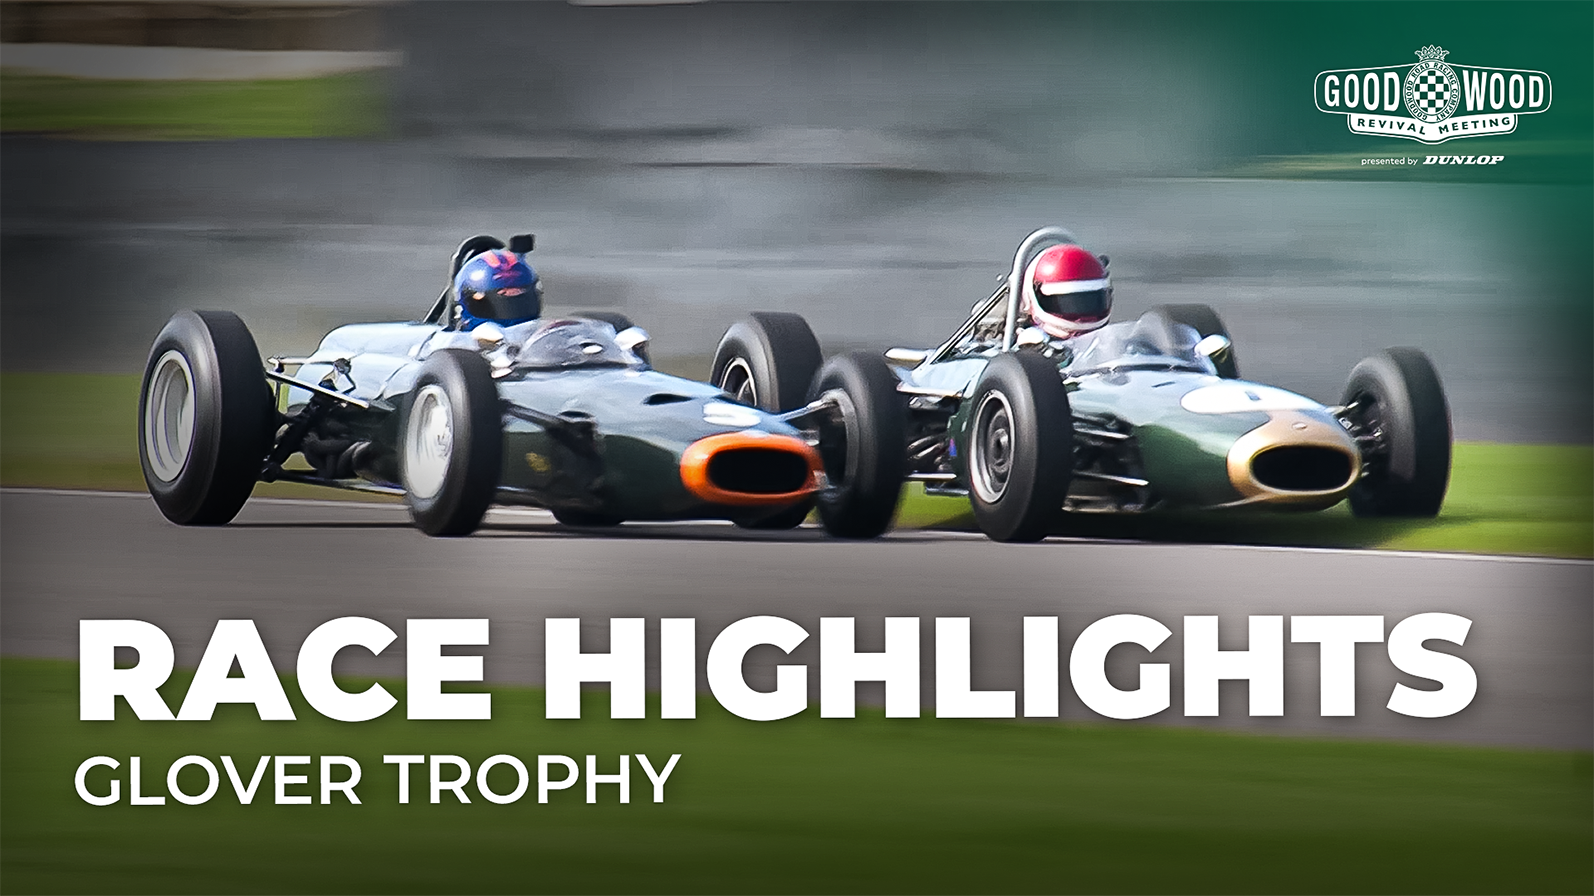
Lukas Halusa lined up in pole position for the 2026 Glover Trophy, but he didn’t hold on to first place for long. His Brabham-Climax BT7 quickly dropped to third and so began a determined fight back. He put a wheel on the grass to pass the BRM P261 of Philipp Buhofer before making a move around the outside at Madgwick for first. It didn’t pay off; he ran wide and slipped back to third.
He then found himself in a battle with the older Cooper-Climax T56 — and ex-Surtees and Salvadori car — of Ben Mitchell for second. Mitchell drove very defensively for lap after lap until a mistake allowed Halusa to eventually overcome the Cooper. Mitchell later pitted. While they were scrapping, Joe Colasacco was able to make significant gains in his Ferrari 1512.
A safety car session bunched up the pack. By then, the order was Colasacco in the lead followed by Stuart Hall (Lotus-Climax 21) and Halusa. When the race restarted, Halusa had been separated from the first and second place cars by two back markers. In his efforts to get back in touch, he set the fastest lap of the race. That was until he ran wide at Lavant and undid his hard work. He pitted soon after, gifting third place to Nick Fennell (Lotus-Climax 25). Having started eighth on the grid, Colasacco drove a clean race to take his first Glover Trophy victory since 2018.
|
Position |
Driver |
Car |
|
1 |
Joe Colasacco |
Ferrari 1512 |
|
2 |
Stuart Hall |
Lotus-Climax 21 |
|
3 |
Nick Fennell |
Lotus-Climax 25 |
|
4 |
Mark Shaw |
Lotus-Climax 21 |
|
5 |
Philipp Buhofer |
BRM P261 |
Race 16: RAC TT Celebration
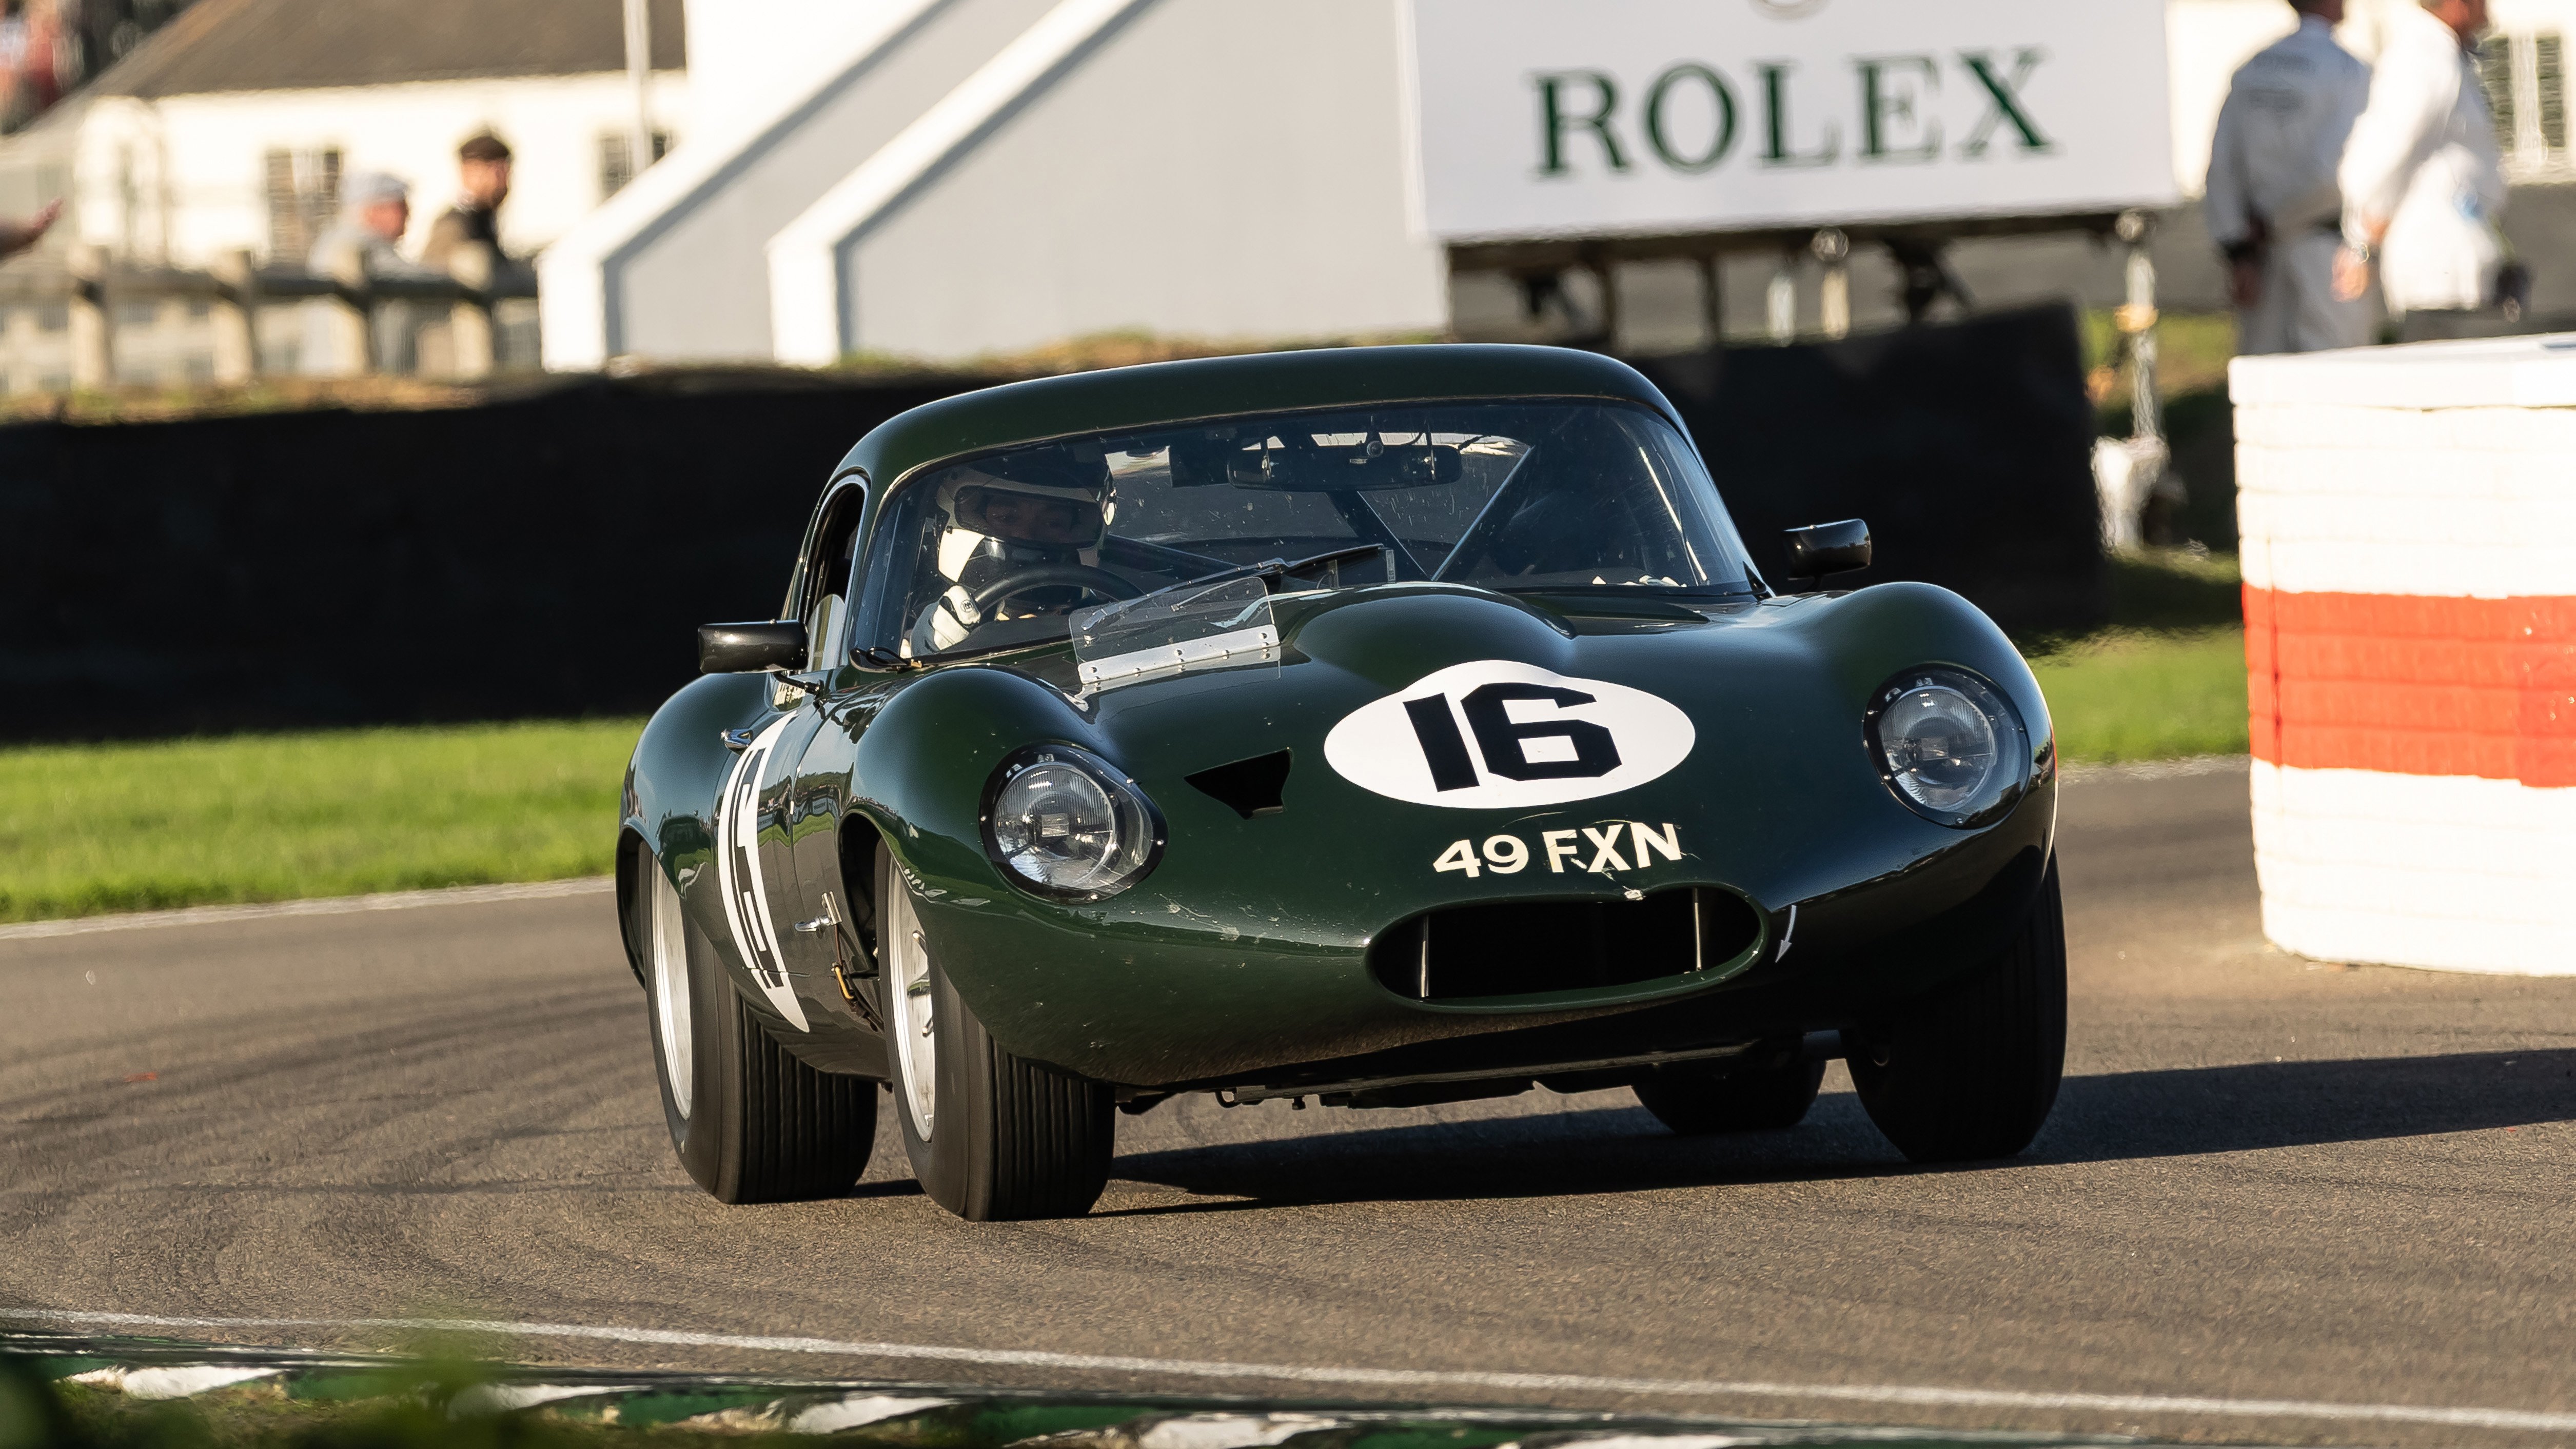
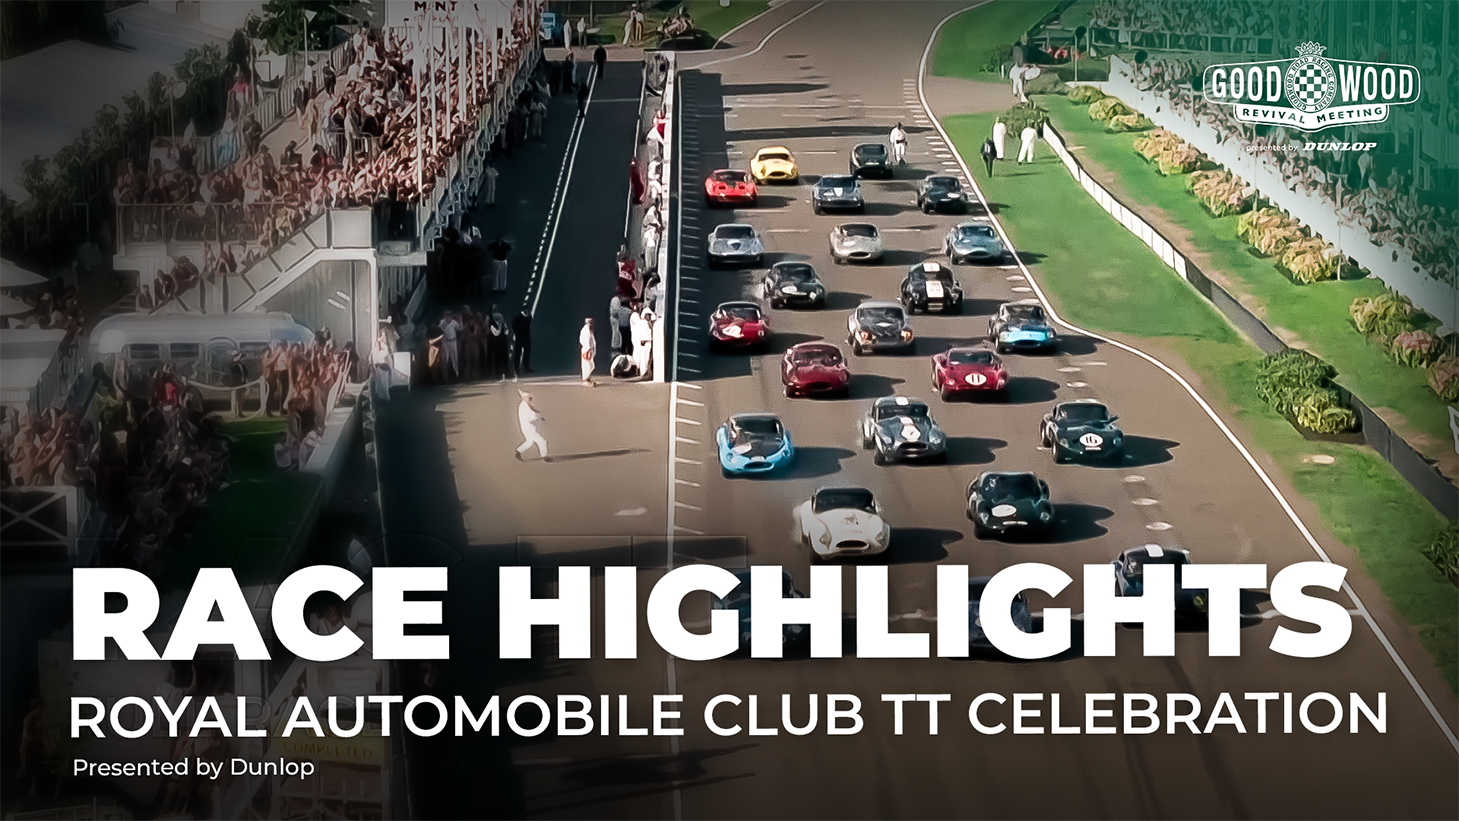
The crown jewel of the weekend was every bit as exciting as we expected, as the new-look Revival Sunday brought an extra layer of spectacle to proceedings. The final race of the weekend got underway in glorious sunshine, and it was the TVR Griffith 400 of Mike Whitaker that led away from the start. Jack Tetley gave chase in his AC Cobra before a mistake a St. Mary's saw him drop down the order.
Dario Franchitti suffered an issue in the pits as he took over the leading TVR, which opened the door for Andrew Jordan and André Lotterer to battle it out for victory. Lotterer set a blistering pace in the closing stages to claim a memorable RAC TT Celebration win.
|
Position |
Driver |
Car |
|
1 |
Halusa/Lotterer |
Jaguar E-type Lightweight ‘low drag’ coupe |
|
2 |
Holme/Jordan |
Shelby Cobra |
|
3 |
Wakeman/Johnson |
Lister-Jaguar Coupe |
|
4 |
Whitaker/Franchitti |
TVR Griffith 400 |
|
5 |
Tetley/Ingram |
AC Cobra |
The 2027 Goodwood Revival will take place on 17th-19th September 2027. Sign up for ticket alerts to make sure you don’t miss out.
If you’re not already part of the GRRC, you can sign up to the Fellowship today to save ten per cent on your 2027 tickets and grandstand passes, as well as enjoying a whole host of other on-event perks.
Main image photography by Joe Harding.
revival
revival 2026
event coverage
Race Results

Subscribe to Goodwood Road & Racing
Thank you, you’re now subscribed

How many hay bales are used at FOS?
For the last two years, 5,800 bales have been recylced into the biomass energy centre to be used for energy generation